AI Material Transfer

AI Texture Transfer

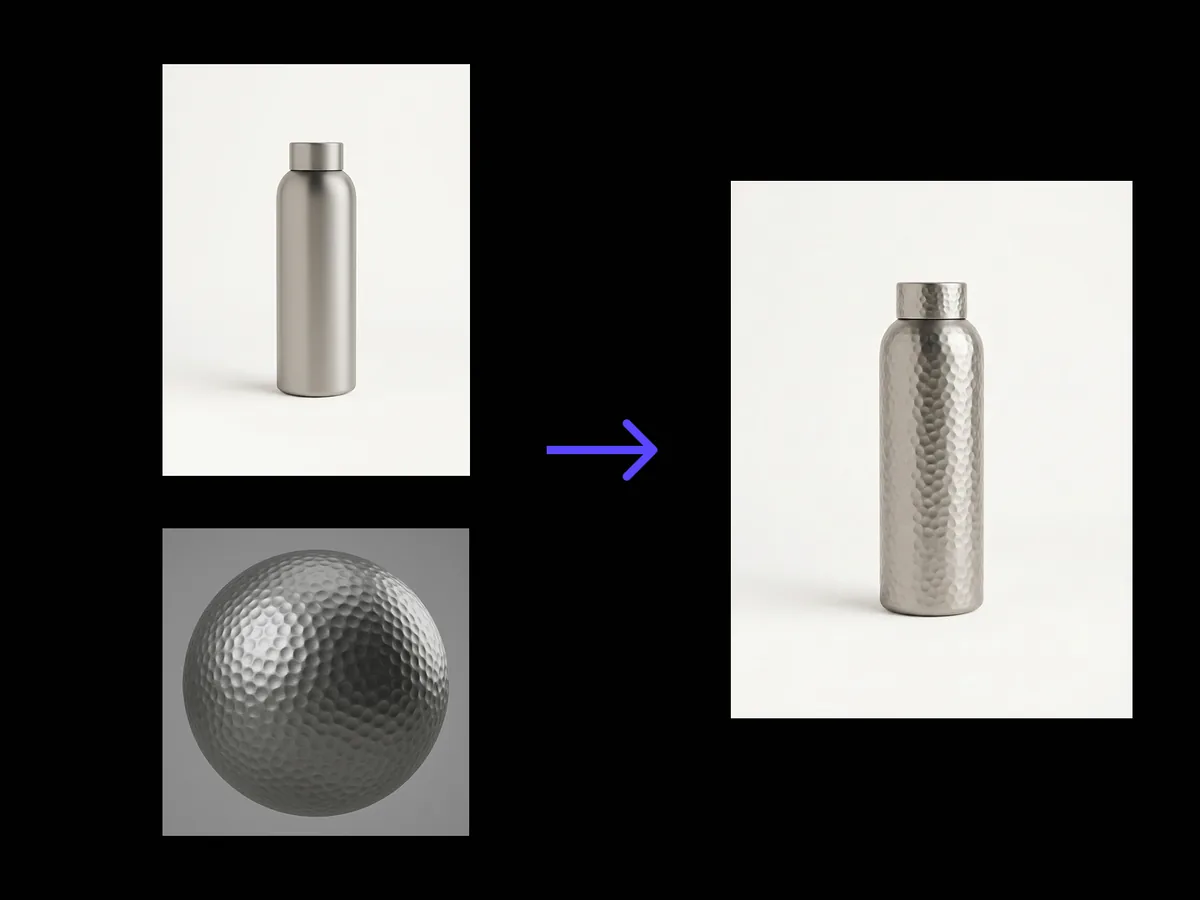
Upload your product shot and a material reference. It reads the structure underneath, works out which panel is which and where each surface turns, then wraps the new material along that structure with the lighting consistent and the form exactly where it was.

Entrada
Product base image · ObligatorioMaterial reference image · ObligatorioMaterial usage notes · Opcional
Salida
Product image with the material applied × 1

Product base image

Obligatorio

Drop your product shot

La imagen se sube en el lienzo; este formulario lleva los ajustes.

Material reference image

Obligatorio

Drop your product shot

What AI texture transfer does to a product shot

AI texture transfer replaces the surface of a product in a photograph while the shape underneath stays fixed. It reads the panels and the turns first, so the new material follows the real form instead of sitting on top of it like a sticker.

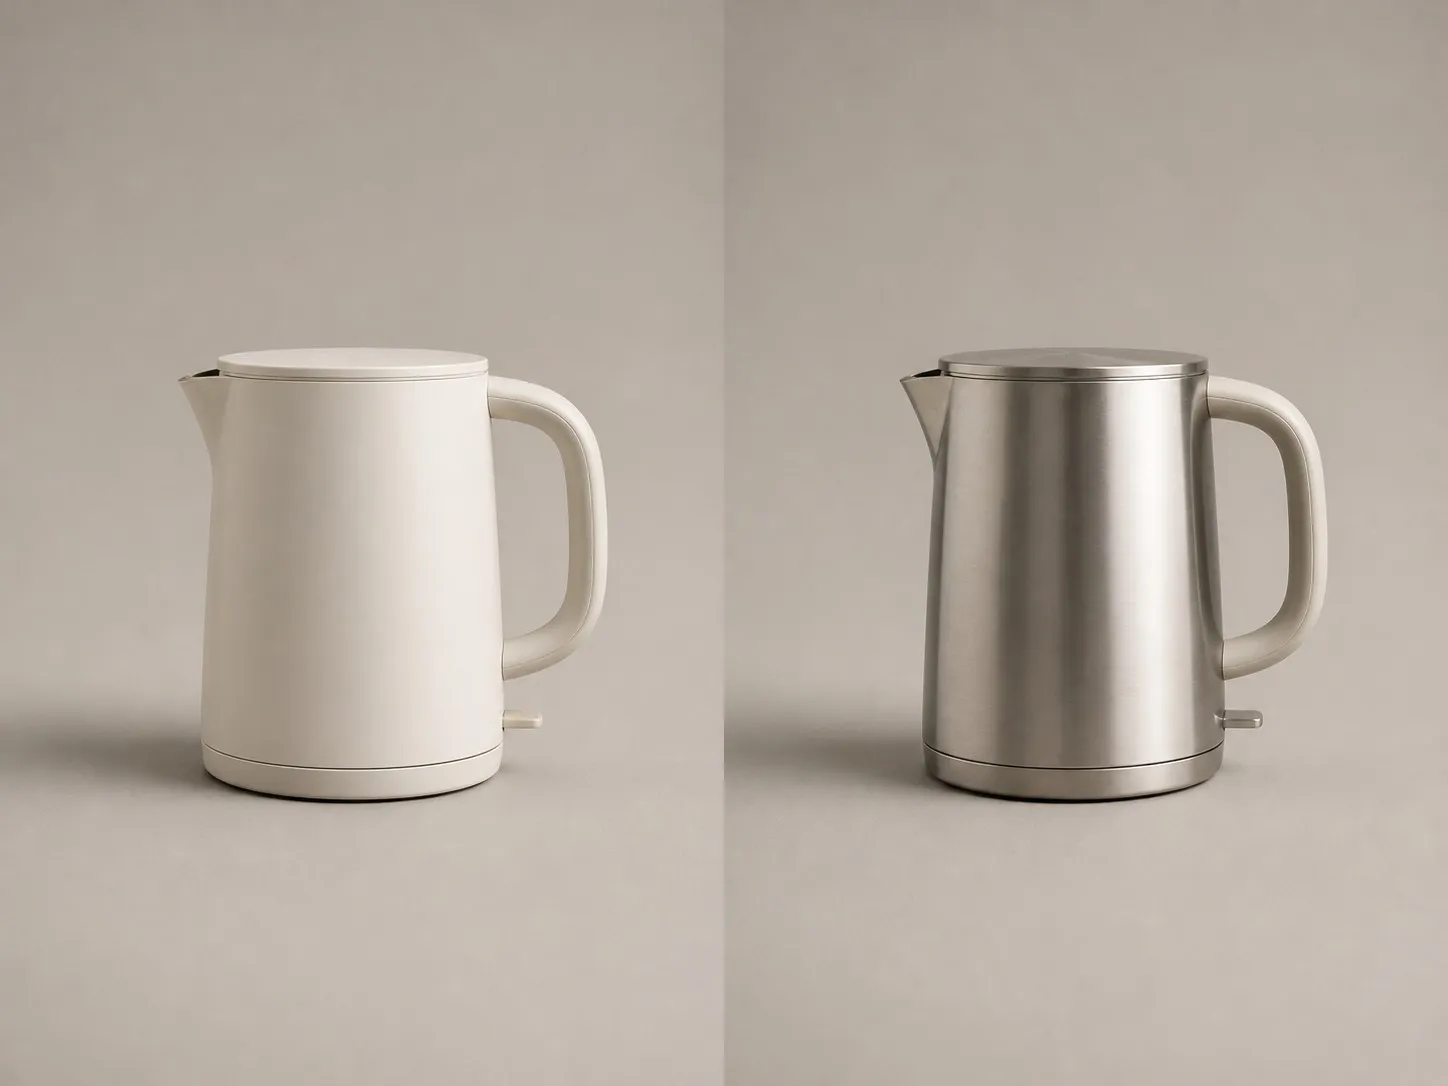
One electric kettle shown twice, in matte white polymer on the left and brushed stainless steel on the right
The same product shot before and after a material swap

Three things the AI material swap holds steady

A material change is only useful if everything else survives it. These are the parts the tool refuses to move.

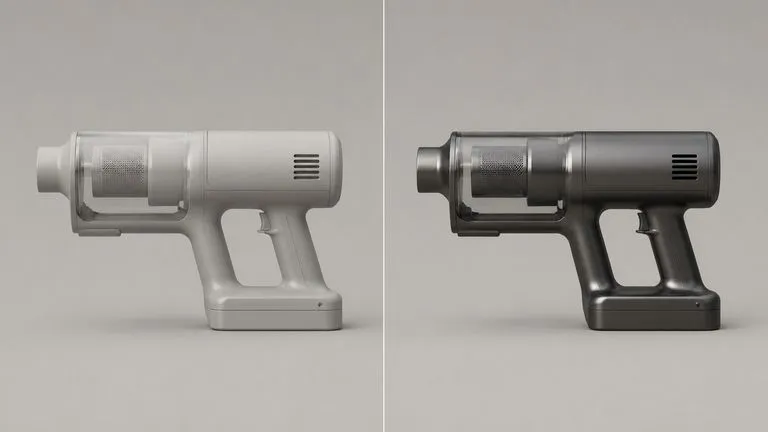
Close-up of a handheld vacuum shown twice with identical edges and part lines under two different finishes
Fixed

The geometry

Every edge, radius and parting line stays where the camera found it. Geometry is the fixed input and the material is the variable. If an edge has moved, the result is wrong no matter how good the finish looks.

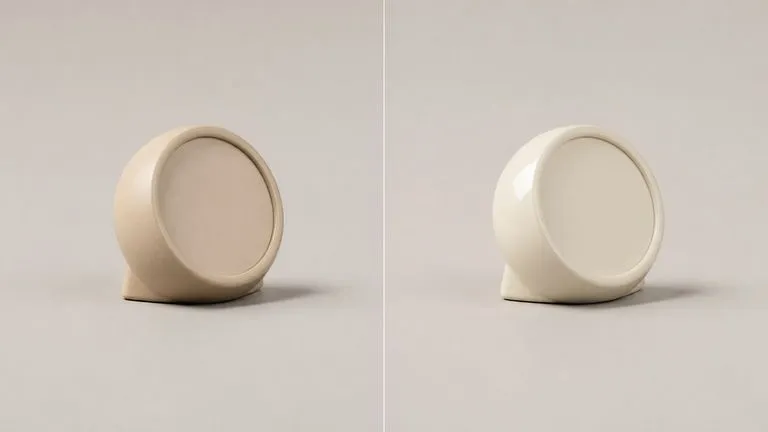
A desk clock shown twice, matte on the left and glossy on the right, lit from the same side
Carried over

The lighting

The key light, the fill and the cast shadow all stay consistent with the original shot. A matte finish absorbs where the gloss used to reflect, but the light itself is still coming from the same place.

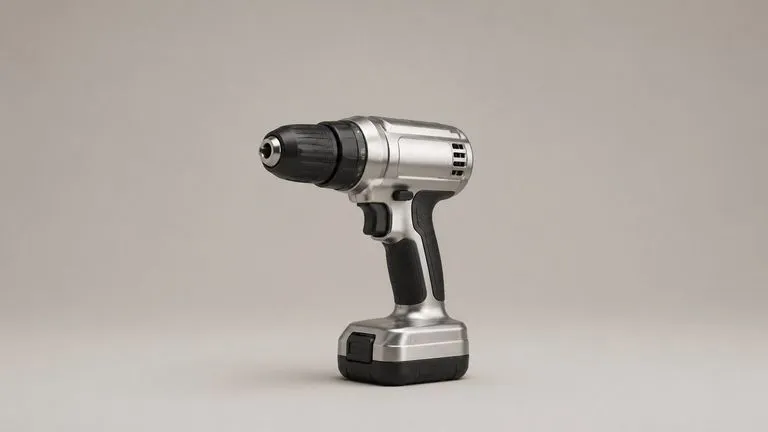
A cordless drill with the body changed to brushed metal while the rubber grip stays as it was
Your call

The parts you name

Say which parts to change or which to leave alone. Naming what to protect usually takes fewer words than naming what to replace, and it is the safer instruction when a product has grips, seals or glass.

How to change a product's texture with AI in four steps

  1. Drop in the product shot

    A straight-on or three-quarter shot works. The cleaner the separation between panels, the more precisely the material lands on each one.

  2. Add the material reference

    A swatch, a fabric close-up, a metal sample, or a photo of another product with the finish you want. Only the surface is read, never the shape.

  3. Say what to change and what to protect

    One line of notes is enough. Grips, seals, glass and printed marks are the usual things worth protecting, and naming them takes a few words.

  4. Apply, then keep working

    The result lands on a fresh Virse canvas beside the original. Swap the reference and run it again, or take the output into an edit without exporting anything.

Who reaches for an AI texture changer

People deciding on a finish before anyone spends money committing to it.

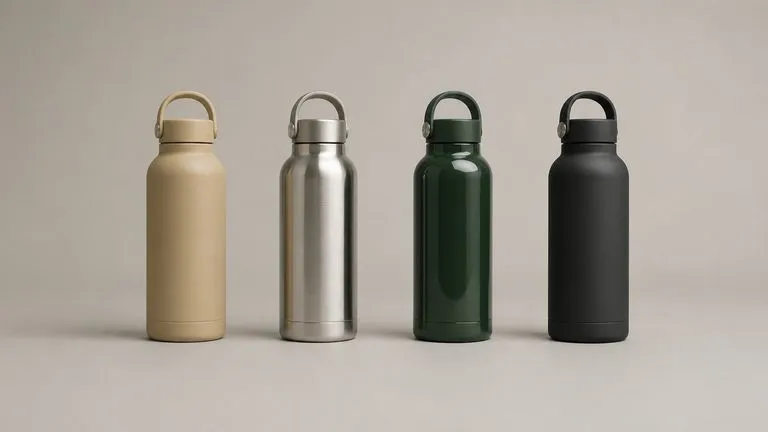
One insulated water bottle rendered four times in four finishes, evenly spaced in a row

CMF & Materials Designers

Put four finishes on the same product under the same light, so a review compares materials rather than comparing photographs taken on different days.

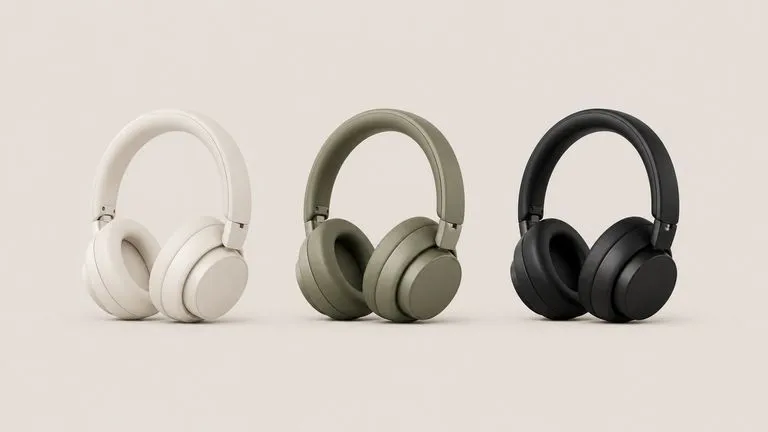
A pair of over-ear headphones shown in three colourways from one identical camera angle

E-commerce & Catalogue Teams

Photograph one physical sample and publish the whole colourway range, instead of shipping every variant to a studio.

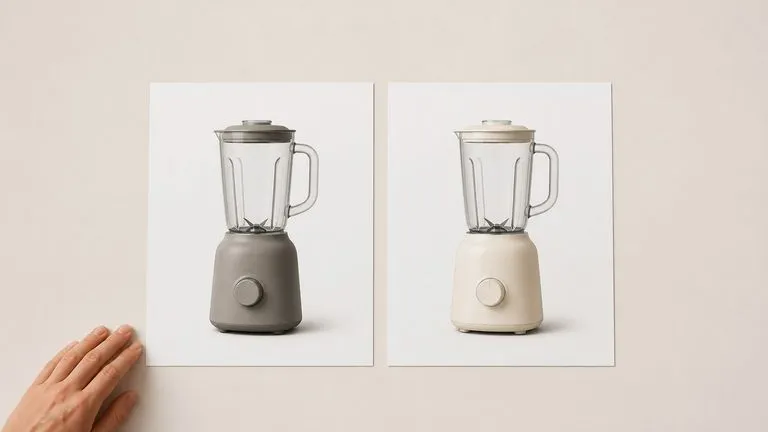
A blender shown in matte and gloss versions side by side on a clean presentation board

Packaging & Product Marketers

Show a client what the matte version looks like during the meeting, using the shot you already have rather than a rendering request that comes back next week.

What a product material swap returns

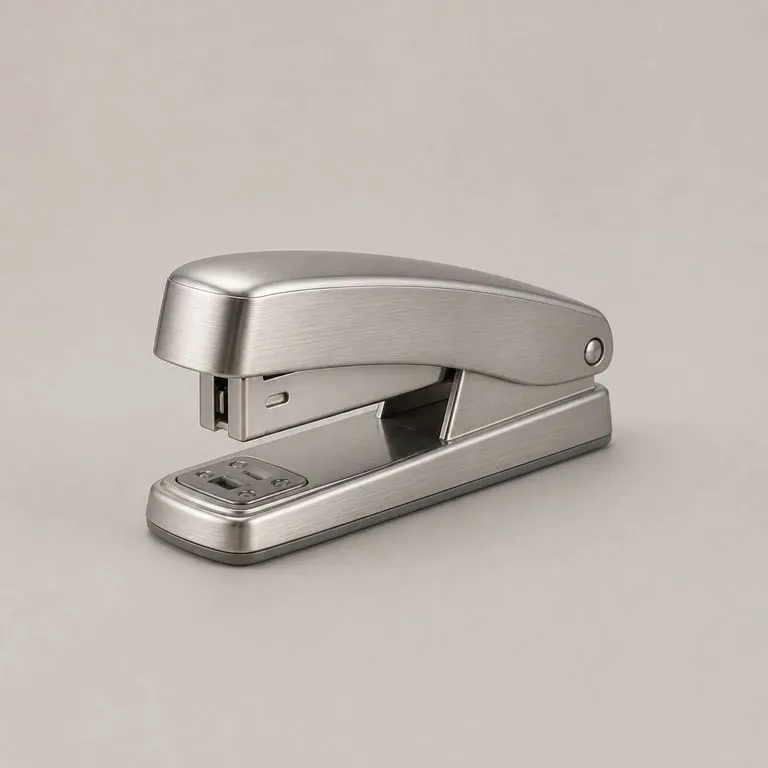
A desk stapler with a plastic body rendered in brushed steel with the original part lines still visible
Brushed Steel on a Plastic Body: the original parting lines still reading through the metal
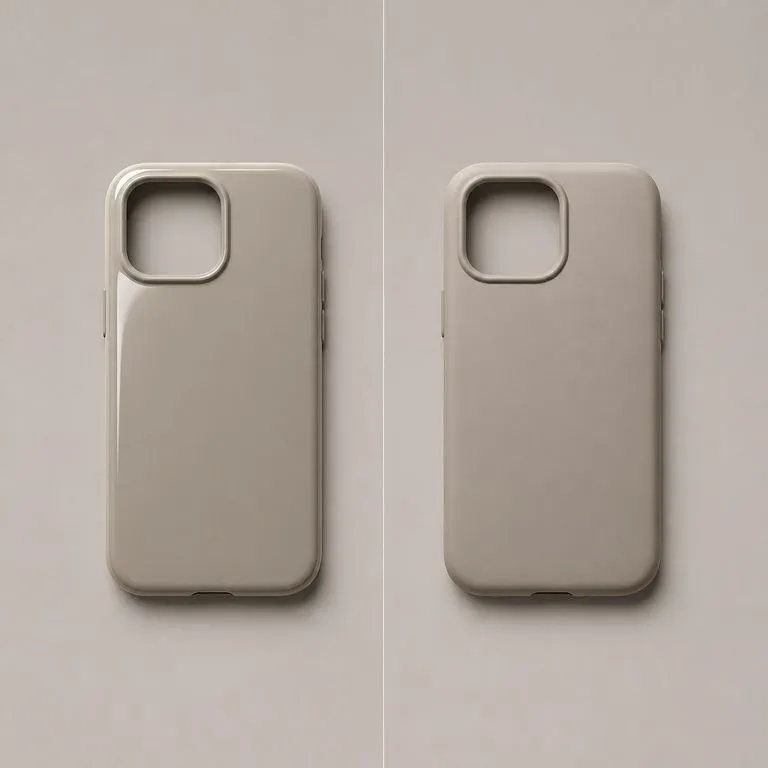
A phone case shown twice, glossy on the left and matte on the right, with the key light in the same place
Matte Where Gloss Used to Be: reflections gone, the key light still coming from the same side
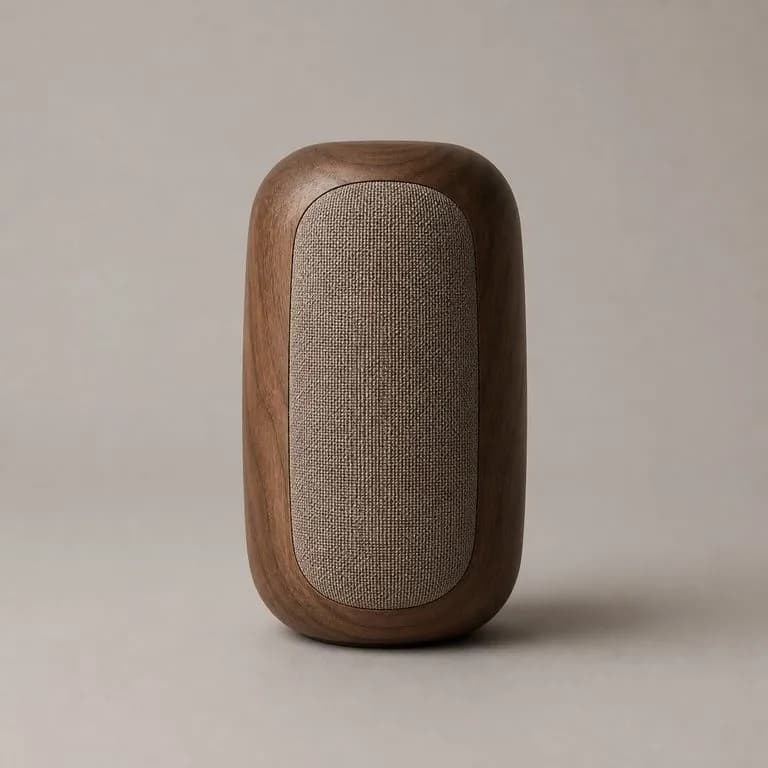
A rounded bluetooth speaker rendered in walnut with the grain following the curve of the body
Walnut on a Consumer Housing: grain following the curve instead of lying flat across it
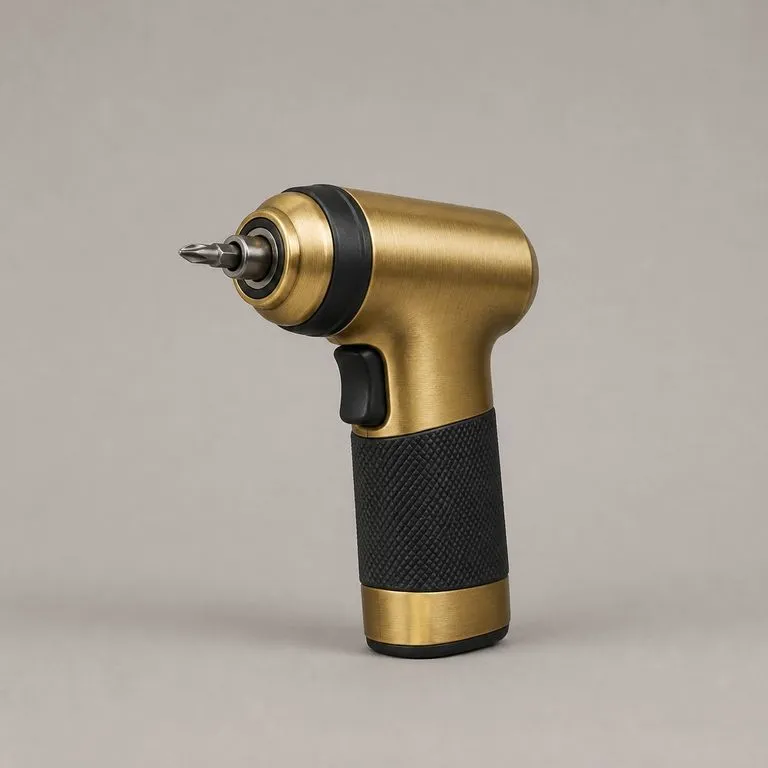
A cordless screwdriver with a metal body and its rubber grip and seal left untouched
Grip Protected, Body Changed: rubber and glass excluded by a single line of notes
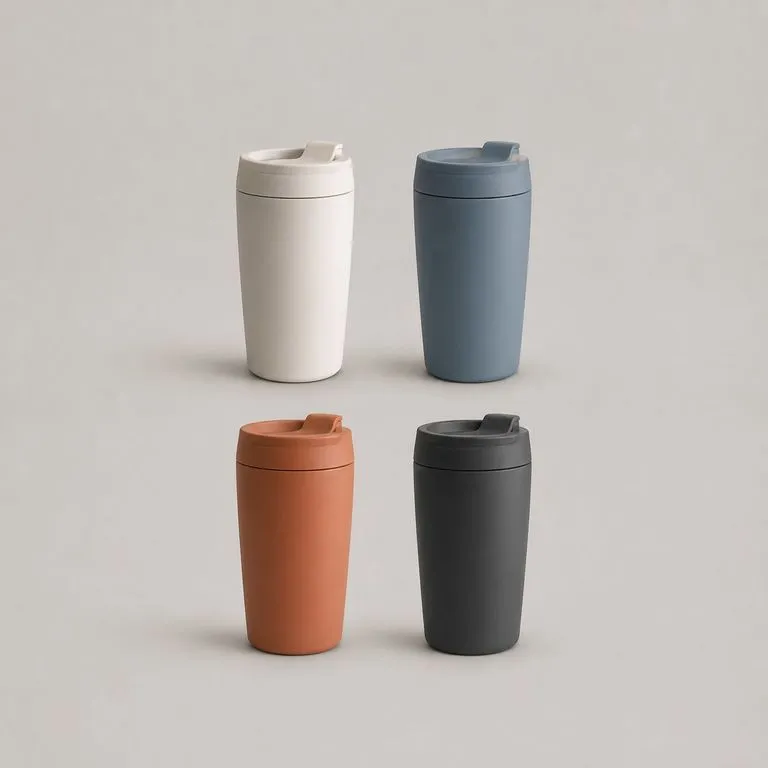
One travel mug shown in four colourways from one identical camera angle
One Shot, Four Colourways: identical camera and light, only the finish moving
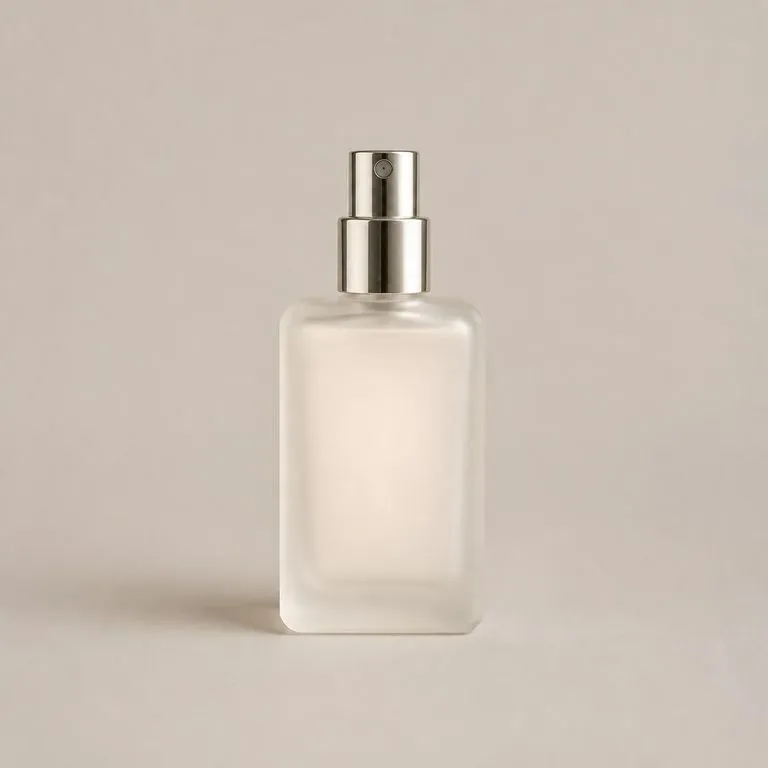
A perfume atomiser rendered in frosted glass with the translucency taken from a reference swatch
Frosted Glass From a Swatch: translucency read off the reference and applied to the panel

Why an AI texture replacer beats a manual retouch

What changes when the structure is read first instead of the material being painted on afterwards.

Masking and overlay in a photo editor

  • The texture is laid flat over a mask, so it stops following the curve at the edges
  • Highlights and shadows have to be rebuilt by hand for every variant
  • Each new finish is a fresh selection, a fresh mask and another hour
  • The layered file lives on one machine, and only one person can move it forward

The Virse material swap

  • The panels and surface turns are read first, so the material wraps along the real form
  • The original lighting carries over, and gloss or matte behaviour follows the new surface
  • The next finish is one reference image and a re-run, not another mask
  • The result lands on a canvas where anyone on the file can re-run or edit it
FAQ

Questions

Will the shape change at all?
No. Geometry is the fixed input and the material is the variable, and that separation is the whole tool. If an edge has moved, the result is wrong regardless of how good the material looks.
Can I swap only part of the product?
Yes. Say which parts in the notes. Naming what to leave alone works as well as naming what to change, and it is usually the shorter sentence.
Does this give me the material as a texture set?
No. This tool returns a product image with the finish applied to it. If you want the material itself broken out as albedo, normal, roughness and the rest, that is the AI Material Pack Extractor, which reads a reference photo and returns the set. The two run well together: extract the material to judge it, transfer it to see it on your product.
Can I use a photo of somebody else's product as the reference?
The tool will read the finish off it and ignore the shape, so technically yes. Whether you should is a question about the brand you are borrowing from rather than about the tool. A material swatch or a sample photographed on your own desk carries none of that risk and usually reads cleaner anyway.
Does pressing Create run the tool straight away?
No. Your inputs travel into a fresh canvas and land on the tool already filled in, but nothing runs until you press Start there. A link can never spend your credits on your behalf.
Can I keep working on the result afterwards?
Yes. Everything the tool produces arrives on a normal Virse canvas, so you can re-run a single output, adjust it, or take it into an edit without exporting and re-importing.

Try the finish before anyone tools it

Start here. Your product shot and the material reference travel into a fresh Virse canvas, and nothing runs until you press Start.