
Quickstart
1. Create a canvas
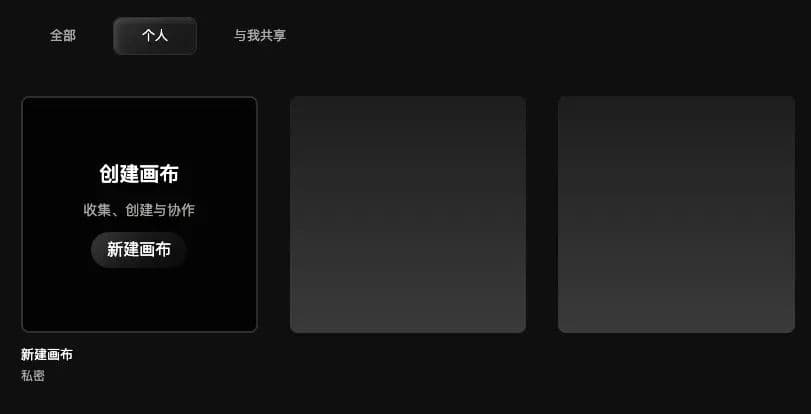
Open Virse and click New Canvas. You now have an infinitely expandable creative space.
2. Create a node
After entering the canvas, you will see several node types. Each node handles one job, such as generating images, video, or text. Click one to create it quickly.
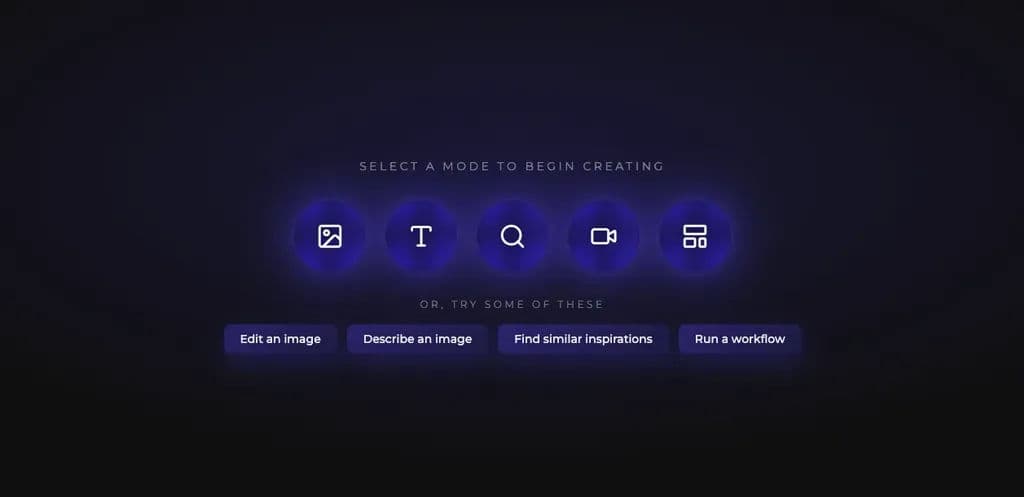
Start with the most common node type: the Image Node.
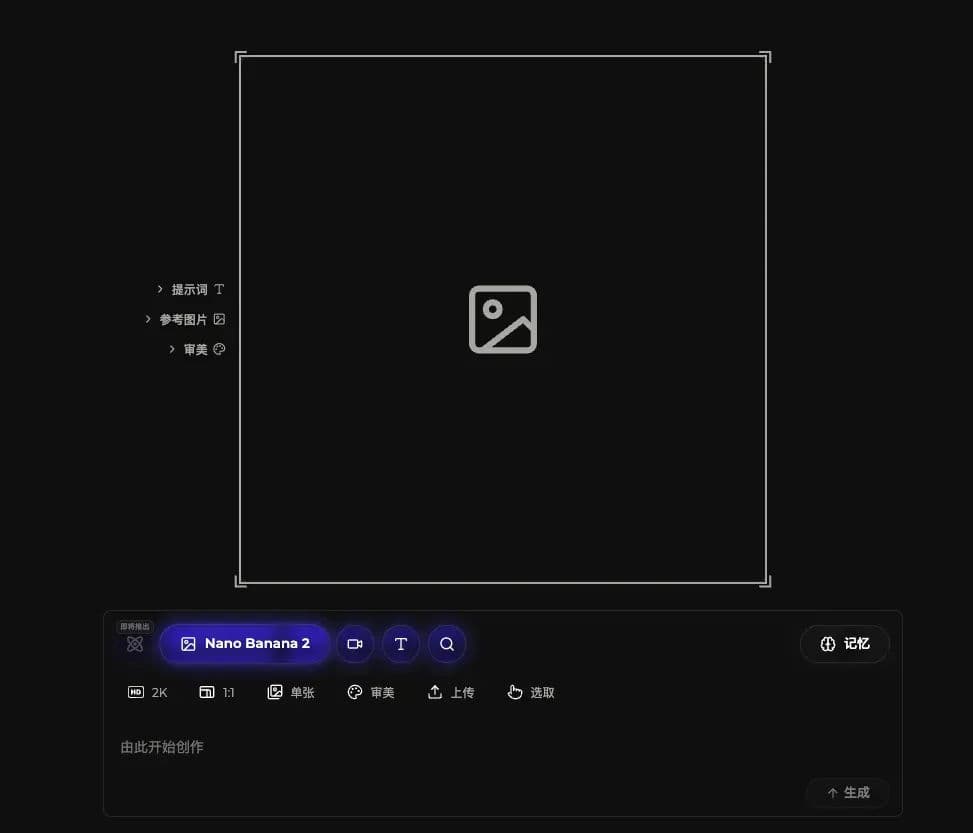
Choose Image mode, describe the image you want in the workbench below, then click Generate to create an image.
Take a minute to understand the workbench below. All image generation happens here, organized into three rows:
Row 1 - Mode selector:Switch what you want to generate: image, video, or text.
Row 2 - Generation parameters:Adjust the output. Common parameters include:
Parameter | Description |
|---|---|
Resolution | Controls the level of detail in the output. |
Aspect ratio | The width-to-height ratio of the image. |
Batch size | How many images to generate at once for easier selection. |
Aesthetic style | Applies a trained style so the output feels closer to your taste. |
Upload reference image | Upload a local image as a reference. |
Select reference image from canvas | Use an existing canvas image as a reference. |
Row 3 - Instruction input:Describe the image you want, or drag reference images in.
- Write the image you want here, or drag reference images directly into the input. Both text and images can guide generation.

3. Create a connection
Once you have your first node, the interesting part begins: connect nodes together. Generate or drag an image onto the canvas, then drag from the connection handle on the right side of the node to create a line.
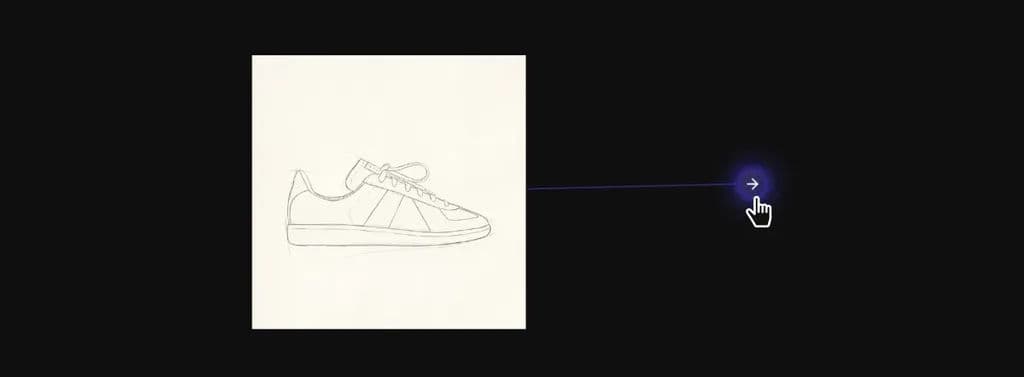
When you release, a node menu appears. Choose the node type you want, and it will connect automatically to the previous node as an input.
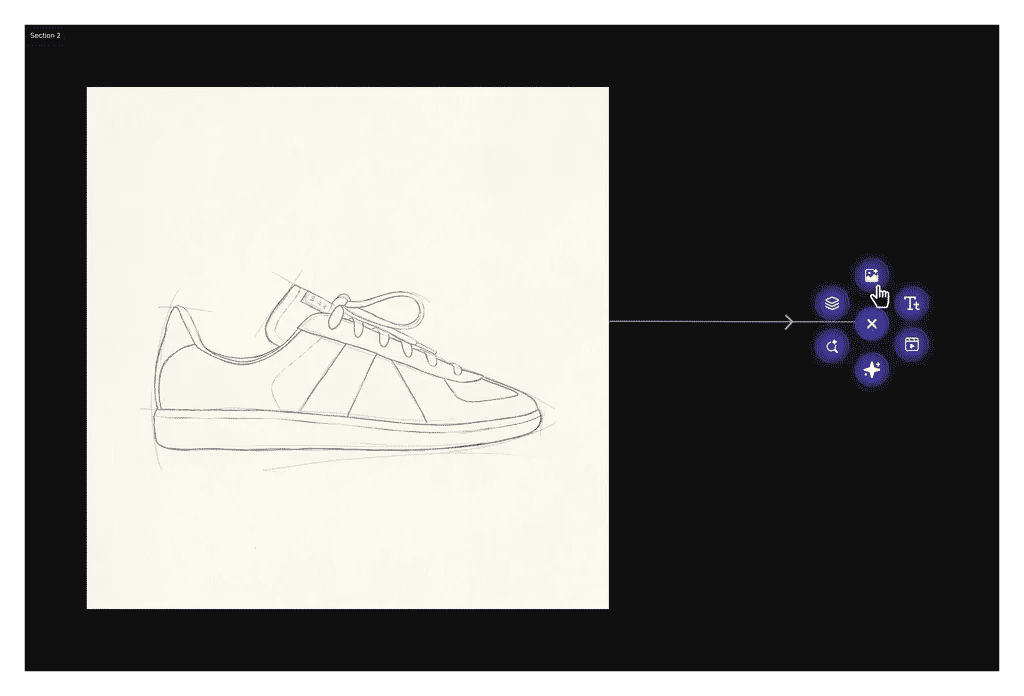
In this example, create a new image node and use the shoe line drawing as a reference to generate a new image.
Choose a model in the workbench, write the prompt, and click Generate.
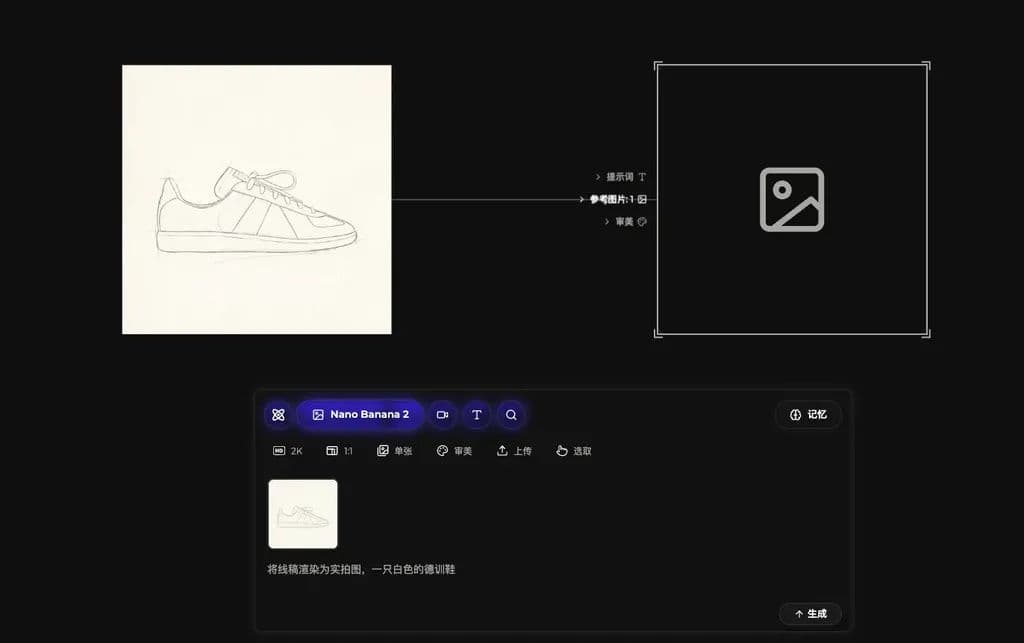
After a short wait, your image is ready.
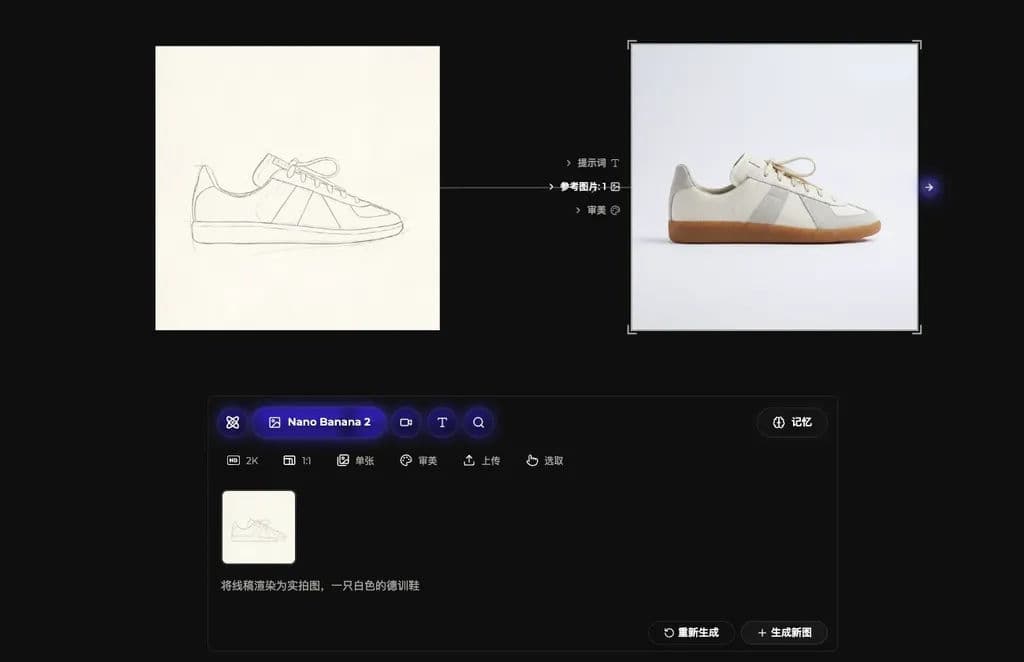
From here, keep adding nodes and connections to build the work step by step.
More ways to create
For example, connect an image to a video node to bring it to life:
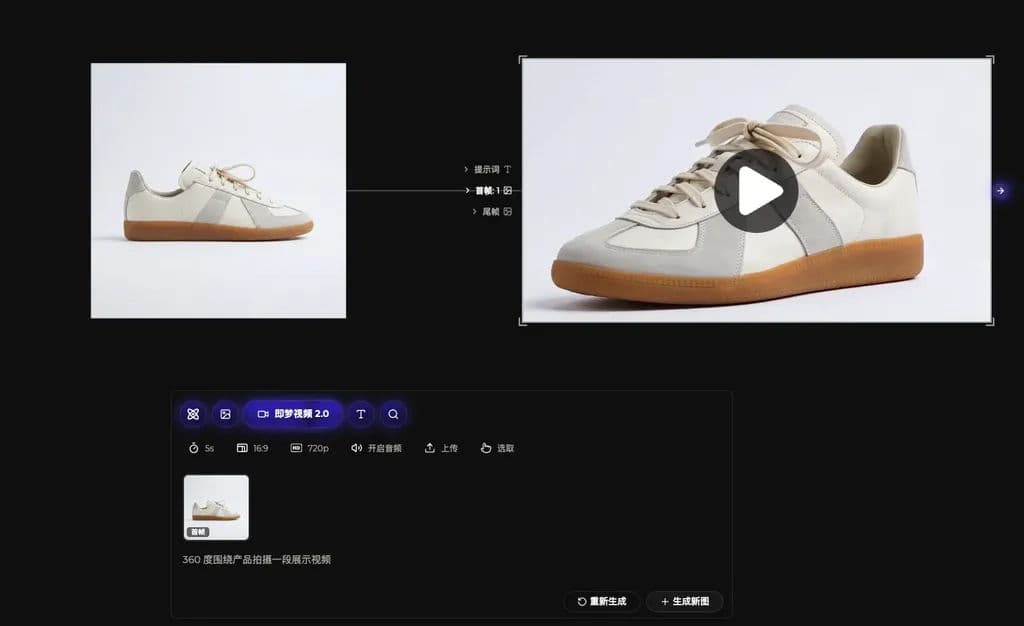
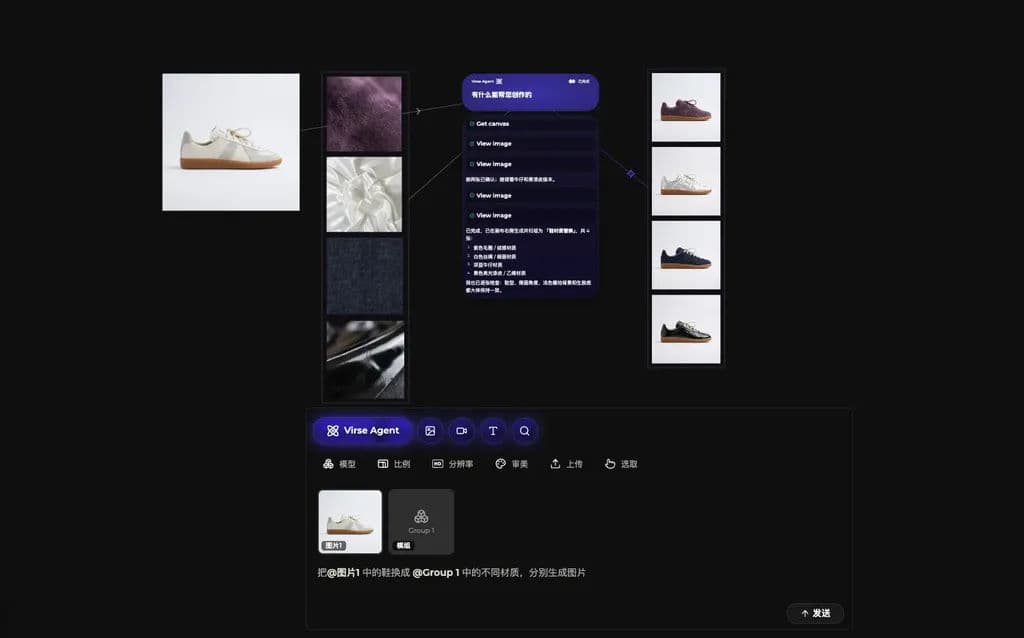
Or hand the work to a Virse Agent so it can process designs in batches:
Dernière mise à jour :