
Edit Mode Guide
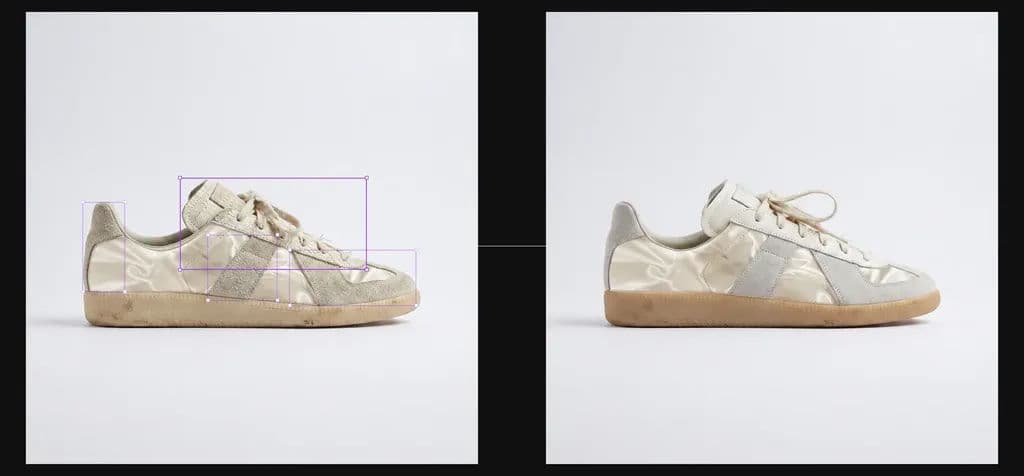
Edit Mode is especially useful for:
Scenario | What it can do |
|---|---|
High-resolution replacement | When an AI-generated image has blurry or broken local details, select the region and replace it with high-resolution material. |
Layout adjustment | Adjust object position, size, and proportion inside the image. |
Marked edits(coming soon) | Draw or mark on the image, then use a prompt to modify it. |
1. Enter Edit Mode
Double-click an image node on the canvas, or click Edit Mode in the right sidebar.
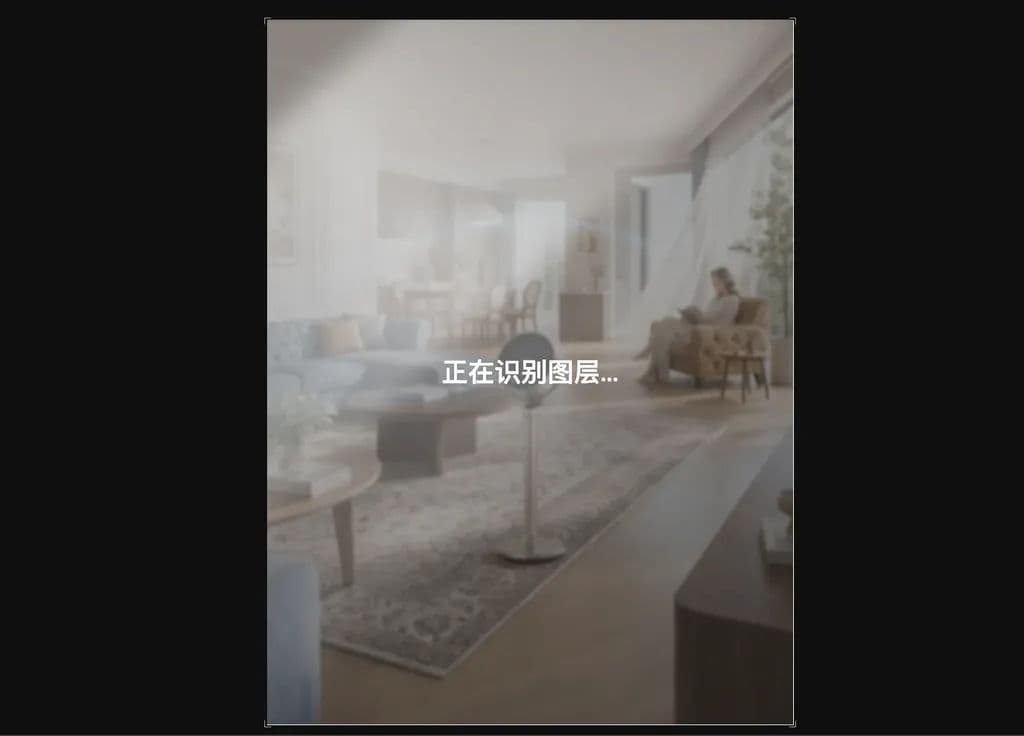
2. Load and select layers
The first time you edit an image, Virse spends a few seconds detecting layers. After detection finishes, you can select different object layers in the image.
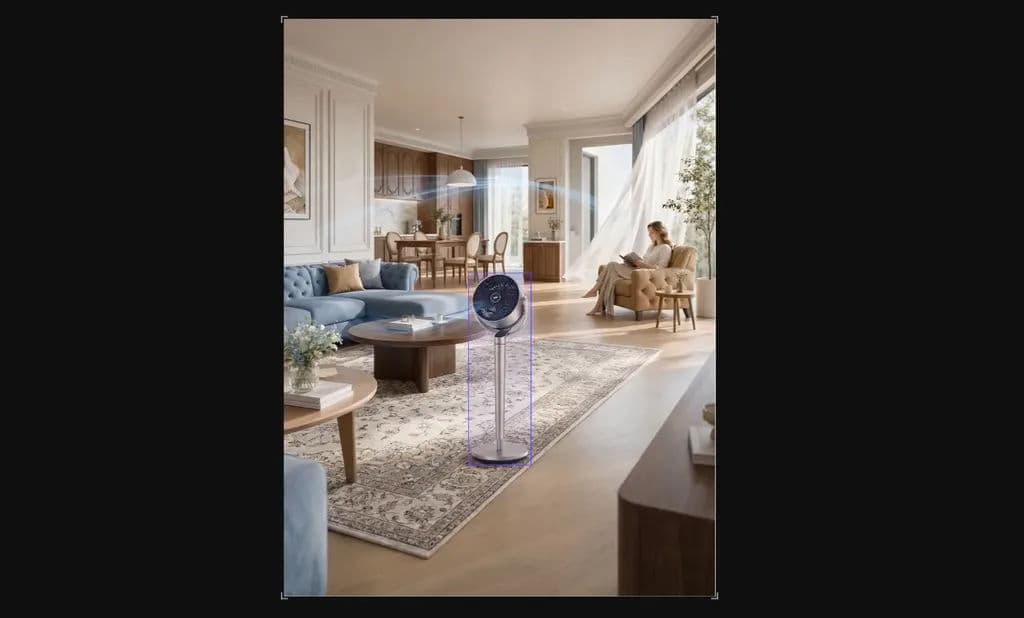
If something was not detected correctly, or if you want a custom region, click Add Layer above the layer panel and draw the area manually.
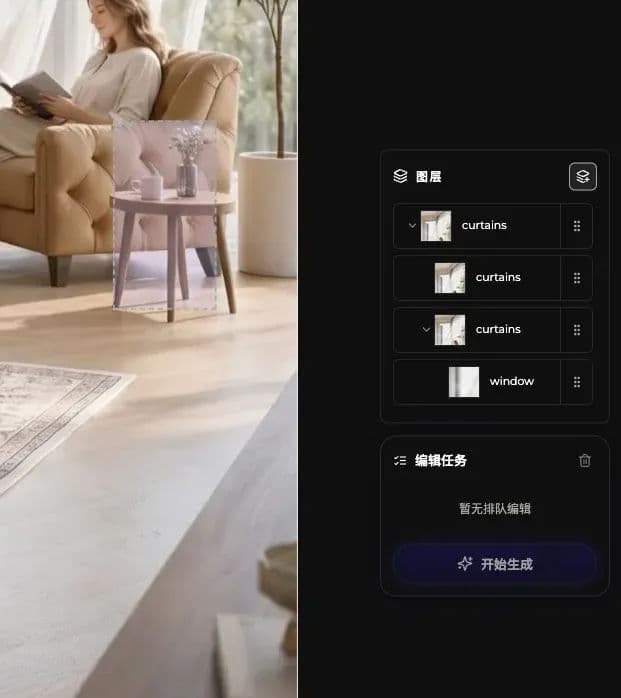
3. Add edit tasks
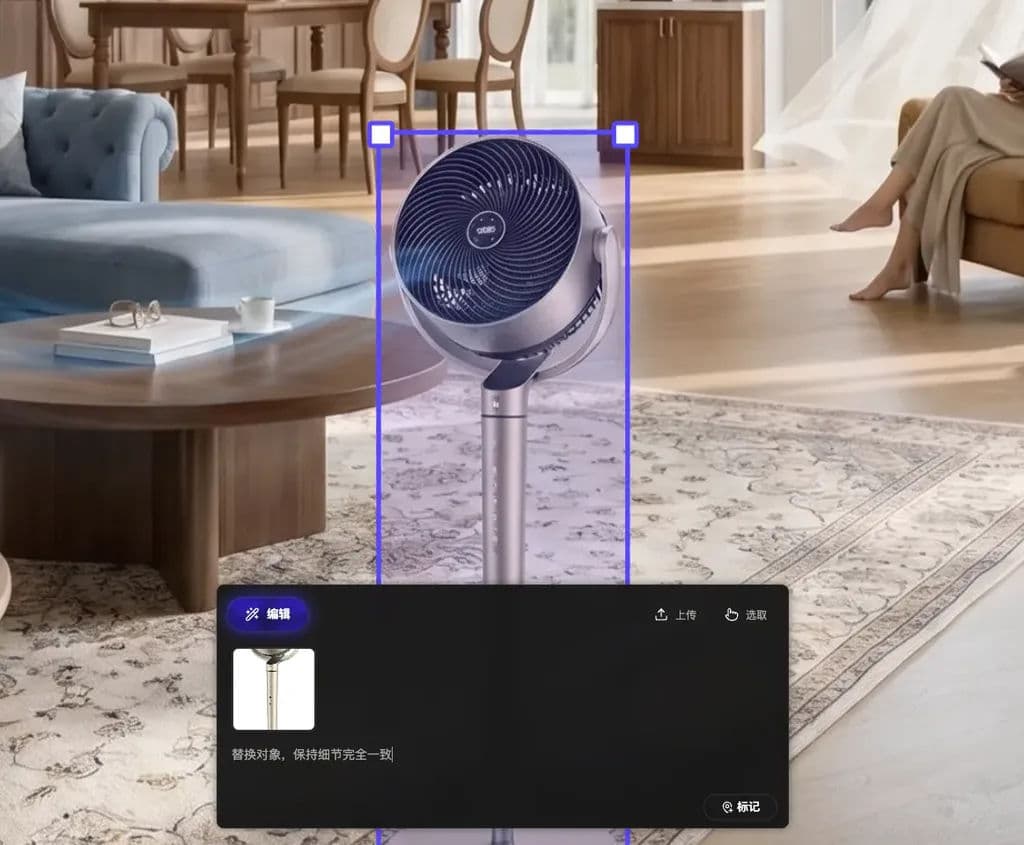
After selecting an object layer, enter an edit instruction in the workbench below and describe the change you want.
- When a reference image is needed, upload an image or select one from the canvas. The shortcut is Option/Alt.
After entering the instruction, click Mark to attach it to the selected layer.
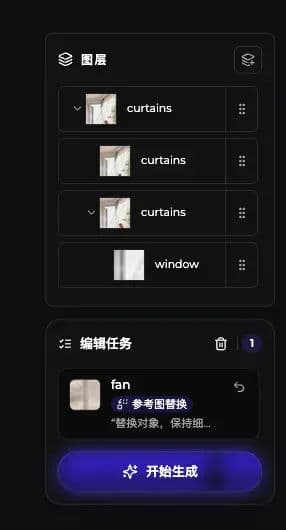
Marked edits appear in the edit task list on the right, where you can manage all edit tasks for the current image.
4. Generate the result
Click Start Generation. All tasks in the list are executed together and rendered into a new image.
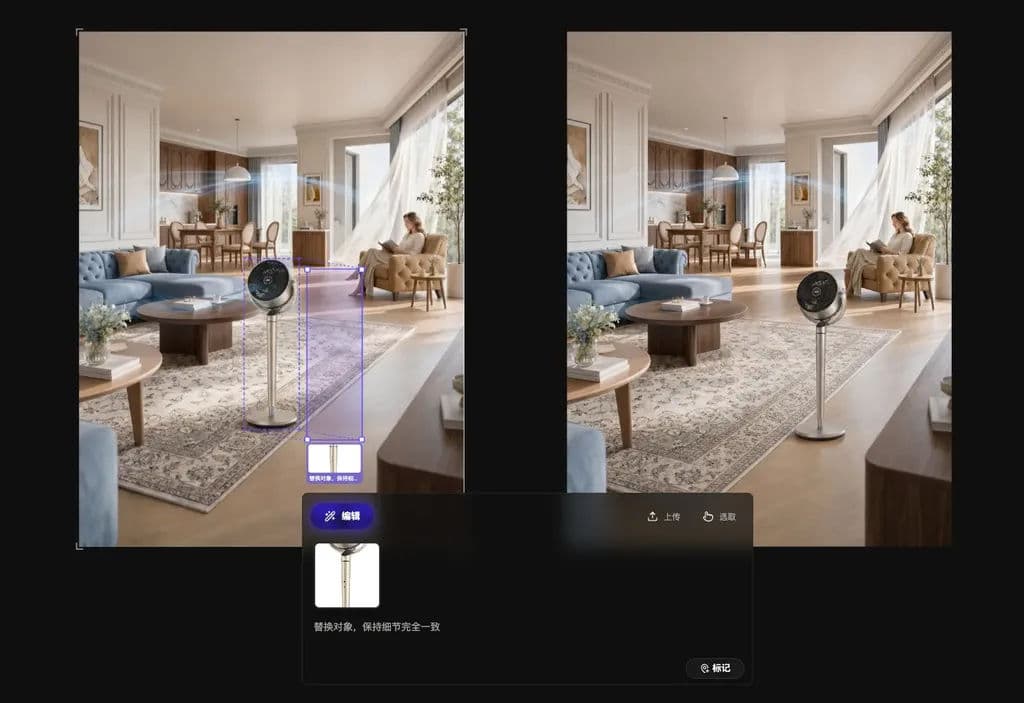
The generated result appears as a new image node on the canvas. The original image remains unchanged.
Dernière mise à jour :