AI Generative Fill

AI Generative Fill

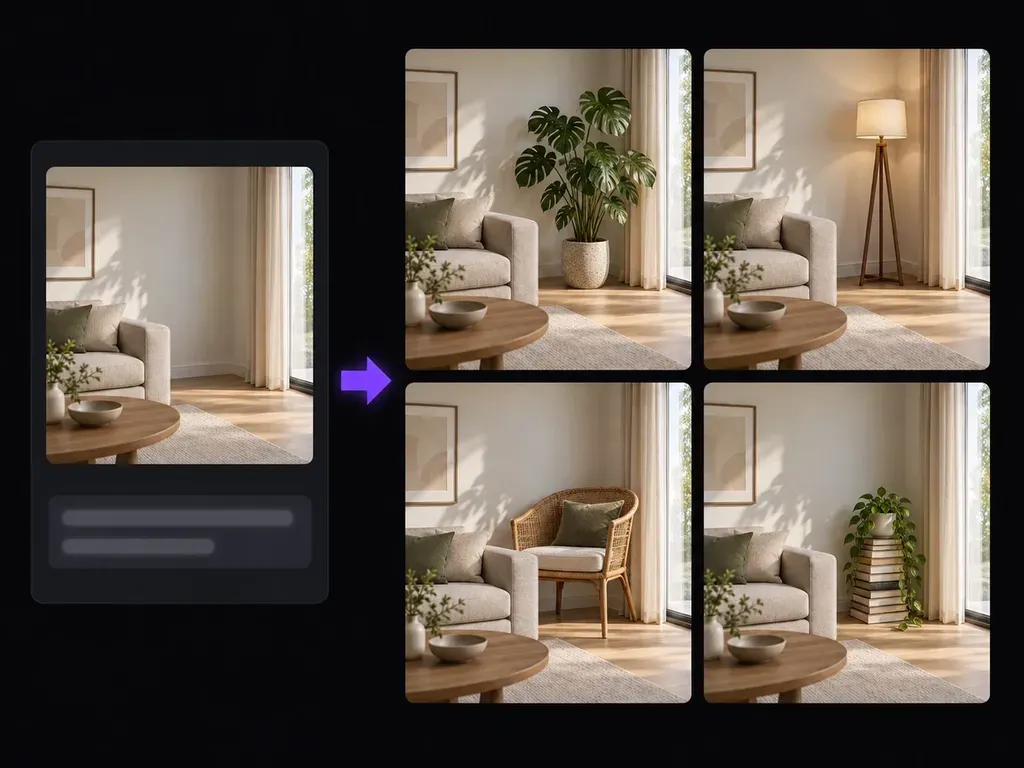
Try a plant on an empty table, a different cushion on a sofa or another material on a display surface. Upload your image and describe the change with its location. Virse generates a revised image so you can see how that detail affects the whole composition.

Input
Source image · RequiredEdit instruction · OptionalReference (1st = object to insert, 2nd = material/style) · OptionalFill mode · OptionalMust stay unchanged · OptionalNumber of variants · Optional
Output
1 full edited image by default; optionally 2 or 4. Add, replace or complete content using image-to-image generation, aiming to preserve surrounding subjects, text and composition.

Source image

Required

Source image (required)

Your image is uploaded on the canvas — this form carries the settings.

Reference (1st = object to insert, 2nd = material/style)Optional

Fill modeOptional

Number of variantsOptional

How AI Generative Fill Works

Generative fill uses AI to add or replace visual content within an existing image. In Virse, you describe the object and its location in words. The output is a revised image to review against the source.

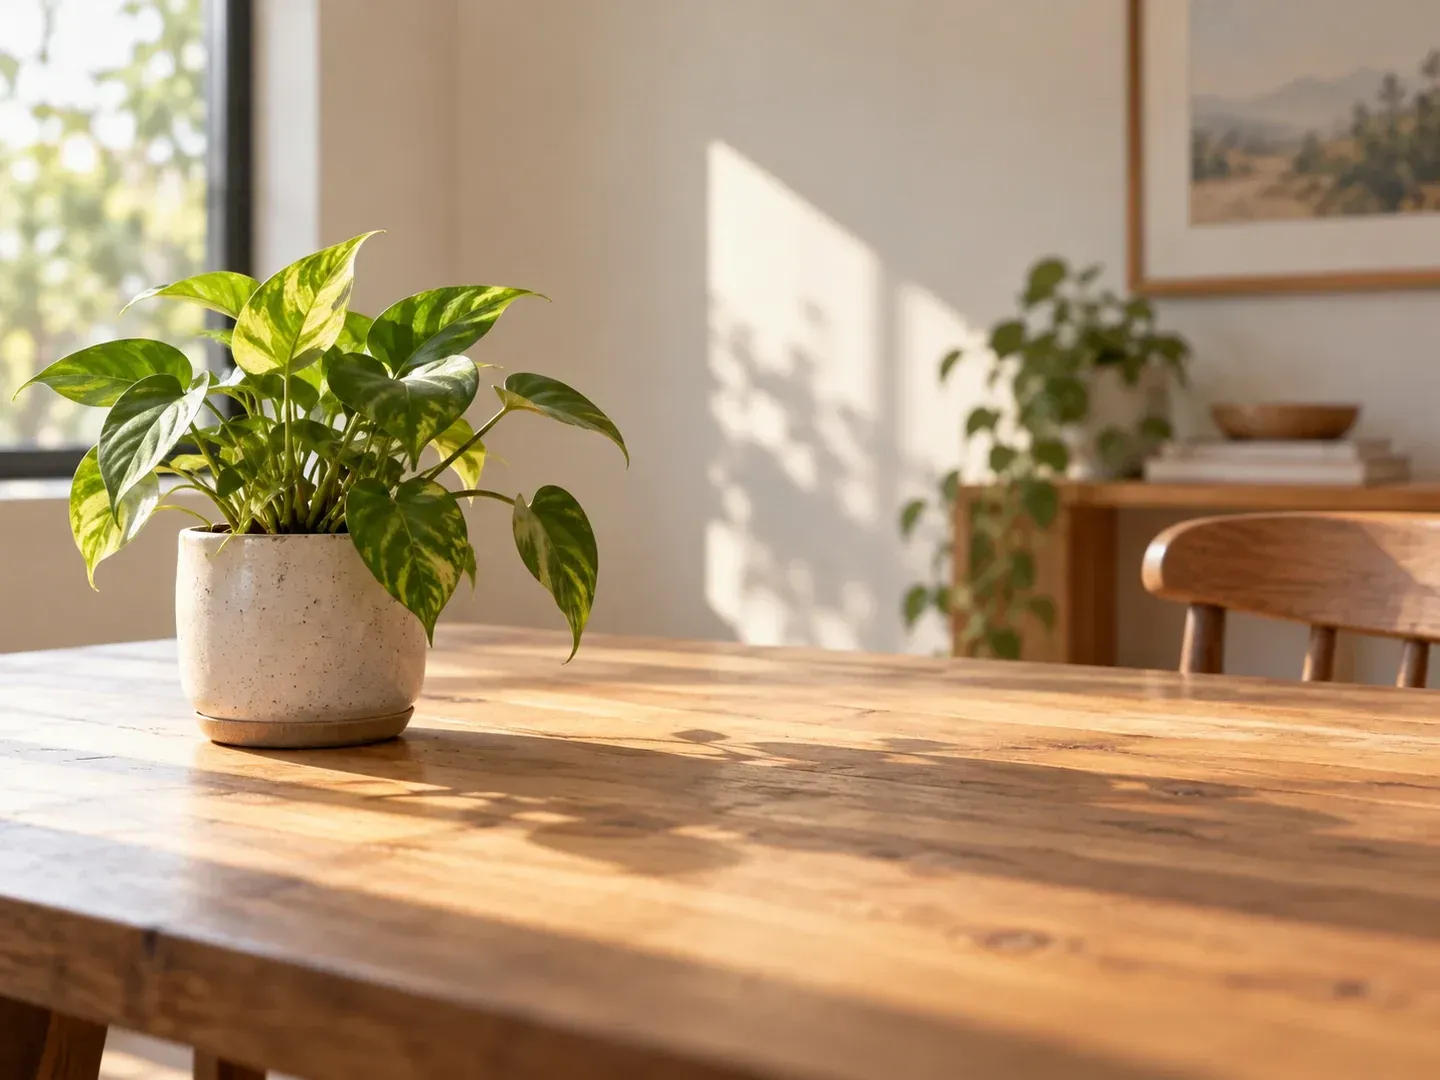
A small leafy plant placed on the left side of a sunlit wooden table
Illustrative concept: a small leafy plant placed on the left side of a sunlit wooden table

What You Can Explore in Virse

A useful edit starts with a clear location and one specific change. Describe the object, its size in the scene and the light it should share.

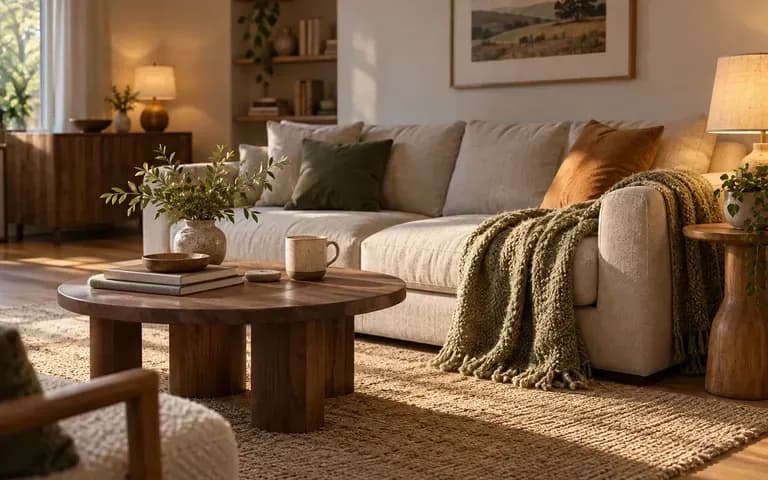
A cozy interior with warm lamps and a sofa

Locate the Change in Words

Identify the empty table on the left or the cushion nearest the window. Concrete positions make a brief clearer than asking to improve the whole room.
A perfume bottle on a marble counter

Explore Props Before Reshooting

Try a new display object or surface in a composition you already have. Compare its scale, shadow and color with the surrounding scene.
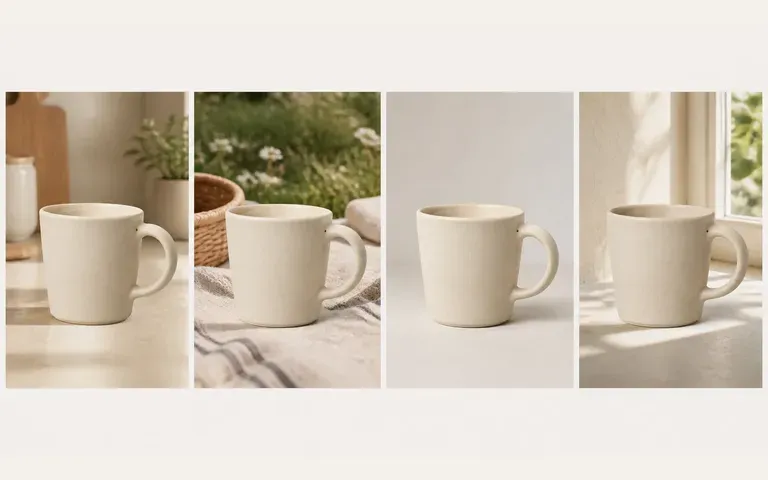
Mug concepts in kitchen outdoor studio and window-light settings

Keep the Source in View

Review edited versions alongside the original on your canvas. This helps you notice changes outside the area you intended to revise.

How to Get Started

  1. Upload the Source

    Choose an image with enough detail to judge the edited area. Decide on one addition or replacement to try first.

  2. Describe What Goes Where

    Name the object, location and appearance. For example, ask for a small terracotta plant pot on the empty shelf at the right.

  3. Generate the Revised Image

    Submit the brief and continue in Virse. Review how the new detail fits the perspective, lighting and surrounding objects.

  4. Compare the Whole Frame

    Check both the changed area and the rest of the image. Revise your description if the object is misplaced, too large or visually distracting.

Who Uses This Tool?

Use image edits to discuss visual changes while an idea is still easy to revise.
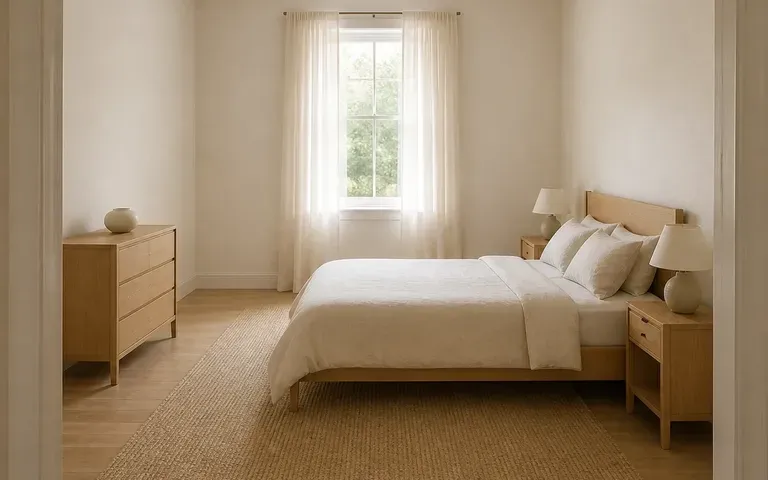
An illustrative room concept with a warm minimal palette

Interior Stylists

Explore a prop or textile in a room image. Use the result for discussion, then check real dimensions and materials separately.
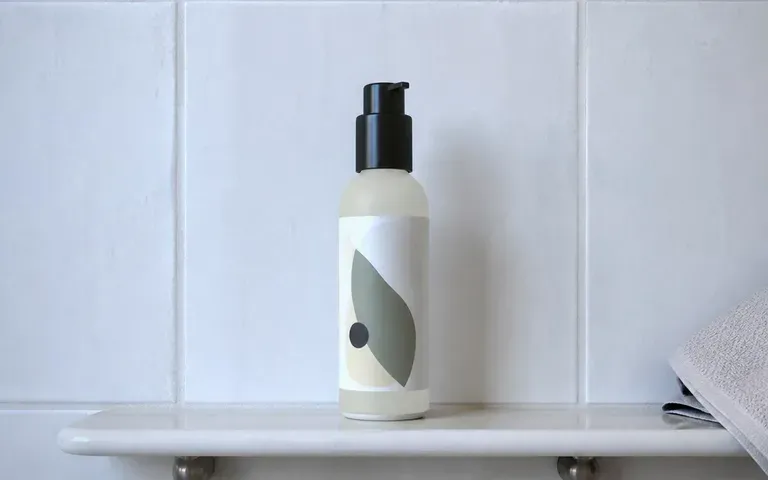
A skincare bottle on a bathroom shelf in morning light

Product Art Directors

Try a different surface or supporting prop around a product. Inspect the product itself for unintended changes.

A product surrounded by seasonal table props

Social Designers

Add a seasonal detail to a composition. Keep the change focused so it supports the subject instead of crowding the frame.
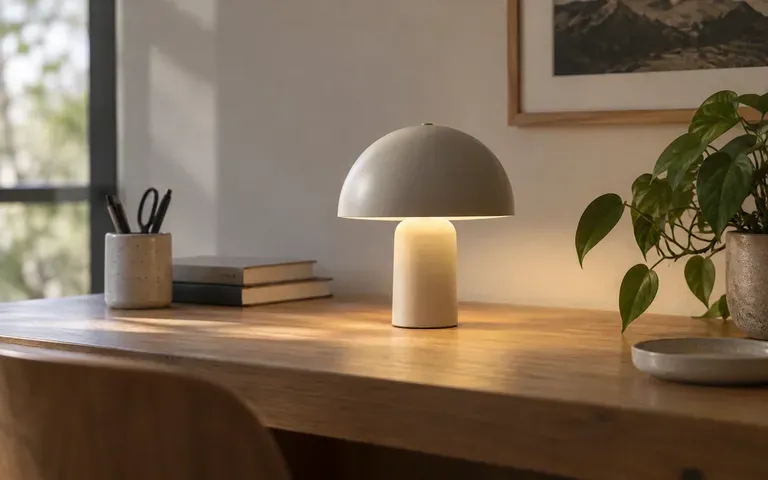
A compact dome table lamp on an uncluttered wooden desk, photographic concept

Presentation Makers

Develop an image concept that explains an idea more clearly. Treat the generated detail as an illustration of the proposal.
Ideas to Try

A ceramic mug on a sunlit patio table
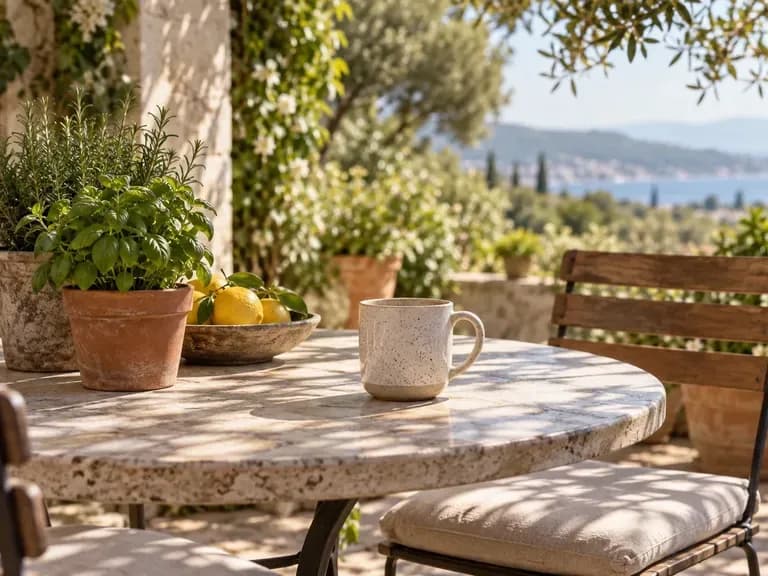
Daylight Still Lifes: Illustrative concept: a ceramic mug on a sunlit patio table
An illustrative room concept with layered textiles
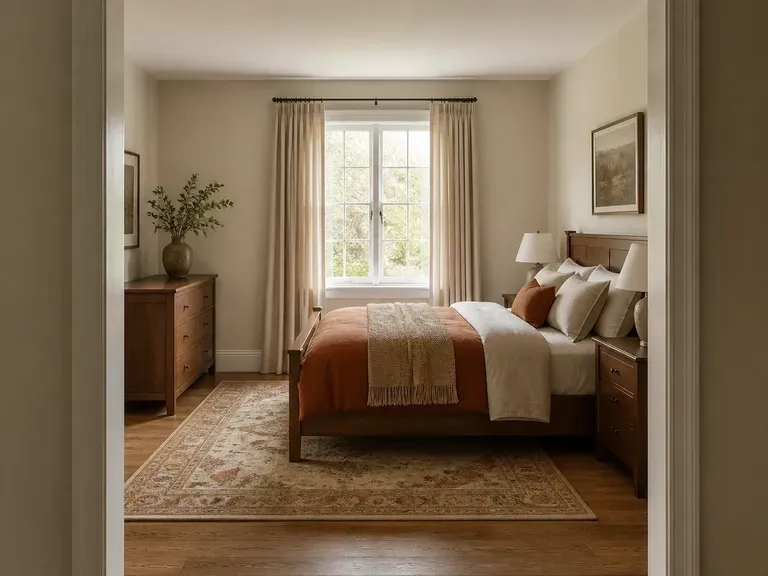
Layered Textiles: Illustrative concept: an illustrative room concept with layered textiles
A product still life on a marble surface
Studio Products: Illustrative concept: a product still life on a marble surface
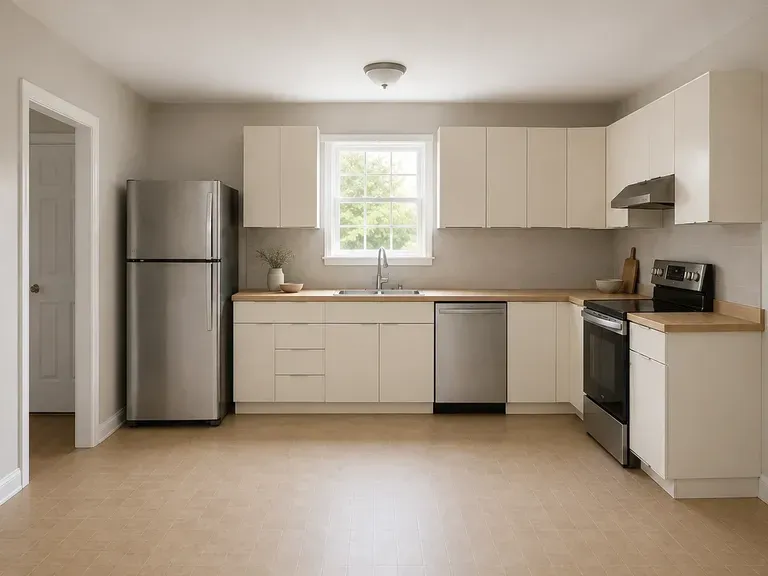
A modern kitchen interior concept with restrained finishes
Minimal Kitchens: Illustrative concept: a modern kitchen interior concept with restrained finishes
A product within a snowy winter scene
Winter Settings: Illustrative concept: a product within a snowy winter scene
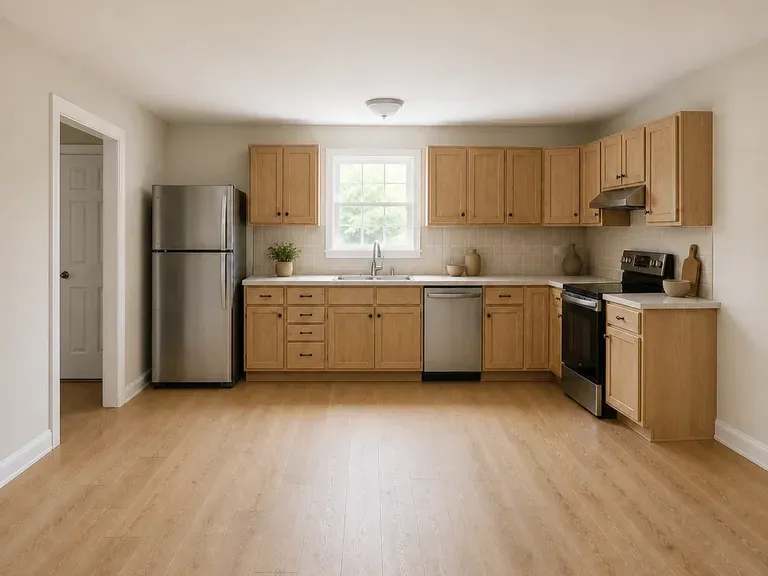
A kitchen concept with warm natural materials
Warm Materials: Illustrative concept: a kitchen concept with warm natural materials

Frequently Asked Questions

How do I tell the tool which area to change?
Describe its location in the image, such as the empty space on the left side of the table. Include the object to add or replace and the size it should appear.
Is there a brush for painting a selection?
The described workflow is driven by an image and text. Do not expect a manual brush, rectangular selection or editable mask in this tool page.
Can I replace an object instead of adding one?
Yes. Identify the existing object and describe the replacement. Review the result for scale, perspective and unwanted changes around the edited area.
Will the rest of the image stay exactly the same?
The aim is a focused change, but review the whole image. AI generation can alter surrounding details, so it is not a substitute for editing that requires exact pixel preservation.
Does it create a layered Photoshop file?
No. The result is an image. This workflow does not export a PSD with separate editable objects, masks or layers.
Should I use this to remove an unwanted object?
For a removal task, use the object remover workflow. This page focuses on adding or replacing details where you can describe what should appear.

Try One Clear Change

Choose an image and describe what belongs in the edited area. Compare the new detail with the source before deciding whether to keep the direction.