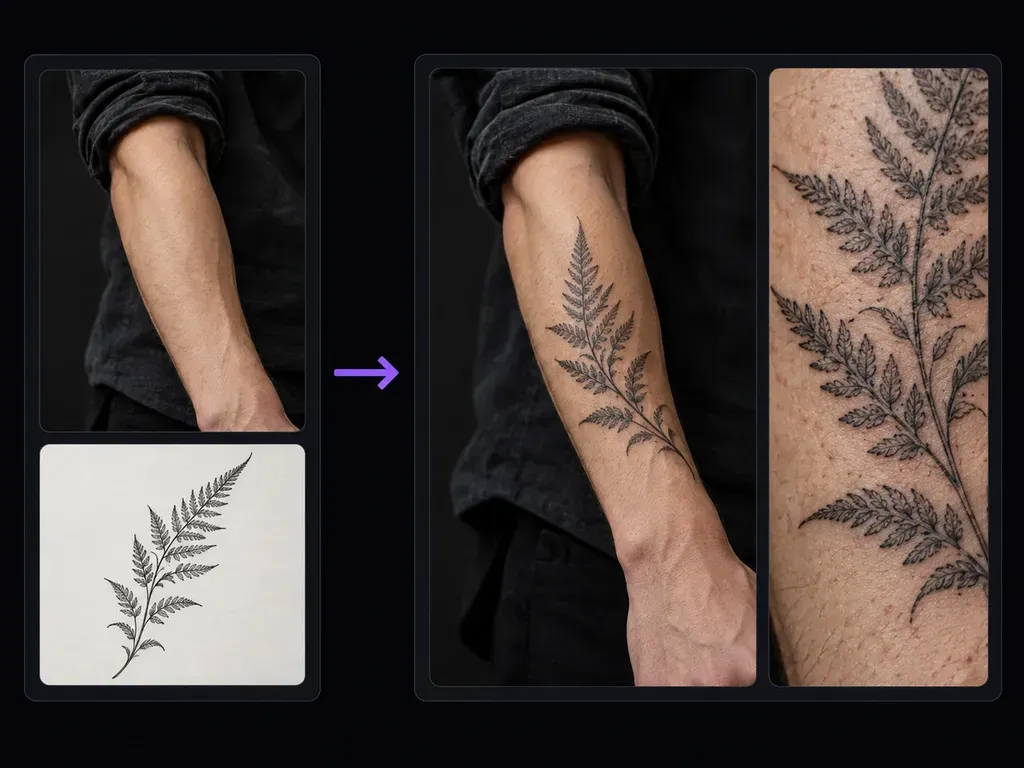
Sketch or prompt
Flash Design Card or Text Input
Upload your own black-and-white linework stencil card alongside your body photo, or describe the tattoo style and motif directly in plain English.
Upload a clear adult photo showing the target exposed skin area alongside a tattoo reference card or motif description, and specify placement and size. This workflow lets you add tattoo to photo uploads and inspect how ink wraps around your arm or shoulder.
A prompt-guided tattoo placement simulator (or AI tattoo photo editor) renders your uploaded flash sketch or described motif onto exposed skin while following limb shading and perspective. Judge three details when you add tattoo to photo uploads:
• Surface curvature: Bend botanical stems, geometric rings, or motifs naturally around a forearm, collarbone, or calf.
• Skin integration: Let natural skin grain, freckles, and window highlights show through black-ink or muted shading.
• Controlled scale: Keep a compact forearm motif confined to the requested spot without bleeding over shirt cuffs or watches.
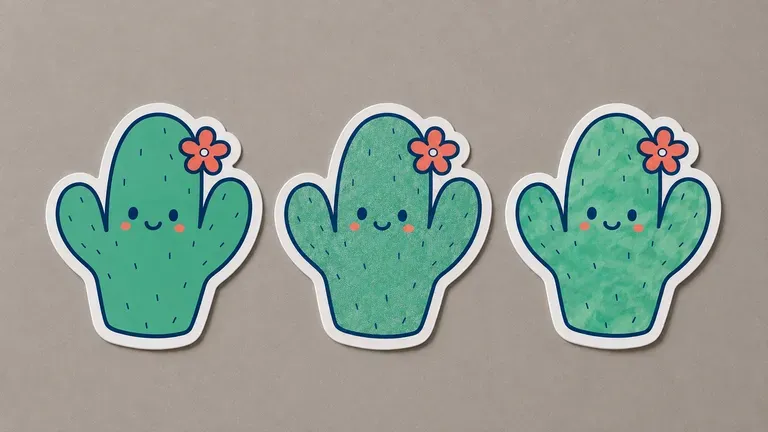
Why tattoo clients, flash artists, and wardrobe teams use an AI tattoo photo editor instead of pasting flat PNG decals.
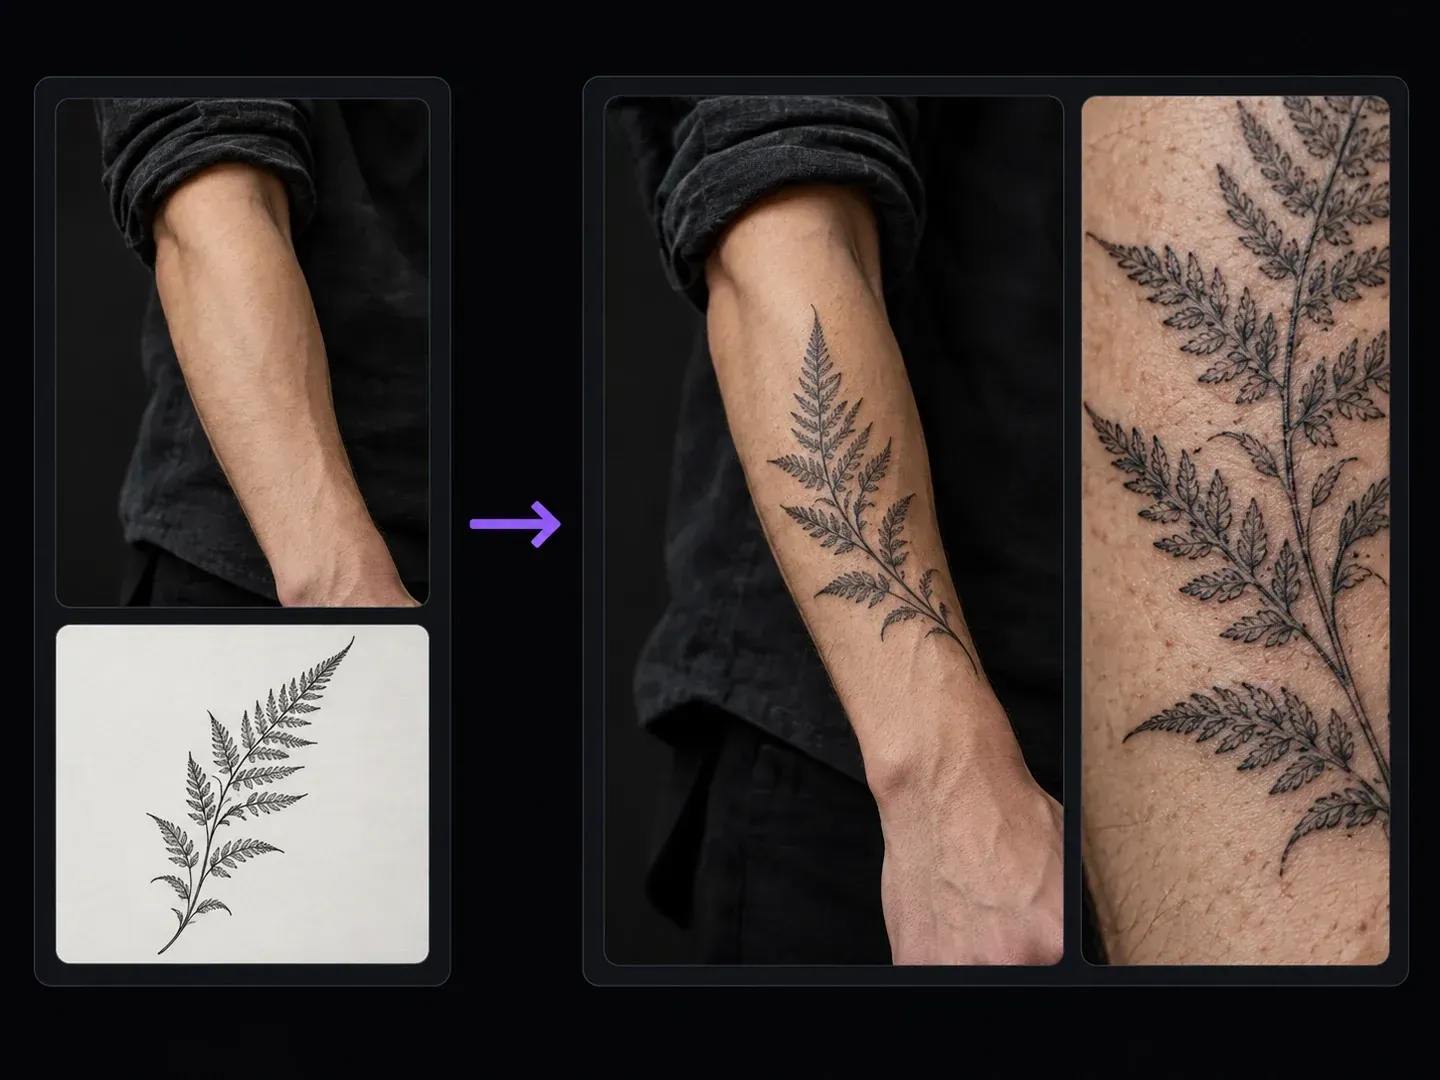
Upload your own black-and-white linework stencil card alongside your body photo, or describe the tattoo style and motif directly in plain English.
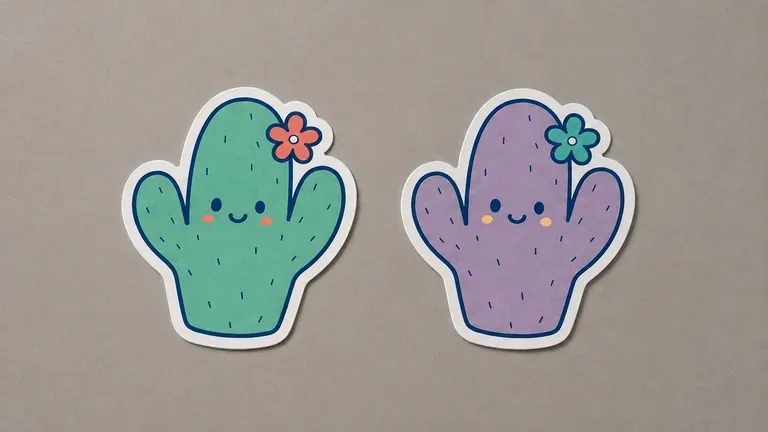
Specify the exact anatomical zone and footprint, such as a small inner-wrist piece or a medium outer-forearm placement, to prevent unwanted sleeve expansion.
Compare a compact 2-inch wrist emblem against a 4-inch inner-forearm placement on one Virse board before visiting a tattoo studio.
Why surface-aware prompts to preview tattoo on skin photo files beat manual opacity-slider decal apps.
Flat Sticker Overlay Apps
Virse Add Tattoo To Photo Tool
Start by attaching a well-focused limb or shoulder image with bare skin when you want to put tattoo on photo online.
Upload a clean tattoo design card or write a clear description of the motif, line weight, and ink shading style.
Define the target anatomical spot and exact inch dimensions while instructing the model not to cross sleeve cuffs or alter limb thickness.
Run the placement preview and check limb curvature wrapping, sleeve cuff boundaries, and skin pore detail against your unmarked photo.
Defining the anatomical spot and inch footprint stops a compact stencil from spreading into a sleeve when you add tattoo to photo files. Try these prompts:
• Forearm linework: "Place the uploaded fern linework tattoo onto the center of the inner forearm at a 4-inch length; wrap stems naturally and keep cuffs untouched."
• Inner-wrist motif: "Add a small fine-line compass rose tattoo centered two inches below the inner wrist crease; match warm daylight skin shading."
• Shoulder botanical: "Render a medium black-and-gray olive branch tattoo curving along the outer upper shoulder; preserve skin pores and strap edges."
Clients, flash artists, continuity supervisors, and concept illustrators rely on a virtual tattoo try on photo workflow to test body ink placement before needle meets skin.
Test whether a motif looks better on the inner forearm, outer wrist, or ankle using a photo of your own limb before booking a studio consultation.
Show clients how an original flat flash sheet translates onto curved skin under natural light during pre-appointment design reviews.
Preview temporary character tattoos for film, theater, or lookbook casting on talent reference photos without applying physical transfer paper first.
Apply fine-line or shaded body ink to character concept studies while keeping skin pores and studio key light intact.
Six static skin preview studies illustrating how fine-line, botanical, geometric, and shaded motifs conform to different body placements.
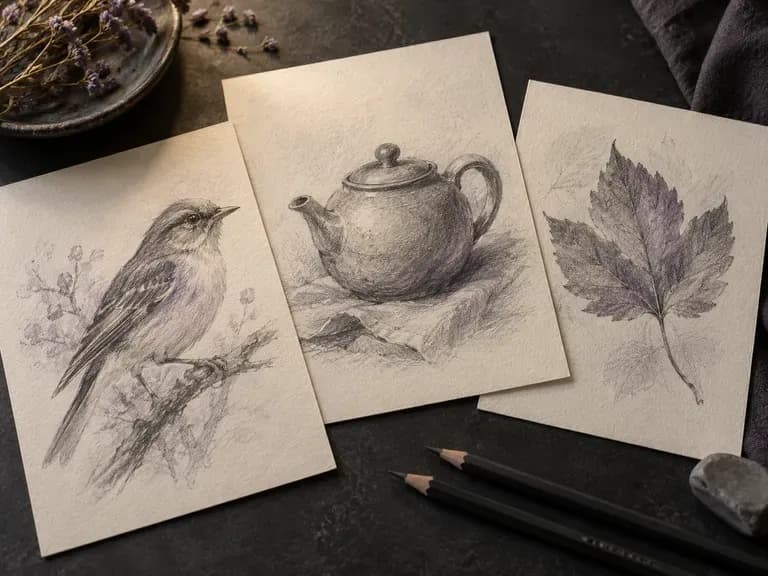
Convert botanical photos or emblem ideas into black-and-white stencil drawings for tattoo flash cards.

Reposition watch bands, bracelets, or rolled shirt sleeves on an arm photo through text notes.
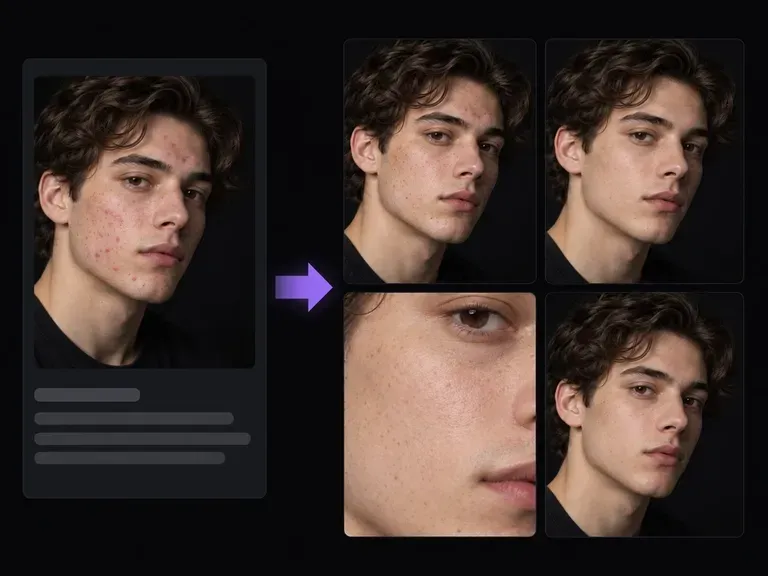
Clean up insect bites, razor nicks, or harsh specular hotspots on exposed skin before testing a stencil.
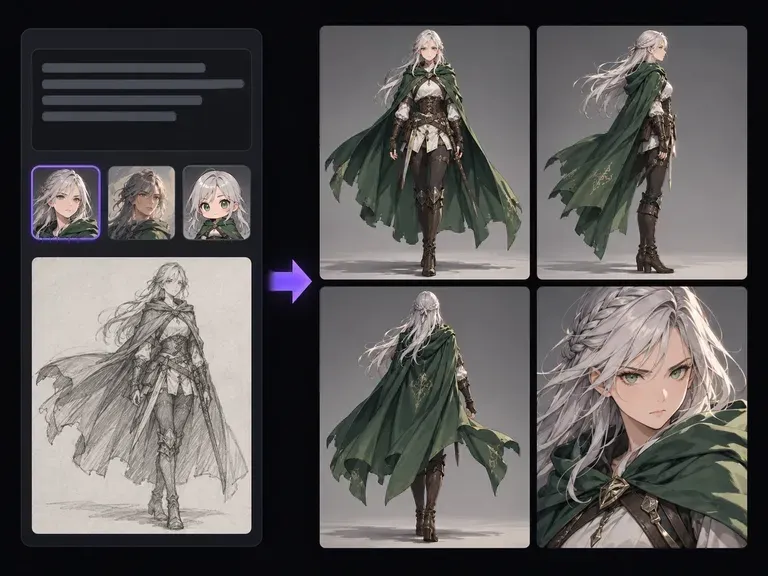
Illustrate full-body RPG heroes and cyberpunk protagonists with distinctive inked sleeves.
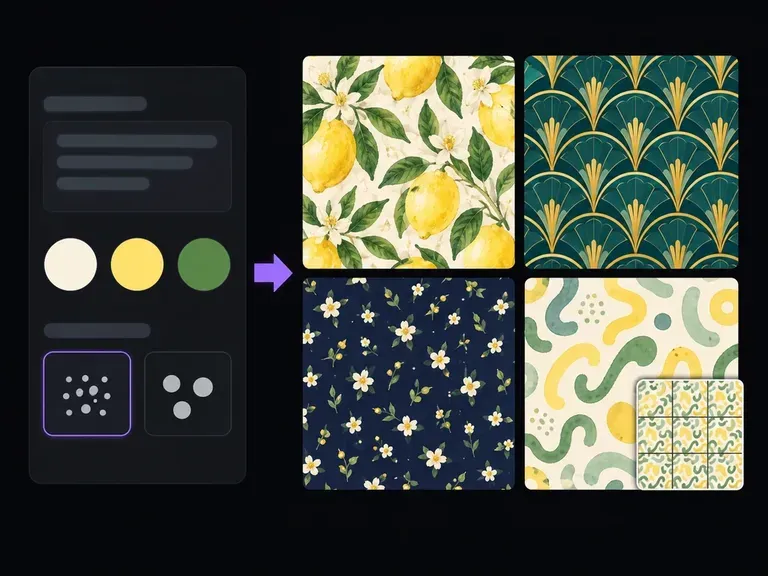
Design geometric bands, ornamental rosettes, and botanical motifs on the Virse workspace.
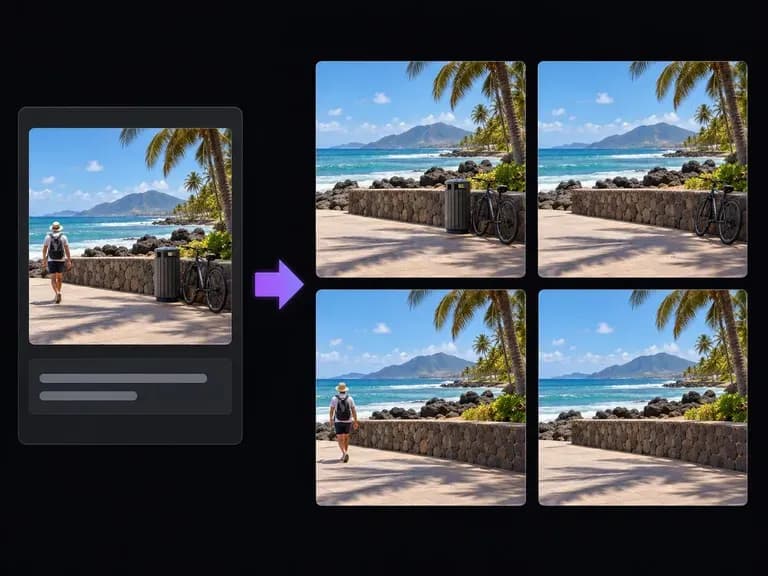
Delete wristbands, bandages, or background clutter from a limb photo before tattoo testing.

Feed an uncovered forearm or shoulder photo together with a high-contrast flash drawing at up to 4K.
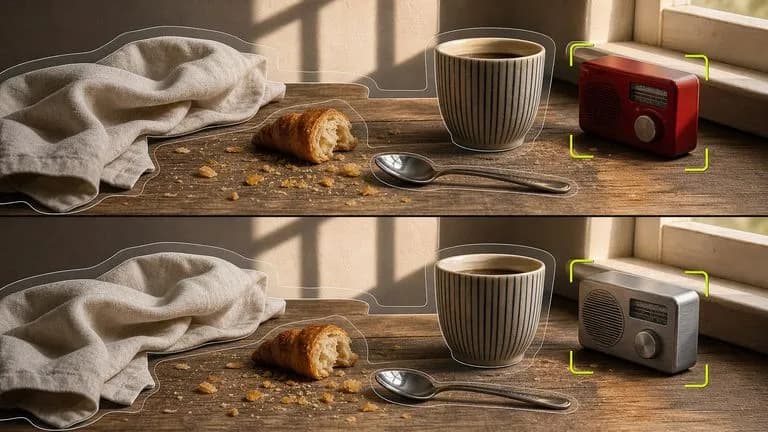
Wrap a stencil motif around a forearm or shoulder while locking shirt cuffs, posture, and skin lighting.
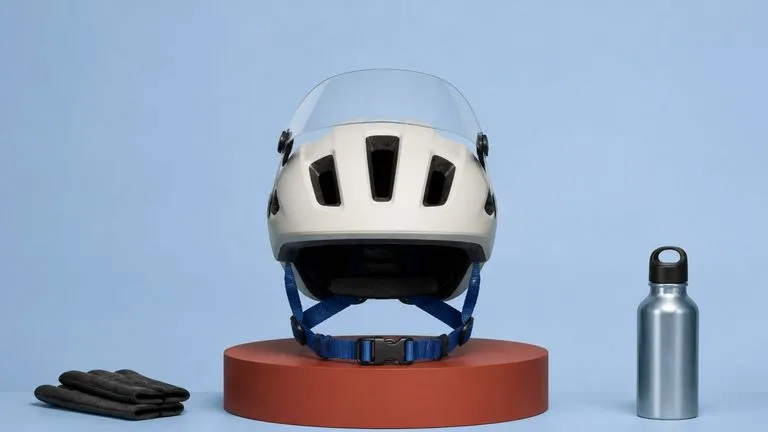
Synthesize fine single-needle black ink, dotwork shading, and visible skin pores across curved limbs.

Honor strict scale and location instructions so a 3-inch wrist motif stays within its target spot.

Preserve sharp single-needle stippling, natural arm hair, and cuff stitching across scale comparisons.
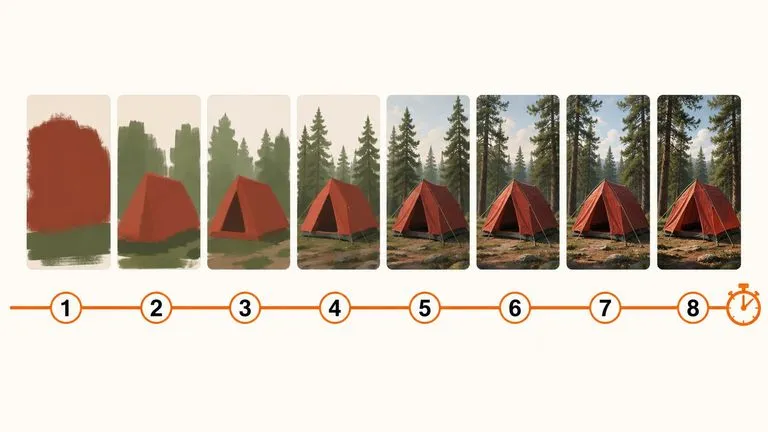
Try out inner-wrist, collarbone, and ankle coordinates in seconds before committing to a 4K render.
Bring a clear photo of your forearm, shoulder, or wrist to the Virse canvas, pair it with your tattoo sketch or prompt, and compare placement options side by side.