AI Blemish Remover

AI Blemish Remover

A portrait touch-up can be small and specific. Add a clear photo and describe the temporary spots you want softened, along with details you want to keep, such as freckles. Virse creates a retouched image for you to compare with the original at a useful viewing size.

Input
Portrait photo · RequiredBlemish scope · OptionalNatural features to keep · OptionalSkin reference · OptionalExtra notes · Optional
Output
1 retouched portrait with the blemishes cleared, same composition and aspect ratio as the source, pores and real skin texture kept, with an itemised list of what was removed and what was preserved

Portrait photo

Required

Portrait photo (required)

Your image is uploaded on the canvas — this form carries the settings.

Skin referenceOptional
Blemish scopeOptional
Natural features to keepOptional

How AI Blemish Remover Works

An AI blemish remover creates a retouched portrait from a photo and your direction. Use it to explore a lighter treatment of temporary skin marks. Compare the result with the original to check texture and facial details.

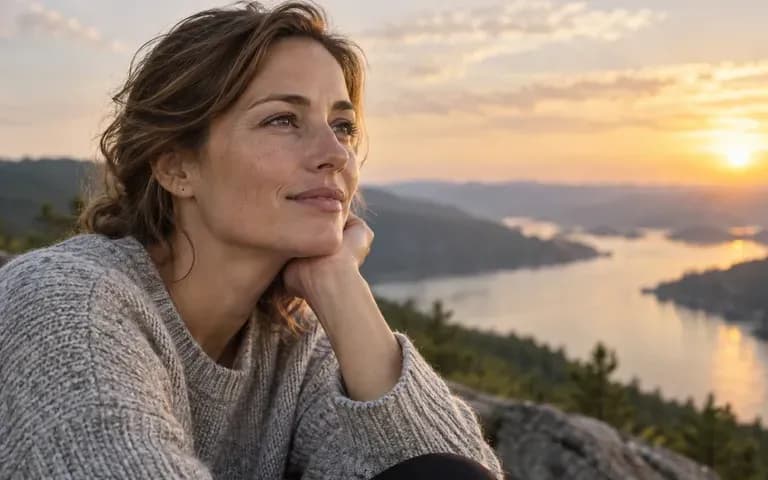
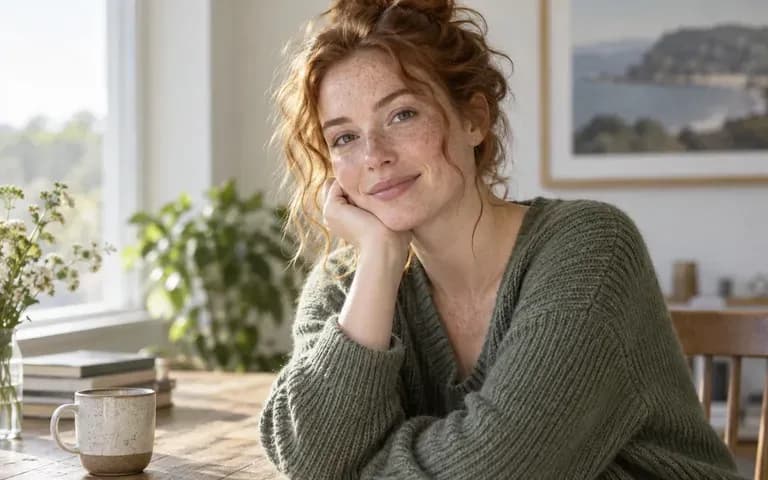
A naturally lit adult portrait with visible skin texture and freckles
Illustrative concept: a naturally lit adult portrait with visible skin texture and freckles

What You Can Explore in Virse

Keep the request focused on the change you want. Natural texture and familiar details matter more than removing every visible mark.

An adult portrait with visible freckles in soft daylight

Explain What to Keep

Mention freckles, moles or other details that should remain. Clear direction helps define the intended touch-up, though you should still compare the result with the source.
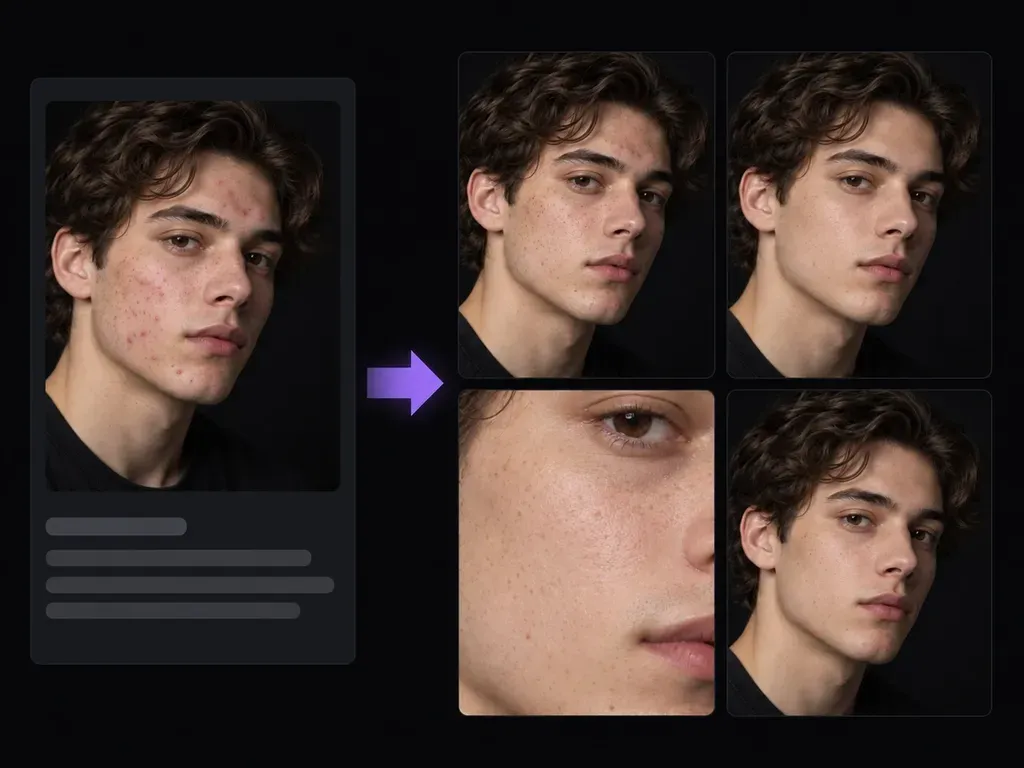
A close adult portrait showing natural skin texture

Ask for a Restrained Edit

Describe a light treatment instead of a completely smooth face. Review cheeks, forehead and jaw at a useful size for signs of artificial-looking texture.
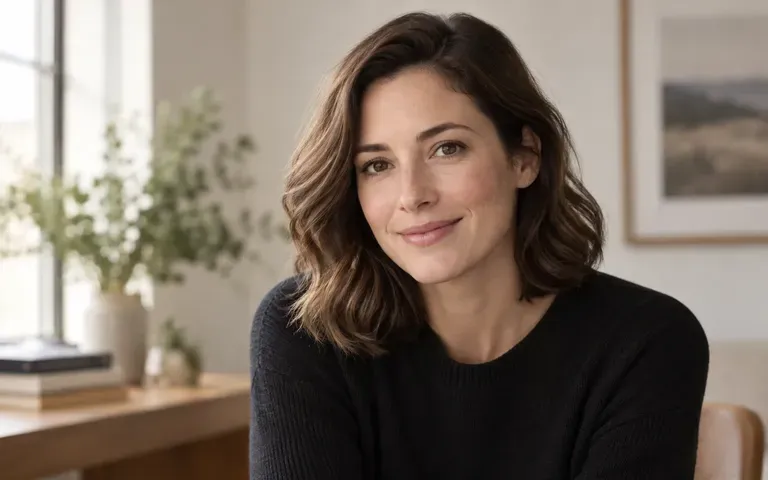
A calm adult headshot with soft side light

Compare Before Choosing

Place the original and edited photo together on your canvas. Check the person's expression and recognizable features as well as the areas you wanted retouched.

How to Get Started

  1. Choose a Clear Portrait

    Use an image where the face is well lit and not heavily compressed. Only upload a photo you have permission to edit.

  2. Describe the Touch-Up

    Name the temporary marks to soften and details to preserve. Keep the request focused on skin rather than changing the person's features.

  3. Generate the Retouched Image

    Continue in the Virse workspace and review the result beside the source. Start with the overall appearance, then inspect the edited areas.

  4. Check Texture and Identity

    Look at freckles, facial contours and expression. Revise the request if the result feels too smooth or changes details you wanted to keep.

Who Uses This Tool?

Use a light portrait edit when it suits the person's preferences and the purpose of the image.
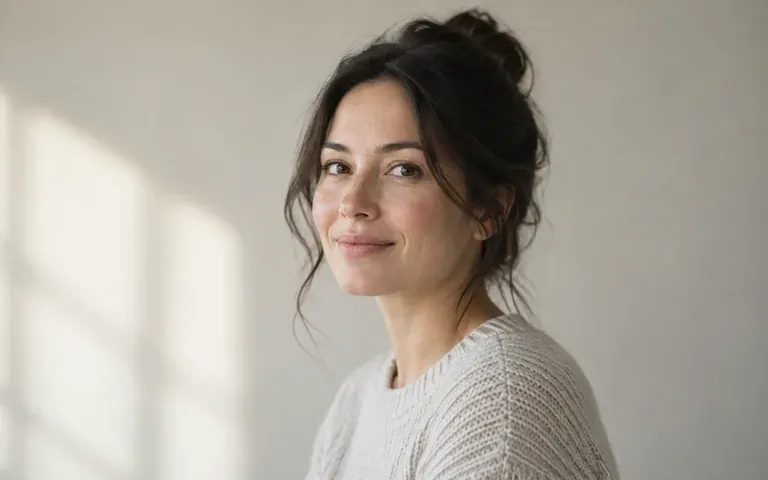
An adult portrait against a neutral wall in soft daylight

People Updating a Profile Photo

Explore a subtle touch-up while keeping the image recognizable. Choose a result that still feels like the person in the source photo.
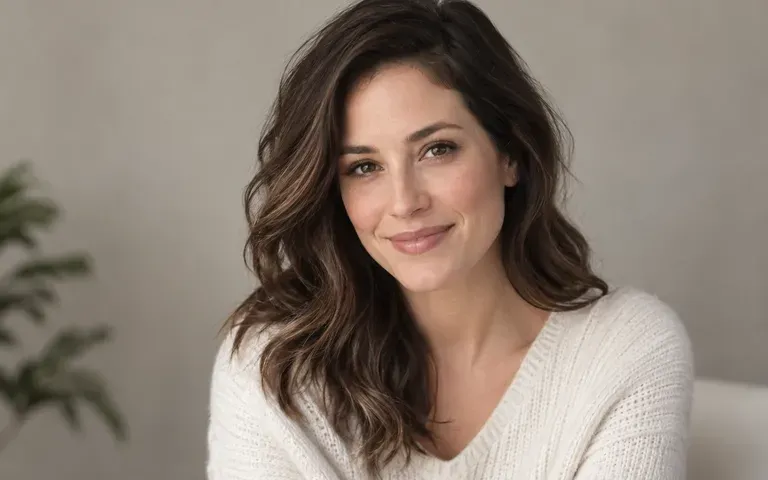
A softly lit adult studio headshot

Portrait Photographers

Review a retouching direction before more detailed work. Keep the source available and check the result at the intended output size.
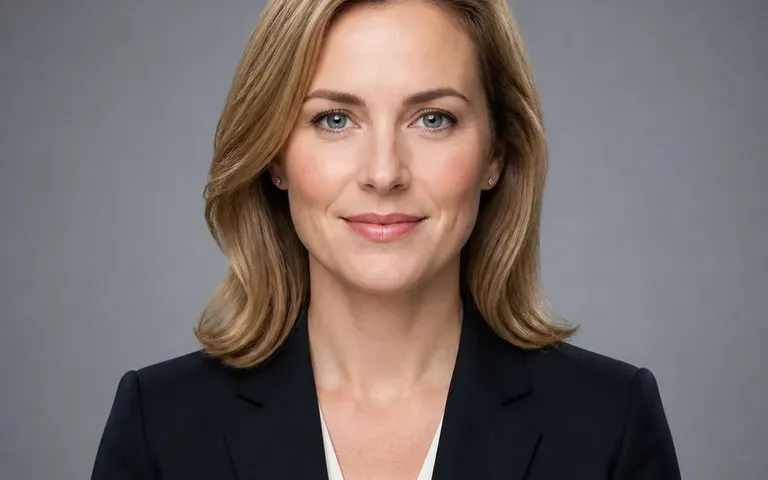
An illustrative adult headshot with neutral backdrop and even lighting

Creators Preparing a Personal Post

Soften a temporary spot without asking to redesign the face. Inspect texture before adding the image to a finished post.

An illustrative adult headshot against a softly blurred office

Small Teams Selecting Headshots

Discuss the amount of retouching each person wants. Review each image individually rather than assuming one treatment suits every face.
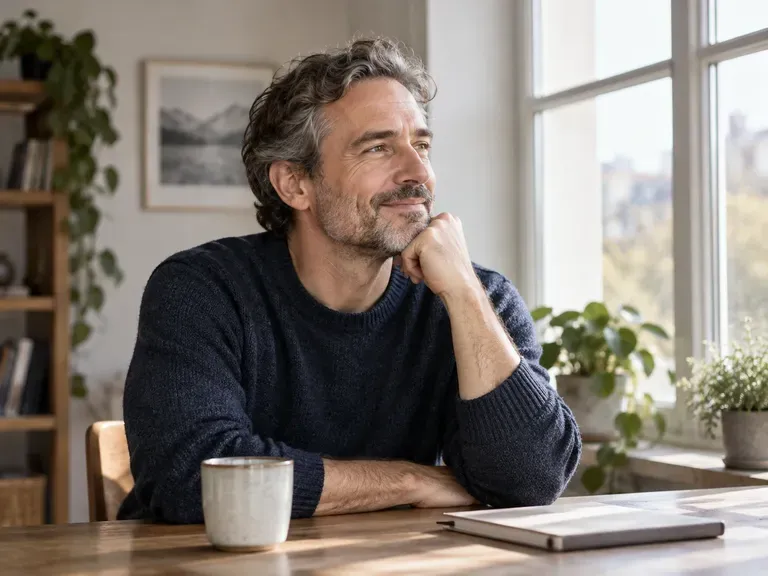
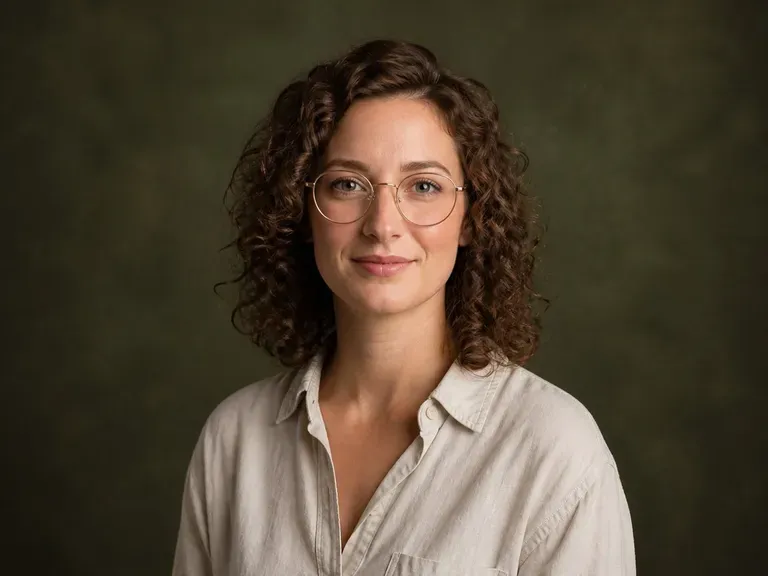
Ideas to Try

An adult portrait near a bright window
Daylight Portraits: Soft light with visible texture
An illustrative adult portrait with textured backdrop and directional light
Relaxed Portraits: Illustrative concept: an illustrative adult portrait with textured backdrop and directional light
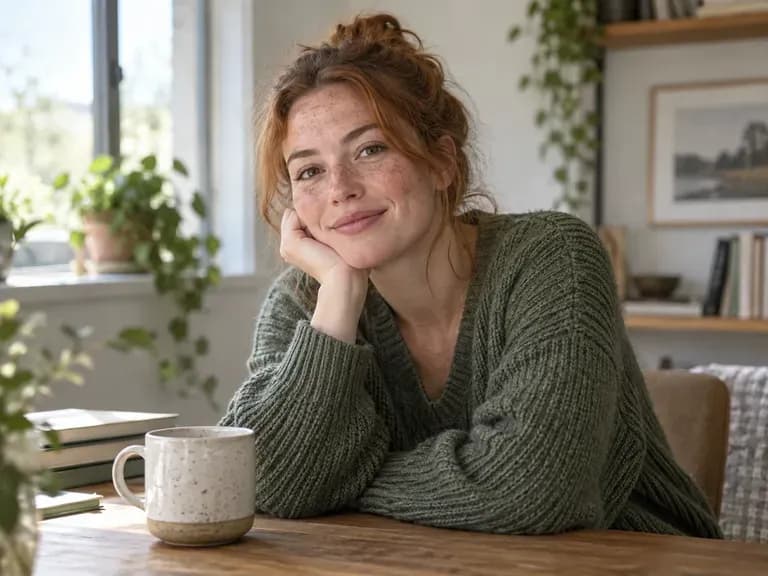
An adult portrait with natural freckles
Freckled Faces: Details that remain part of the portrait
An adult woman seated in a living room in natural light
Indoor Portraits: Illustrative concept: an adult woman seated in a living room in natural light
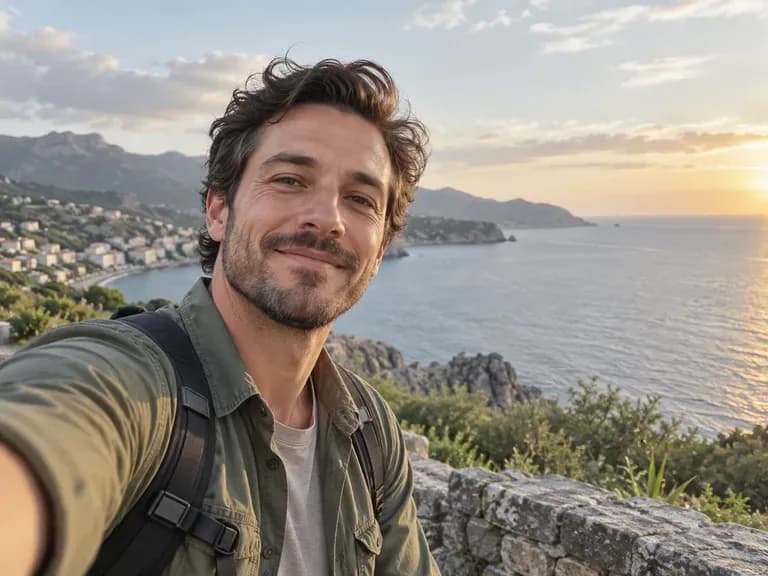
A relaxed adult selfie-style portrait outdoors
Casual Selfies: A natural everyday appearance
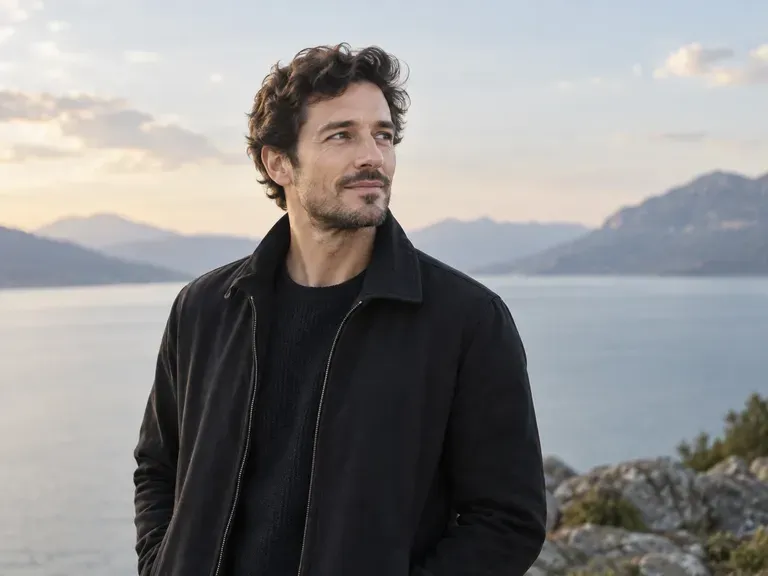
An adult portrait wearing a simple dark jacket
Editorial Portraits: Skin texture within a styled image

Frequently Asked Questions

Can I ask to keep freckles?
Yes. State that in your instruction, and compare the output with the original. Written direction is useful, but it does not guarantee every individual mark will remain unchanged.
What kind of photo works best?
Choose a clear, well-lit portrait with visible facial detail. Heavy compression, blur or very deep shadows make it harder to judge the retouching.
Will it change the shape of the face?
This page is intended for skin touch-ups rather than reshaping. Still inspect the result for unintended changes to contours, eyes, expression or other recognizable features.
Is there a brush or strength slider?
This workflow uses the photo and your description. It does not offer manual point retouching, a brush or a dedicated strength slider on the tool page.
Can it diagnose a skin condition?
No. This is a photo editing workflow. It does not assess skin health or provide treatment or skincare advice.
How do I avoid an overly smooth result?
Ask for a light edit and natural texture. Review the output at the size you plan to use, then choose the original if the retouching does not look right.

Keep the Portrait Looking Familiar

Add a clear photo and explain the small change you want. Compare texture, expression and identifying details before choosing the retouched version.