
AI Object Remover

AI Object Remover

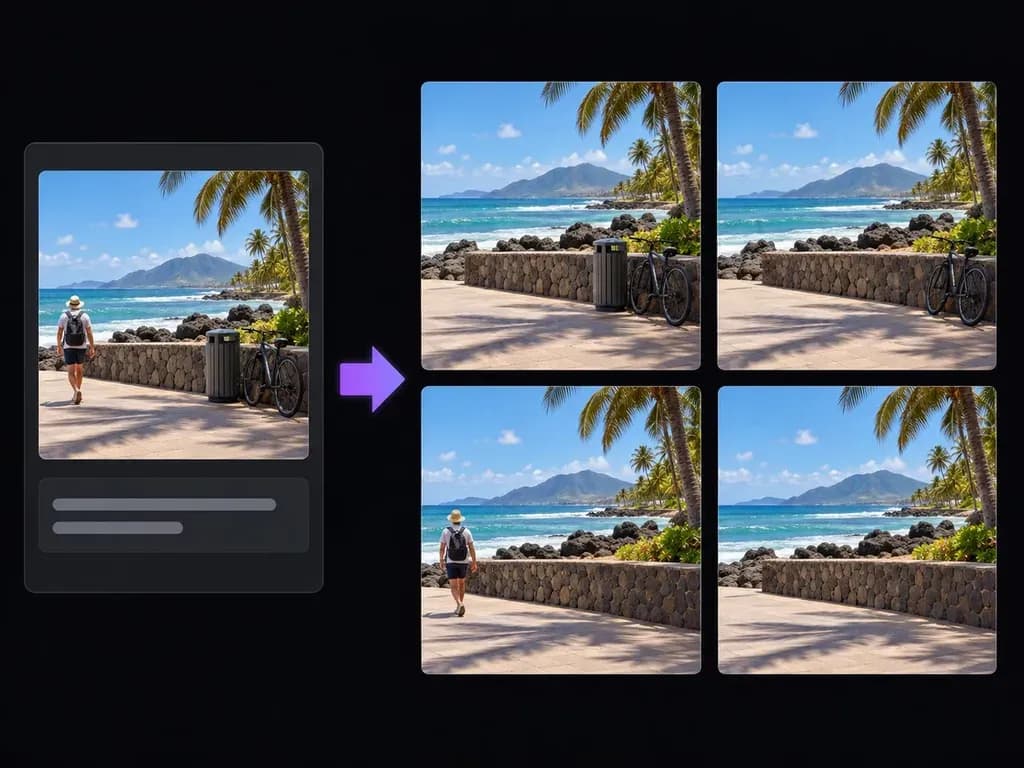
A stray chair, a bin beside a building or a prop at the edge of a product shot can pull attention from the subject. Upload your photo and describe the object you want removed. Virse generates a revised image with the space filled in from the surrounding scene.

Input
Photo · RequiredWhat to remove · OptionalBackground reference · OptionalOutput mode · OptionalShadows & reflections · OptionalWhat to keep & how to fill · Optional
Output
1 photo with the named objects erased and the background filled in; optionally one result per object plus a remove-all version, or a remove-all with 2 alternative fills

Photo

Required

Photo (required)

Your image is uploaded on the canvas — this form carries the settings.

Background referenceOptional

Output modeOptional
Shadows & reflectionsOptional

How AI Object Remover Works

An AI object remover takes an image and a description of what should disappear, then generates content for that area. Use Virse to explore a cleaner composition and check the filled region against the surrounding scene.

A clean outdoor cafe table against a simple wall with no clutter
Illustrative concept: a clean outdoor cafe table against a simple wall with no clutter

What You Can Explore in Virse

Name the object and its position. A focused instruction makes it easier to review whether the right detail changed.

A modest house facade with a warm neutral palette

Describe the Distraction

Say which object to remove and where it sits, such as the bin beside the door. Distinguish it from similar objects you want to keep in the photo.
A ceramic mug on a sunlit patio table

Rebuild the Surrounding Scene

The removed region is filled with generated content. Review nearby textures, shadows and straight lines to decide whether the continuation looks believable.

A perfume bottle on a marble counter

Compare the Edit with the Original

Keep both versions on your canvas. Check that the subject and nearby objects still look right before using the cleaned-up image.

How to Get Started

  1. Choose a Clear Photo

    Upload the image and identify the distracting object. An object separated from the main subject is usually easier to assess than an overlapping one.

  2. Name What Should Disappear

    Describe the object, its location and any associated shadow that matters. Start with one clear removal task.

  3. Generate the Cleaned Image

    Submit the instruction and continue in the workspace. Check that the intended object has gone and that the background makes visual sense.

  4. Inspect Nearby Details

    Look for broken lines, repeated textures or unintended changes to the subject. Refine the description if the result needs another attempt.

Who Uses This Tool?

Object removal can simplify creative photos, but the filled area still needs a close look.
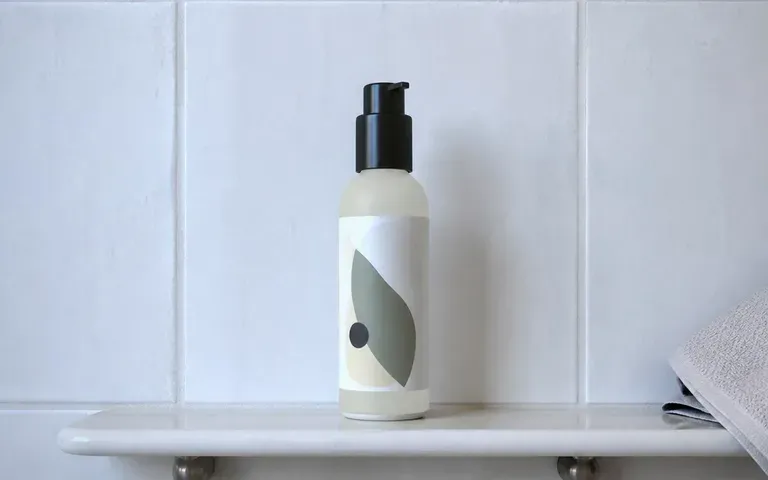
A skincare bottle on a bathroom shelf in morning light

Product Sellers

Remove a stray prop from a product composition. Verify the item's shape, markings and color against the original before using it.

An imagined neon street with rain reflections

Travel Creators

Explore a less cluttered version of a scene. Present the image as edited when that context matters to your audience.

An illustrative room concept with an airy palette and daylight

Interior Photographers

Clean up a minor distraction in a room concept. Avoid presenting generated structural details as a record of the property.

A product still life on a marble surface

Designers Preparing Compositions

Simplify a source image before placing it in a layout. Check the removal at the final viewing size, where texture errors may be easier to spot.
Ideas to Try

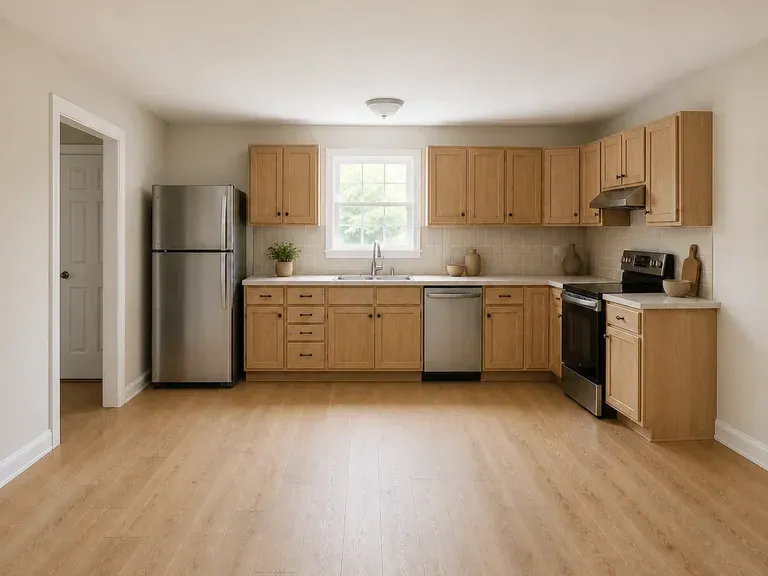
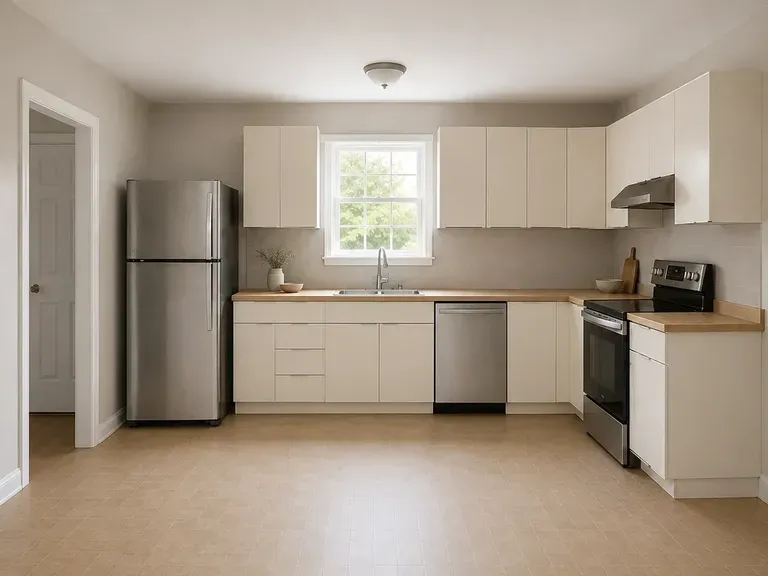
A modern kitchen interior concept with restrained finishes
Minimal Kitchens: Illustrative concept: a modern kitchen interior concept with restrained finishes
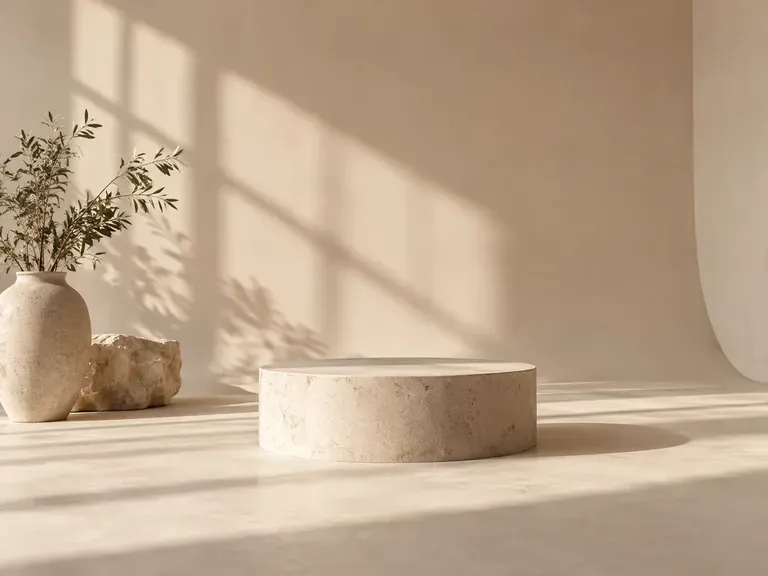
An empty cream studio backdrop with a low plinth
Studio Backdrops: Illustrative concept: an empty cream studio backdrop with a low plinth
A kitchen concept with warm natural materials
Warm Materials: Illustrative concept: a kitchen concept with warm natural materials
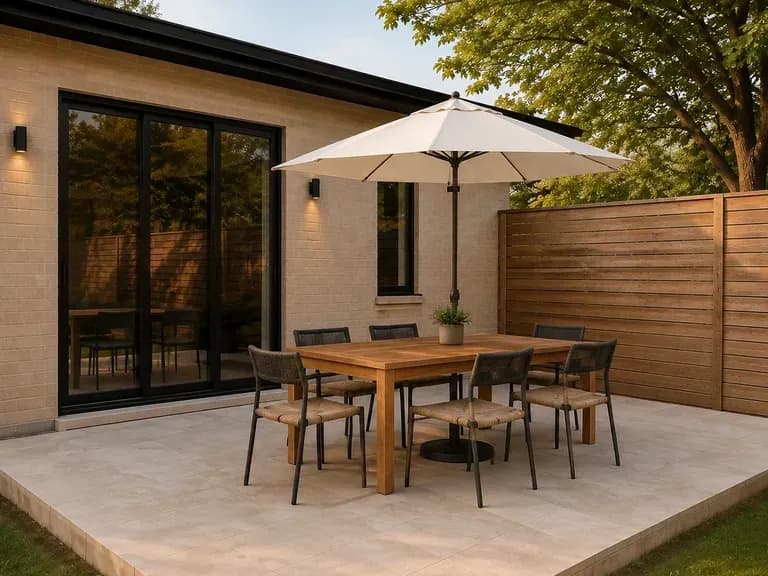
An illustrative outdoor dining area
Outdoor Dining: Illustrative concept: an illustrative outdoor dining area
A cozy interior with warm lamps and a sofa
Warm Interiors: Illustrative concept: a cozy interior with warm lamps and a sofa
An illustrative patio seating area
Outdoor Lounges: Illustrative concept: an illustrative patio seating area

Frequently Asked Questions

How do I select an object?
Describe it in words and identify its position. For example, name the empty chair on the right rather than asking to remove clutter without saying which items you mean.
Do I paint over the object with a brush?
This workflow uses a written instruction. It does not provide a manual brush or box selection on this page.
What replaces the removed area?
AI generates a continuation from the surrounding scene. That content is an interpretation, so check surfaces, shadows and any lines that cross the area.
Will the rest of the image remain exact?
Do not rely on exact pixel preservation. Compare the whole result with the source, especially when the removed object overlaps a person, product or important detail.
Can it remove an object from a video?
No. This page works with still images. It does not track objects across video frames or edit a video timeline.
What makes a removal harder?
Small repeated objects, complex textures and overlap with the main subject make the change harder to judge. Try a focused instruction and inspect the result closely.

Clear a Distraction from Your Photo

Upload the image and name the object you want removed. Compare the filled background and surrounding details before choosing the edited version.