
How to Create Clothing Mockups That Look Real: 5 Practical Methods
 Yifan Zhao12 menit baca ·
Creating a clothing mockup means placing your design on an accurate garment image or 3D model, then matching its scale, perspective, folds, shadows, and fabric texture. The five practical methods are simple editors such as Canva, POD mockup generators, Photoshop, real garment photography, and 3D clothing tools.
The problem is that mockups often look flat, use the wrong garment blank, or become slow to produce across multiple designs and colorways. For clothing brands and design teams, the real challenge is creating realistic, consistent mockups at scale without repeating the same manual work, especially while avoiding product drift.
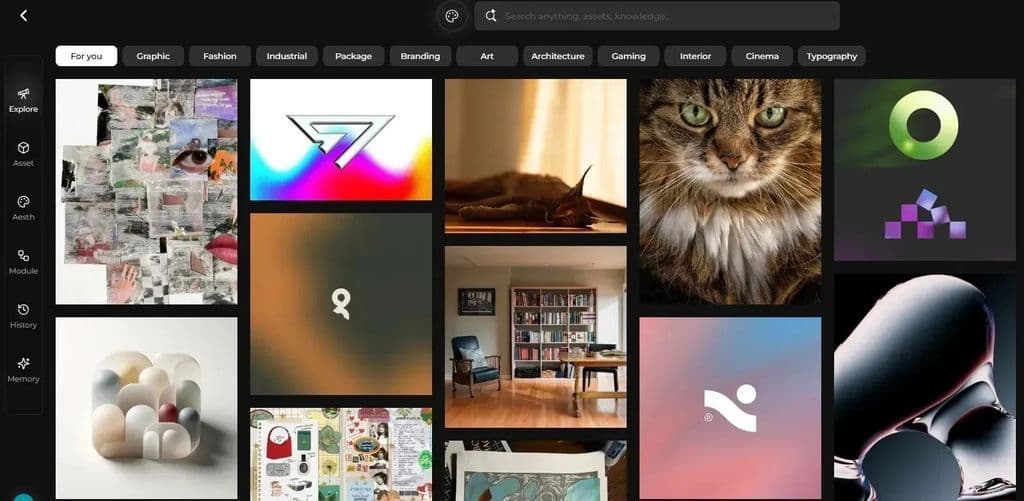
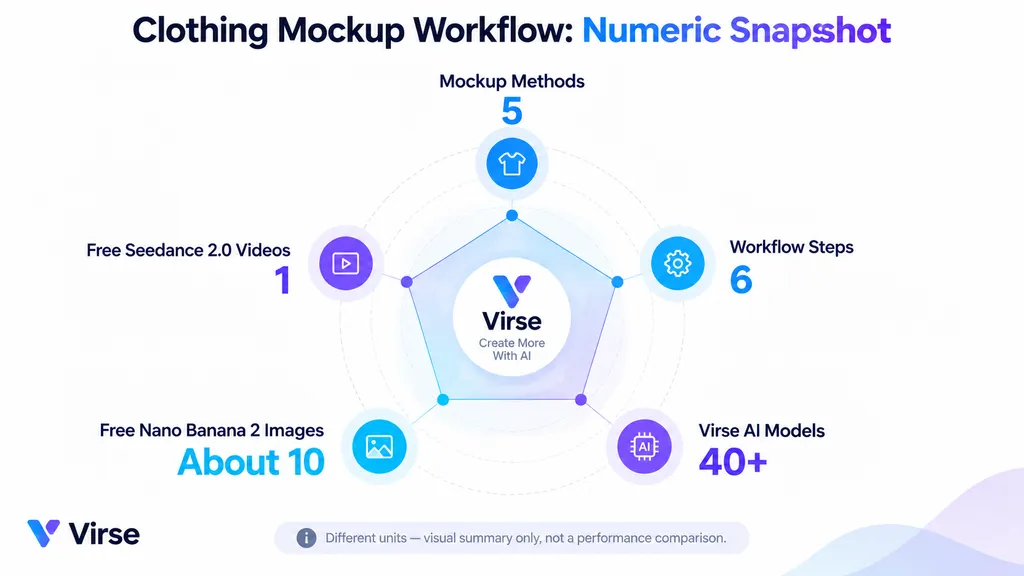
Virse makes that workflow easier by bringing AI models, assets, and collaborative agents into one infinite canvas. Paid plans include unlimited use of 40+ models such as Nano Banana 2 and GPT Image 2, plus unlimited seats. New users receive free credits that can cover around 10 Nano Banana 2 image generations or one Seedance 2.0 video, while Seedance 2.5, Seedance 2.0, and MiniMax H3 are also available in Virse. Its canvas-based, multi-agent workflow is designed to support professional creative teams rather than replace the design process with a single prompt.
How to Create Clothing Mockups in 6 Steps
A reliable clothing mockup workflow has six stages: choose the right garment, prepare the artwork, set realistic placement, conform the design to the fabric, integrate lighting and texture, and validate the result against the real product.
Step 1: Choose the Correct Garment Base
Start with the product, not the graphic.
A generic white T-shirt may be enough for exploring an early concept. It is not enough when customers will receive a specific oversized blank, heavyweight hoodie, cropped tee, or garment with distinctive sleeves and collar proportions.
Our review of creator workflows found that blank mismatch is one of the most persistent clothing mockup problems. A scene can look photorealistic while still showing the wrong neckline, fit, sleeve length, color, or silhouette.
From a product-design perspective, the garment base should be treated as the source of truth. Use the exact supplier mockup, a photograph of the garment, or a validated 3D model whenever product accuracy matters.
Step 2: Prepare the Artwork
Use a clean transparent PNG or vector source when possible, with enough resolution for the final output.
Also prepare the artwork for the intended production method. A small chest logo, large screen print, embroidery graphic, and AOP pattern require different placement logic.
Step 3: Set Realistic Scale and Position
Do not automatically center every design.
Use the collar, seams, pockets, sleeves, body width, and intended print zone as references. On model photography, consider body rotation and camera perspective as well.
Step 4: Make the Design Follow the Fabric
The artwork needs to respond to both the garment’s large shape and its smaller wrinkles.
Use perspective and warping for overall geometry. Use displacement, a specialized mockup engine, or 3D simulation when the design must respond to folds and curvature.
Step 5: Preserve Fabric Texture and Lighting
If the fabric shadows disappear underneath the design, the graphic usually looks pasted on.
Preserve meaningful wrinkles, highlights, and tonal variation so the artwork appears integrated with the material rather than placed above it.
Step 6: Validate and Export Consistently
Before publishing, compare the mockup with the real blank, supplier specification, approved color, and print dimensions.
For ecommerce collections, also standardize crop, background treatment, image dimensions, and transparent PNG exports when needed. Consistent output matters almost as much as realism when dozens of SKUs appear together.
How to Create Realistic Clothing Mockups in Photoshop
Photoshop is one of the strongest options when a design needs to look physically integrated with a photographed garment.
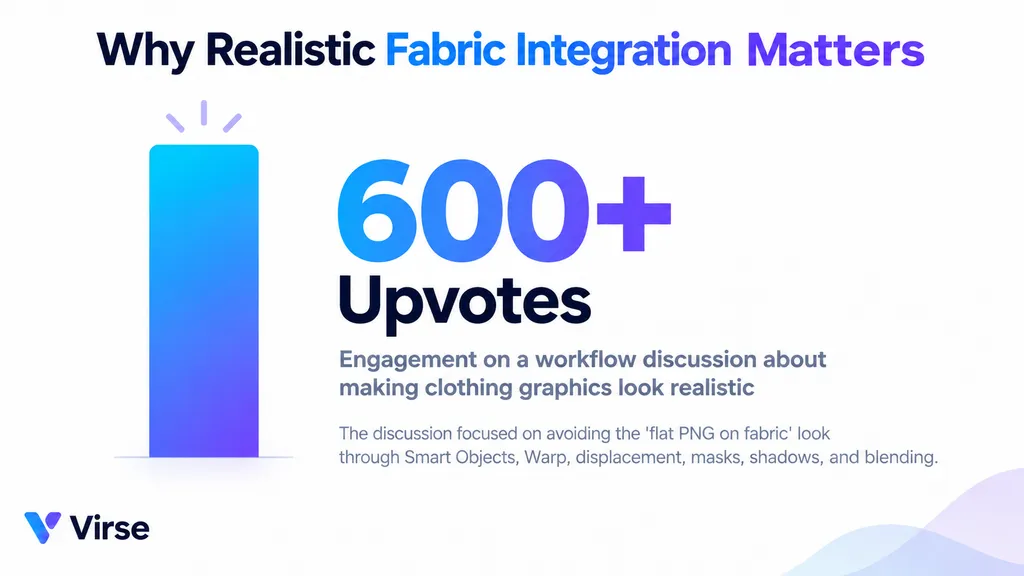
Our review included a high-engagement workflow discussion with more than 600 upvotes, focused on the same practical problem: how to stop graphics from looking like flat PNG overlays. The most useful techniques combined Smart Objects, Warp, displacement, garment masks, shadows, and blending rather than relying on a single filter.
Build a Reusable Photoshop Mockup With Smart Objects
Place the artwork inside a Smart Object before completing perspective and lighting adjustments.
The main advantage is not only non-destructive editing. It is repeatability. Once the shirt mask, print zone, distortion, texture, and lighting are correct, the file becomes a master mockup.
For a collection with 30 or 50 graphics on the same blank, replacing artwork inside one established system is far more efficient than rebuilding every product image.
Use Warp and Displacement to Follow Shirt Wrinkles
Use Warp first to match the overall direction of the fabric. Then use displacement for smaller changes caused by wrinkles and surface depth.
A practical rule is to deform the artwork only as much as the garment geometry justifies. Heavy displacement can look just as artificial as no displacement.
Blend the Artwork Into the Garment
Realistic integration depends on both shape and light.
Depending on the photograph, masks and blend modes such as Multiply, Screen, or Overlay can help preserve the shirt’s original tonal structure.
The simplest quality check is this: if a visible fold stops when it reaches the print, the mockup still needs work.
How to Create Clothing Mockups Without Photoshop
Photoshop is not necessary for every project. If the goal is fast ecommerce validation, Canva and dedicated mockup generators can be more efficient.
Create Simple T-Shirt Mockups With Canva
A basic Canva workflow is straightforward: choose or upload a garment image, add the design, adjust scale and position, and export the result.
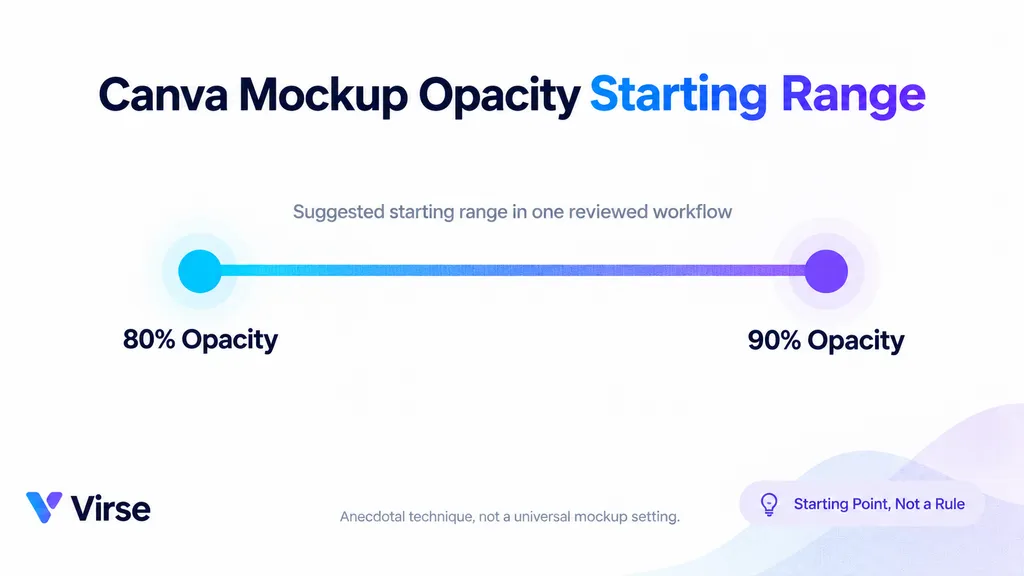
One Canva workflow included in our review used roughly 80–90% artwork opacity as a starting point so that some underlying fabric texture remained visible. This is an anecdotal technique, not a universal setting. Different garments, colors, print methods, and photographs need different treatment.
Simple editors work best on relatively flat garments. Strong wrinkles, angled bodies, and complex surfaces expose their limitations quickly.
Create POD Clothing Mockups With Mockup Generators
Tools such as Placeit and POD platform generators reduce manual image editing by letting you upload artwork, position it, and apply it to prebuilt scenes.
This is useful when speed and scene variety matter more than detailed control.
The limitation is product accuracy. A model may be wearing a visually similar T-shirt without wearing the exact blank you sell. Our review found repeated concern around mismatched collar shapes, oversized fits, colors, and garment proportions.
For listing images, always verify the blank before treating a lifestyle mockup as a product reference.
How to Create Accurate Clothing Mockups From Real Product Photos
If you already have a physical sample, photographing the real garment and turning it into a reusable master mockup is one of the most accurate workflows available.
Photograph One Master Garment
Use controlled lighting, a repeatable camera angle, and consistent garment preparation.
A flat lay works well for catalog consistency. A model or mannequin is better when fit is part of the buying decision.
Then separate the editable components: garment color, shadows, highlights, print area, background, and artwork.
Our review found this approach being used specifically when third-party templates could not reproduce the correct blank. Because every variant starts from the same photograph, the neckline, shoulder width, sleeves, drape, and wrinkles remain consistent.
Create Multiple Approved Colorways
A controlled master image can support multiple graphics and color presentations without reshooting every SKU.
This is why some ecommerce collections show different colors with exactly the same folds and shadows.
The efficiency is valuable, but product truth comes first. Do not digitally create a fabric texture, color, fit, or print effect that the manufactured garment cannot reproduce.
How to Create 3D Clothing Mockups Before Production
A standard mockup asks, “What does this graphic look like on a garment?”
A 3D clothing mockup can answer a deeper question: “What might the garment itself look like before manufacturing?”
Use CLO for Garment Structure and Fit
CLO is designed around garment patterns, sewing relationships, avatars, graphics, and fabric simulation. That makes it more appropriate for evaluating silhouette, panel relationships, graphic placement, drape, and fit before sampling.
Typical 3D review points include:
- Silhouette and garment proportions
- Seam and pattern relationships
- Artwork across multiple panels
- Colorways and graphic placement
- Drape, folds, and material behavior
Our review of fashion-design workflows found that CLO was typically discussed as a garment-development tool rather than simply a marketing-image generator.
Illustrator serves a different role. It is better suited to technical flats, vector graphics, print layouts, patterns, and production-oriented artwork than to photorealistic garment simulation.
How to Scale Clothing Mockups Across Multiple SKUs and AOP Designs
The biggest scaling improvement usually comes from removing repeated decisions, not from editing each image faster.
Build a Master Mockup System
For every important garment, define an approved:
- garment view;
- artwork zone;
- color treatment;
- crop;
- background;
- export size;
- lighting direction.
Then treat artwork and approved colorways as variables.
Our review repeatedly surfaced demand for workflows capable of producing tens or hundreds of mockups without rebuilding each file manually.
For design teams, this is where AI and automation are most useful: organizing references, generating controlled variations, maintaining visual consistency, and coordinating assets across a larger workflow.
Treat AOP Mockups as a Production Problem First
AOP products are more difficult because front panels, back panels, sleeves, collars, and other pieces can have separate print boundaries.
A realistic front-view image cannot prove that the artwork aligns correctly at the seams.
Our review of user questions found AOP accuracy to be a recurring concern. For AOP products, validate the manufacturer’s production template first and use the lifestyle mockup second.
Clothing Mockup Case Studies: What Our Research Found
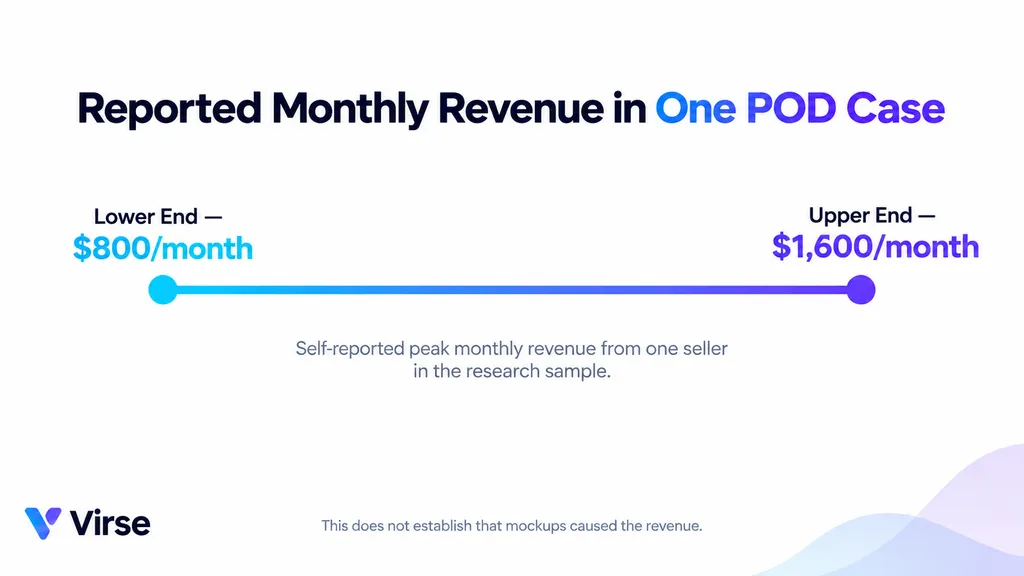
Case 1: Stock Mockups Supported a Store Reporting $800–$1,600 per Month
One ecommerce case in our research sample involved an Etsy and TikTok seller using stock product imagery with POD services.
The seller reported reaching roughly $800–$1,600 per month at peak while still using stock images.
This is a self-reported individual result. It does not prove that the mockups caused the revenue, and it should not be treated as an expected result for other stores.
The useful lesson is different: custom photography is not always required to validate demand. Stock mockups can support early testing, while custom imagery becomes more valuable as branding, differentiation, and trust become priorities.
Case 2: Canva Lowered the Barrier for Basic T-Shirt Listings
Another workflow combined purchased garment imagery with Canva instead of Photoshop.
The approximately 80–90% opacity starting point was intended to preserve some underlying fabric texture.
There was no verified time-saving or revenue figure. The lesson is therefore about workflow rather than business performance: beginners often benefit more from low-friction production than from advanced image controls.
Case 3: A Master Photoshop Template Changed the Scaling Problem
A reusable Photoshop workflow configured Smart Objects, garment masks, Warp, displacement, and blending once, then replaced only the artwork.
No reliable minutes-saved figure was reported. The supported benefit is structural: repeated setup becomes reusable infrastructure.
That difference is modest for one mockup but significant across dozens of designs.
Case 4: Real Garment Photography Solved Blank Accuracy
Another clothing workflow started from a photographed physical garment and generated approved visual variants from that master.
Instead of repeatedly searching for templates that resembled the product, the actual product became the template.
This is the method I would prioritize when collar shape, fit, sleeve proportions, and garment structure matter more than having a large variety of lifestyle scenes.
How to Choose the Best Clothing Mockup Method
There is no single best clothing mockup method because each approach solves a different problem.
Use Canva when you need simple, fast visual tests. Use a POD or lifestyle mockup generator when you need fast ecommerce scenes. Use Photoshop when realistic fabric integration and reusable branded templates matter. Use real garment photography when exact product representation is the priority. Use CLO when the garment itself must be evaluated before production.
The most useful professional distinction is between product truth and marketing creativity. Establish an accurate product reference first. Then create more expressive campaign scenes, model imagery, and AI-assisted variations around that reliable foundation.
FAQ
How do I make a T-shirt mockup look realistic instead of pasted on?
Match the artwork to the shirt’s perspective with Warp, use displacement when smaller wrinkles need to affect the graphic, and preserve the garment’s shadows and highlights. Realism comes from both deformation and lighting. If folds disappear completely underneath the print, the artwork is probably not integrated convincingly.
Can I create clothing mockups without Photoshop or with AI?
Yes. Canva, mockup generators, POD tools, and AI image workflows can all create useful clothing visuals. They are especially effective for concept exploration and rapid listings. However, when exact fit, blank dimensions, print placement, or construction matters, ground the visual in an approved product photo, supplier template, or validated 3D garment.
How can I make sure a clothing mockup matches the real blank?
Use the exact supplier mockup when available or photograph the real garment and build a reusable master. Compare the neckline, sleeve length, body width, silhouette, color, print dimensions, and artwork position before publishing. Blank mismatch was one of the most consistent issues in our review of user questions.
Can I create hundreds of clothing mockups without editing every image manually?
Yes. Build master Photoshop templates with replaceable artwork, reusable mockup scenes, or controlled 3D setups. Lock the garment treatment, crop, lighting, background, and print zones, then change only approved artwork and colorways. For AOP products, automate only after panel and seam placement has been validated.
Conclusion
Creating realistic clothing mockups is less about finding one perfect generator and more about matching the workflow to the decision you need to make. Simple editors and generators are efficient for rapid ecommerce testing; Photoshop gives you control over folds, lighting, and reusable templates; real garment photography provides the strongest product-specific accuracy; and 3D workflows help designers evaluate garments before manufacturing. Across our research, the most consistent lesson is that the best clothing mockup is not merely the most photorealistic image—it is the one that combines believable fabric behavior, scalable production, and an honest representation of the product customers or production teams will ultimately see.
Artikel lainnya dari Blog Virse
Alur kerja

How to Preserve Design Accuracy in AI Mockups Without Endless Cleanup
17 September 2026 by Yifan Zhao
Alur kerja
How to Create AI T-Shirt Mockups That Actually Match Your Product
17 September 2026 by Yifan Zhao
Alur kerja
How to Keep Characters Consistent in GPT Image 2.5
16 September 2026 by Yifan Zhao