Line Art Drawing: Styles, Techniques, and 40 Creative Ideas
 Yifan Zhao17 min de leitura ·
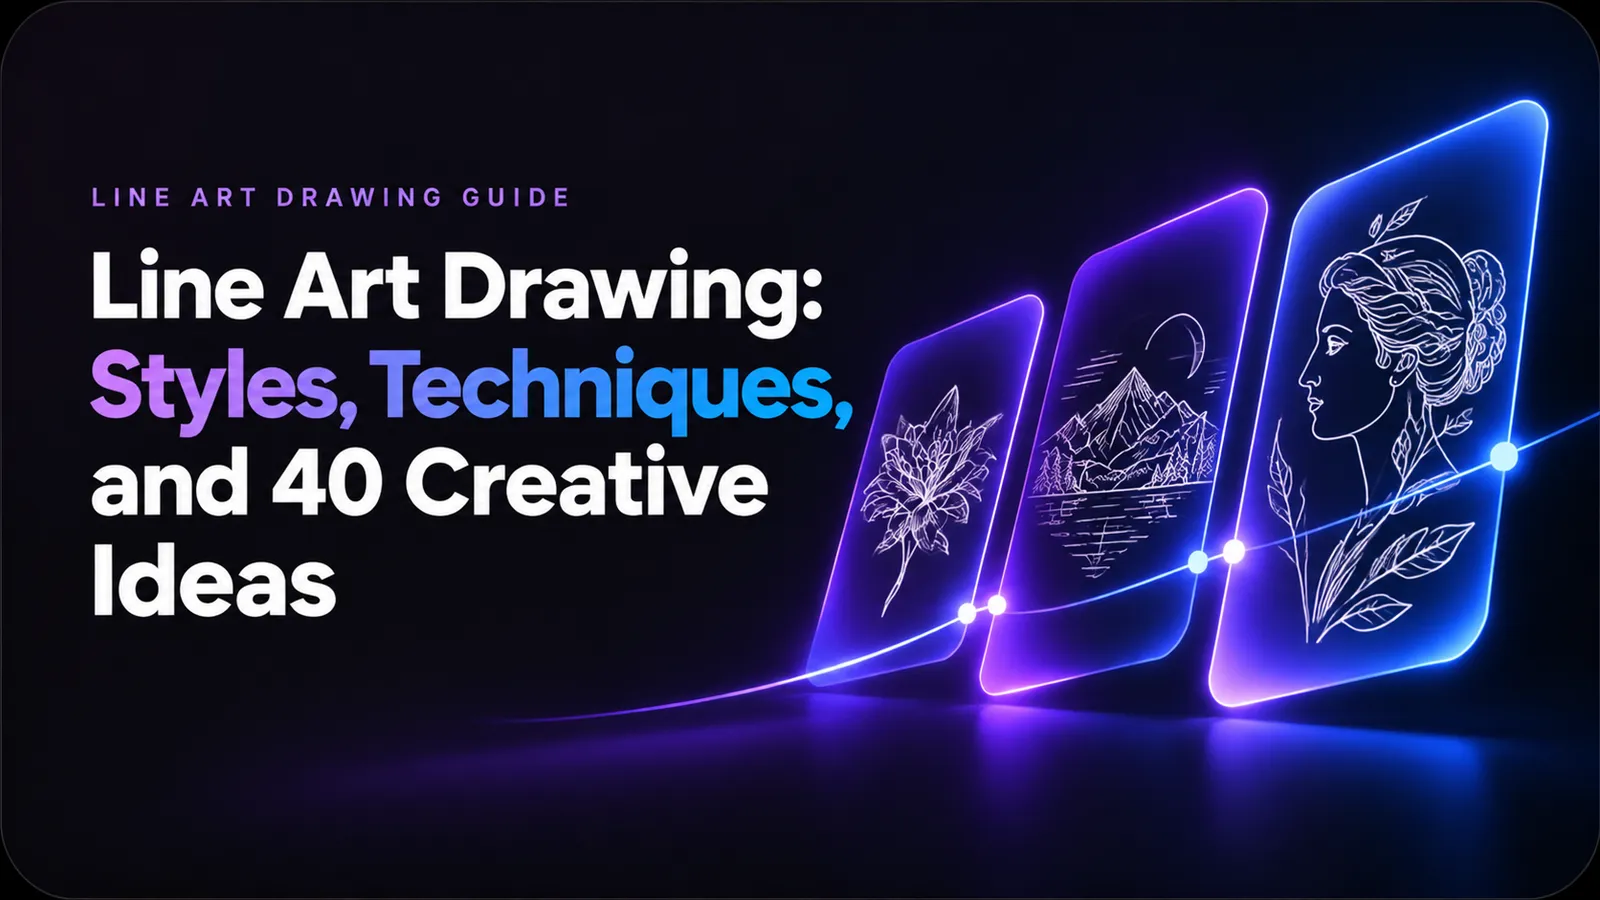
Line art drawing is an illustration technique that uses lines to define shapes, outlines, textures, and details without relying heavily on color or shading. It ranges from simple continuous-line sketches to detailed botanical illustrations, architectural drawings, and expressive digital artwork.
However, creating good line art involves more than drawing clean outlines. The real challenge is balancing line weight, smoothness, detail, and natural movement without losing the character of the original sketch. Beginners often struggle with shaky strokes and messy outlines, while experienced digital artists may find that refining a sketch makes the finished illustration look stiff.
In this guide, you will discover 8 popular line art styles, 6 essential drawing techniques, a step-by-step workflow, and 40 creative ideas. You will also learn how to turn photographs and rough sketches into cleaner line art while preserving important visual details.
What Is Line Art Drawing?
Line art drawing is a visual art technique that uses distinct lines to represent the contours, structures, and details of a subject. Instead of depending on color gradients or realistic shading, it uses line direction, thickness, density, and spacing to communicate form.
Line art can be minimalist, using only a few strokes, or highly detailed, with complex patterns and overlapping contours.
Common applications include:
- Illustration: Character drawings, portraits, and editorial artwork.
- Graphic design: Logos, icons, posters, and visual identities.
- Tattoo design: Fine-line tattoos, geometric patterns, and botanical illustrations.
- Fashion: Clothing sketches, garment outlines, and technical drawings.
- Architecture: Building elevations and structural illustrations.
- Digital art: Coloring-book pages, concept sketches, and decorative artwork.
The defining characteristic is that lines carry most of the visual information.
8 Popular Line Art Drawing Styles
Different line art styles create different visual experiences. Some prioritize simplicity and elegance, while others emphasize texture, structure, or expressive movement.
1. Minimalist Line Art
<escape> </escape>Minimalist line art uses a small number of carefully placed strokes to communicate an idea. Unnecessary details are removed, allowing the subject's essential shape to stand out.
Characteristics:
- Simple outlines and limited details.
- Clean, uncluttered compositions.
- Generous negative space.
- Often monochromatic.
Best for: Wall art, modern branding, minimalist portraits, and decorative illustrations.
2. Continuous Line Art
Continuous line art is created using one uninterrupted line, without lifting the drawing tool from the surface.
The artist must consider the direction and connection of each stroke before drawing. The result often feels fluid, spontaneous, and expressive.
Characteristics:
- One continuous drawing path.
- Connected shapes and flowing movement.
- Simplified facial features and body forms.
- An organic, handmade appearance.
Best for: Portraits, figure drawings, abstract artwork, and creative exercises.
3. Geometric Line Art
Geometric line art uses structured shapes such as circles, triangles, squares, and polygons to construct images.
Characteristics:
- Repeated geometric shapes.
- Symmetry and balanced proportions.
- Precise intersections and angles.
- Structured compositions.
Best for: Posters, logos, architectural illustrations, and modern decorative art.
4. Botanical Line Art
Botanical line art focuses on plants, flowers, leaves, and natural structures.
Artists use curved outlines, delicate veins, and repeated patterns to represent organic forms.
Characteristics:
- Fine outlines and natural curves.
- Detailed leaf structures.
- Repeated organic patterns.
- Emphasis on shape and silhouette.
Best for: Nature illustrations, packaging, stationery, and botanical prints.
5. Fine Line Art
Fine line art uses thin, controlled strokes to create delicate illustrations with subtle details.
It is particularly popular in tattoo design and contemporary illustration.
Characteristics:
- Thin and precise strokes.
- Small-scale details.
- Subtle visual hierarchy.
- Limited heavy outlines.
Best for: Fine-line tattoos, jewelry illustrations, portraits, and elegant decorative artwork.
6. Sketchy Line Art
Sketchy line art deliberately preserves loose, overlapping, and imperfect strokes rather than removing every irregularity.
This style can make illustrations feel more spontaneous and personal.
Characteristics:
- Multiple exploratory strokes.
- Visible construction lines.
- Irregular line thickness.
- Loose and expressive contours.
Best for: Character concepts, fashion sketches, editorial illustration, and visual brainstorming.
7. Crosshatching Line Art
Crosshatching uses intersecting lines to create darker areas, texture, and the impression of depth.
Instead of applying smooth gradients, artists control tonal variation through the density and direction of strokes.
Characteristics:
- Intersecting line patterns.
- Different line densities.
- Directional shading.
- Strong contrast.
Best for: Portraits, ink illustrations, traditional engraving styles, and detailed studies.
8. Abstract Line Art
Abstract line art uses lines, curves, and shapes without necessarily representing recognizable objects.
The focus is on movement, rhythm, balance, and composition.
Characteristics:
- Nonrepresentational forms.
- Experimental line directions.
- Repeated patterns and shapes.
- Creative use of negative space.
Best for: Contemporary posters, interior decoration, album artwork, and experimental design.
6 Essential Line Art Drawing Techniques
Understanding line art techniques helps you control how your illustrations look and feel. The following methods are useful for both traditional and digital drawing.
Practice Line Control to Avoid Shaky Strokes
Unsteady strokes often produce messy or inconsistent line art.
Instead of repeatedly drawing short marks over the same contour, practice making longer, more deliberate strokes.
Try these exercises:
- Draw straight lines between two reference points.
- Practice parallel lines at consistent distances.
- Draw circles and ellipses without repeatedly correcting them.
- Practice S-curves and C-curves.
- Use your arm for longer strokes instead of relying entirely on wrist movement.
For digital drawing, brush stabilization and smoothing features can help reduce unwanted wobbling.
Important: Excessive stabilization can make lines feel mechanical. Adjust it according to the style you want.
Understand Line Weight
Line weight refers to the thickness or visual strength of a line. It is one of the most important techniques for creating depth and hierarchy.
Line Type | Purpose | Visual Effect |
|---|---|---|
Thick lines | Outer contours | Stronger silhouettes |
Medium lines | Main structures | Clear shape definition |
Thin lines | Interior details | Delicate information |
Broken lines | Texture and sketch details | Organic appearance |
For example, when drawing a flower, use stronger lines for the outer petals and thinner strokes for the veins.
Do not make every line equally thick. Intentional variation helps separate foreground elements from smaller details.
Use Negative Space
Negative space is the empty area surrounding and between objects.
It is particularly important in minimalist and continuous-line illustrations.
Before adding details, examine the spaces around your subject. Sometimes adjusting the distance between two lines improves the composition more than adding another stroke.
Simplify Complex Shapes
A common beginner mistake is trying to reproduce every detail immediately.
Instead, break complex subjects into basic shapes:
- A face can begin with an oval and proportional guidelines.
- A flower can begin with a central circle and simplified petals.
- A building can begin with rectangles and perspective lines.
- An animal can begin with basic body masses and connected contours.
Once the structure looks correct, add the details that matter.
Add Texture with Directional Lines
Lines can communicate the texture of different materials.
Examples include:
- Short parallel strokes for hair.
- Curved strokes for fabric folds.
- Repeated lines for wood grain.
- Crosshatching for shadows.
- Small irregular marks for rough surfaces.
The direction of the lines should follow the structure of the object rather than being added randomly.
Preserve the Character of Your Original Sketch
Clean line art does not always mean perfectly smooth line art.
A sketch may contain interesting movement, asymmetry, and natural imperfections that disappear during excessive cleanup.
When refining a drawing, identify which irregularities are distracting and which contribute to its personality.
A useful approach is to keep the original sketch visible on a separate layer and compare it with the refined version.
Why Does My Line Art Look Worse Than My Sketch?
This is a common problem in digital illustration. A drawing can look expressive in its rough stage but become stiff after repeated tracing.
The problem is often over-cleaning rather than poor drawing ability.
For example, a documented beginner illustration workflow involved approximately five sketch layers to work toward clean line art after around 1.5 years of drawing practice. Another beginner transitioning to iPad drawing reported difficulty maintaining smooth strokes after approximately 2–3 months of using an Apple Pencil.
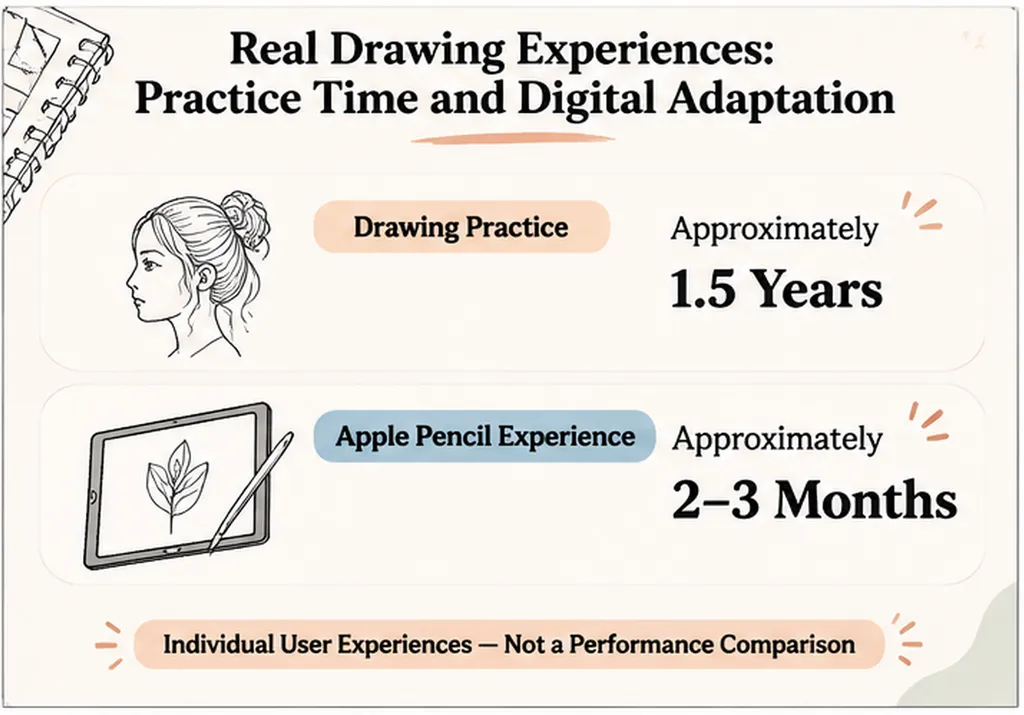
These individual experiences illustrate two different challenges: cleaning up complicated sketches and adapting traditional drawing movements to a digital surface. They are examples, not universal learning timelines.
To avoid losing your original style:
- Keep the rough sketch on a separate layer.
- Reduce its opacity rather than deleting it.
- Identify the most expressive contours.
- Refine only lines that genuinely need improvement.
- Compare the finished result with the original sketch.
The objective is to improve clarity without removing the visual personality of your drawing.
How to Draw Line Art Step by Step
Whether you are working on paper or using a digital illustration program, the basic process is similar.
Step 1: Choose Your Subject
Start with a subject that has a recognizable silhouette.
Good beginner subjects include:
- A flower.
- A coffee cup.
- A simple animal.
- A human face.
- A household object.
Avoid choosing something with too many overlapping details for your first exercise.
Step 2: Create a Rough Sketch
Draw the basic shapes and proportions before adding final outlines.
At this stage, focus on composition rather than precision.
For digital drawing, create a separate sketch layer so you can adjust its opacity later.
Step 3: Identify the Important Contours
Determine which lines communicate the subject's structure.
Separate the drawing into:
- Outer contours.
- Internal structural lines.
- Small decorative details.
- Optional texture and shading.
Not every visible edge needs to become a line.
Step 4: Draw the Main Lines
Use deliberate strokes to create the primary contours.
For digital illustration, choose a brush that matches your desired appearance:
- A hard round brush for clean outlines.
- A textured brush for traditional ink effects.
- A pressure-sensitive brush for expressive line variation.
Avoid repeatedly tracing the same line. If a stroke is incorrect, undo it or refine it rather than building up unnecessary overlapping marks.
Step 5: Adjust Line Weight
Review the illustration and vary the thickness where necessary.
Make important contours more prominent while keeping secondary details lighter.
Check whether the subject remains recognizable when viewed at a smaller size.
Step 6: Add Details and Texture
Add only the details that improve the illustration.
You can introduce small patterns, internal contours, crosshatching, or decorative marks.
Be careful not to overwork the drawing.
Step 7: Clean Up and Export
Remove distracting construction lines and correct obvious inconsistencies.
For digital artwork, keep your original sketch and final line art on separate layers whenever possible.
Export the finished illustration in a format suitable for its intended use. PNG works well for raster illustrations requiring transparency, while SVG is useful for scalable vector artwork when the drawing is created or converted into vector paths.
How to Turn a Photo into Line Art
You do not need to draw every illustration from scratch. An existing photograph can serve as the starting point for line art.
There are three practical approaches, depending on how much control you need.
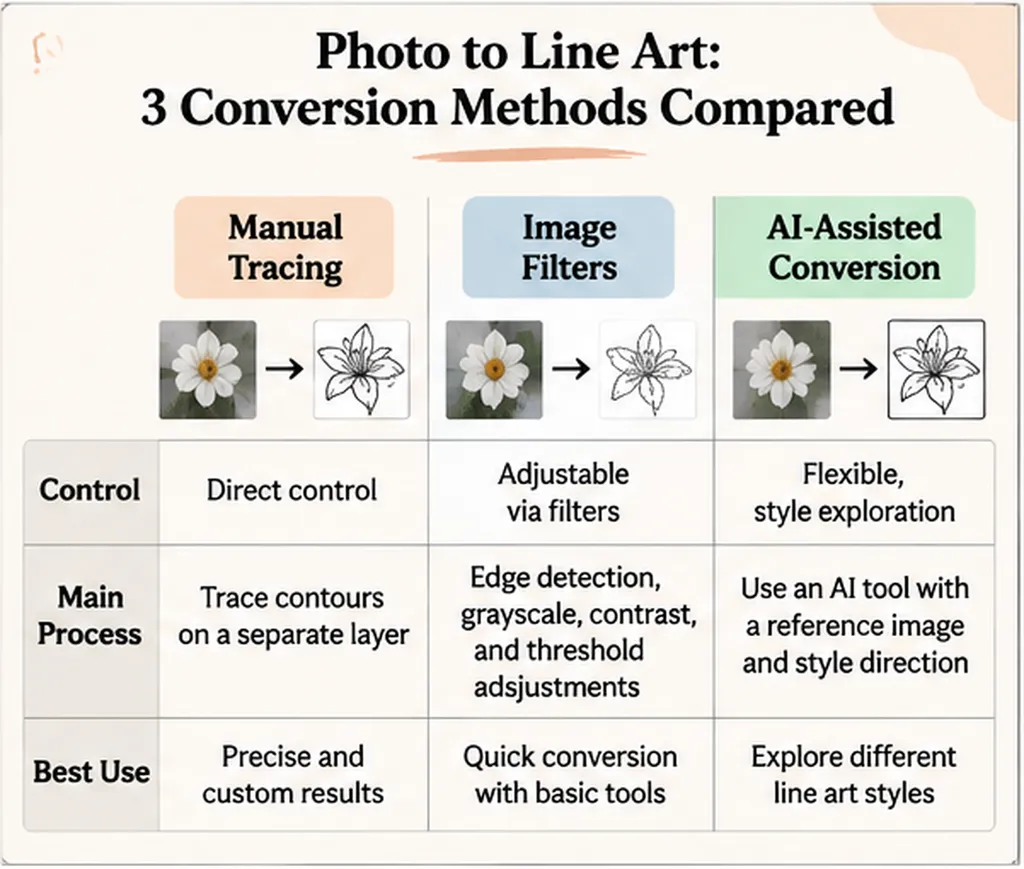
Method 1: Trace the Photograph Manually
Manual tracing gives you direct control over which details remain.
- Import the photograph into your drawing application.
- Reduce the opacity of the photo layer.
- Create a new layer above it.
- Trace the main contours.
- Simplify unnecessary details.
- Adjust line weight and clean up the result.
Best for: Portraits, recognizable subjects, and illustrations requiring precise detail preservation.
Method 2: Use Image-to-Line-Art Filters
Some image editing applications offer edge detection, threshold adjustments, or sketch effects.
A typical workflow is:
- Import your photograph.
- Convert it to grayscale.
- Adjust contrast to separate the subject from the background.
- Apply an edge-detection or sketch effect.
- Remove unwanted background details.
- Refine the resulting lines.
The result depends heavily on image quality, lighting, contrast, and background complexity.
Best for: Simple objects, high-contrast photographs, and quick line extraction.
Method 3: Use AI-Assisted Photo-to-Line-Art Conversion
AI-assisted image tools can help transform photographs or sketches into different illustration styles.
Unlike basic edge detection, generative workflows can explore different visual interpretations of the same reference image.
A practical workflow is:
- Upload the original image. Choose a photograph or sketch with clearly recognizable subject details.
- Define the line art style. Specify minimalist, fine-line, geometric, or sketchy line art.
- Describe what must remain unchanged. Include facial features, object proportions, important contours, and composition.
- Generate an initial result. Review the output rather than assuming the first version is finished.
- Inspect the details. Check faces, hands, overlapping objects, and small structural elements.
- Refine the visual direction. Adjust line thickness, detail density, background simplicity, and texture.
For example, use this prompt:
AI Line Art Conversion Prompt
"Transform this photograph into minimalist black-and-white line art. Preserve the original subject's recognizable features, proportions, and composition. Use clean contours, subtle line weight variation, minimal internal details, and a plain white background. Avoid grayscale shading, unnecessary textures, distorted features, and excessive decorative elements. Maintain a natural, elegant hand-drawn appearance."
Common AI conversion problems to check:
Problem | Why It Happens | What to Adjust |
|---|---|---|
Missing facial details | Important features are simplified | Request stronger feature preservation |
Broken or disconnected outlines | Complex overlapping edges | Refine the main contours |
Excessive details | Too many textures are interpreted as edges | Request simpler line density |
Distorted proportions | The generated result changes the original structure | Reinforce composition and proportion constraints |
Unnatural smoothness | The output removes organic imperfections | Request sketch-like or hand-drawn variation |
A useful creative direction is to compare three versions of the same reference image: clean line art, organic line art, and sketchy line art. This reveals how different levels of simplification and refinement affect the final illustration.
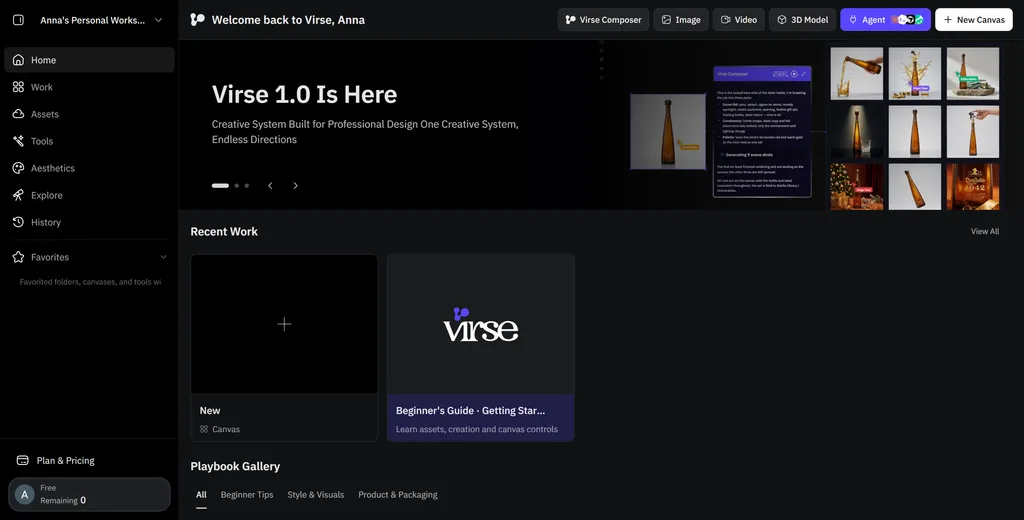
If you are exploring AI-assisted visual creation, you can also use Virse to experiment with different creative directions and visual workflows. The important consideration is to evaluate each generated result for detail preservation and style consistency rather than assuming every image-to-image workflow produces editable line art automatically.
Best Digital Tools for Line Art Drawing
Different drawing applications serve different needs. The right choice depends on your device, budget, and preferred workflow.
Tool | Best For | Useful Capabilities | Considerations |
|---|---|---|---|
Procreate | iPad illustration | Brush stabilization, StreamLine, pressure-sensitive brushes | Requires an iPad-compatible workflow |
Krita | Desktop digital painting | Layer management, customizable brushes, coloring tools | Interface may take time to learn |
ibisPaint X | Mobile drawing | Layer-based drawing and brush customization | Small screens can make detailed editing harder |
Clip Studio Paint | Comics and illustration | Inking tools, vector layers, and line correction | Some features depend on version and plan |
Adobe Illustrator | Vector line art | Image Trace, editable paths, scalable graphics | Requires learning vector editing concepts |
Which Line Art Software Should You Choose?
- Procreate: A practical choice if you primarily draw on an iPad.
- Krita: Worth considering if you want a desktop drawing application with free-use options.
- ibisPaint X: Suitable if you prefer drawing on a phone or tablet.
- Clip Studio Paint: Useful for comics, manga, and detailed illustrations.
- Adobe Illustrator: A strong option when your final artwork needs editable vector paths.
Remember that software cannot automatically solve every drawing problem. Brush settings, canvas resolution, layer organization, and drawing habits all influence the result.
What Canvas Size Should You Use for Digital Line Art?
Canvas resolution affects how sharp your final illustration looks, especially when exporting or printing.
For example, one mobile drawing discussion involved an approximately 800 × 1,000 px canvas, with another participant suggesting a longer edge of at least 2,000 px for improved working resolution.
These are individual workflow recommendations, not universal technical requirements.
Choose your canvas based on the intended output:
- Social media illustrations: prioritize the platform's display dimensions.
- Digital artwork: use enough resolution for the expected viewing size.
- Print illustrations: plan around the final physical dimensions and required print resolution.
- Vector artwork: use scalable paths when possible.
Do not assume that increasing canvas size alone will fix blurry line art. Brush quality, export settings, and the original artwork also matter.
40 Line Art Drawing Ideas to Try
Looking for inspiration? These 40 ideas are organized by subject and creative direction, making it easier to find a project that matches your skill level.
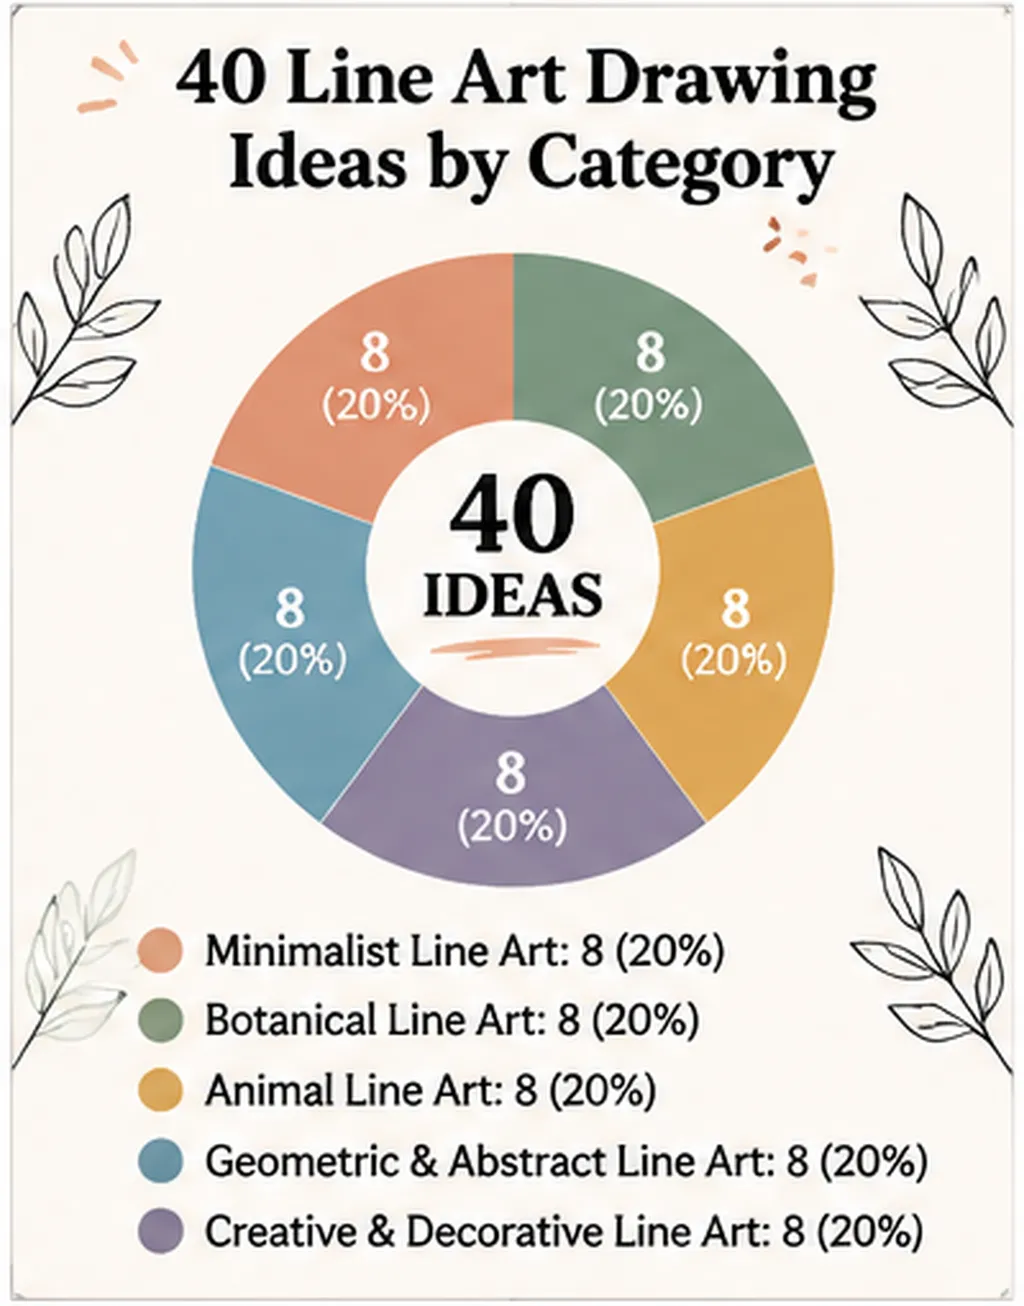
Minimalist Line Art Ideas
- Single-line human face portrait
- Minimalist hand illustration
- Abstract female profile
- Simple coffee cup outline
- Minimalist mountain landscape
- Two hands holding each other
- Simple cat silhouette
- Minimalist sun and moon composition
Botanical Line Art Ideas
- Wildflower bouquet
- Single-stem rose
- Monstera leaf illustration
- Delicate fern branches
- Sunflower with detailed petals
- Botanical wreath
- Potted houseplants
- Flower vase with organic contours
Animal Line Art Ideas
- Sleeping cat portrait
- Flying butterfly
- Bird perched on a branch
- Abstract elephant outline
- Running horse silhouette
- Fish with flowing fins
- Detailed snake illustration
- Fox surrounded by botanical elements
Geometric and Abstract Line Art Ideas
- Geometric human face
- Interlocking circles
- Abstract architectural structure
- Symmetrical geometric mandala
- Continuous geometric wave
- Repeating curved-line pattern
- Abstract line-based landscape
- Optical illusion using parallel lines
Creative and Decorative Line Art Ideas
- City skyline illustration
- Vintage-style house drawing
- Fashion figure sketch
- Musical instrument outline
- Celestial sun and moon artwork
- Line art tattoo composition
- Portrait with flowing hair
- Abstract composition combining faces and flowers
Creative exercise: Choose one subject and redraw it in three different styles: minimalist, geometric, and sketchy. Compare the results to understand how line direction, thickness, and detail influence visual expression.
Common Line Art Drawing Mistakes and How to Fix Them
Even a technically accurate drawing can look unfinished if its lines are inconsistent or its composition is unclear.
Common Mistake | Why It Happens | How to Fix It |
|---|---|---|
Messy, overlapping lines | Repeatedly correcting short strokes | Use deliberate strokes and simplify contours |
Shaky lines | Limited stroke control or unsuitable brush settings | Practice longer strokes and adjust stabilization |
Flat-looking artwork | Every line has similar thickness | Introduce intentional line weight variation |
Stiff final outlines | Over-cleaning the original sketch | Preserve selected organic strokes |
Pixelated lines | Working on a small canvas or unsuitable export settings | Use an appropriate canvas resolution |
White gaps when coloring | Open contours or insufficient fill expansion | Close small gaps and adjust fill settings |
Too many details | Treating every visible edge as equally important | Prioritize major shapes and remove unnecessary marks |
How Do You Color Line Art Without White Gaps?
White gaps commonly appear when the fill tool cannot completely reach the edges of a closed shape.
To reduce them:
- Check whether the outline is fully connected.
- Use a separate color layer underneath the line art.
- Adjust fill expansion or gap-closing settings where available.
- Inspect small corners and intersections.
- Correct remaining gaps manually.
In applications such as Krita, reference layers and Colorize Mask workflows can also help organize coloring.
Frequently Asked Questions About Line Art Drawing
1. What is the difference between line art and sketching?
Sketching is generally used to explore ideas, proportions, and composition. It often contains loose, overlapping construction marks. Line art is a more intentional use of lines to define the final illustration. However, sketchy line art can deliberately retain some of the original drawing's roughness.
2. Is line art drawing difficult for beginners?
Line art is accessible to beginners because you can start with simple shapes and outlines. The more challenging skills are controlling stroke direction, maintaining consistent proportions, and understanding line weight. Start with uncomplicated subjects and gradually introduce more detailed illustrations.
3. How do I draw clean line art without shaky lines?
Practice drawing longer strokes instead of repeatedly correcting short marks. Experiment with brush stabilization, pressure sensitivity, and different drawing movements. On digital devices, adjust stabilization gradually because excessive smoothing can make your lines feel unnatural.
4. Can I turn a photo into line art?
Yes. You can manually trace a photograph, use image-processing filters such as edge detection, or experiment with AI-assisted image conversion. Manual tracing offers greater control over individual contours, while automated methods can provide a quicker starting point.
5. What is the best brush for line art?
A hard round brush is a versatile starting point for clean outlines. Textured ink brushes work well for expressive illustrations, while pressure-sensitive brushes are useful for varying line thickness. The best choice depends on whether you want precise, organic, or traditional ink-like results.
6. What is line weight in drawing?
Line weight refers to the thickness or visual strength of a stroke. Artists use it to establish hierarchy, distinguish foreground objects, emphasize silhouettes, and communicate depth. Thicker lines often highlight important contours, while thinner lines are useful for secondary details.
7. Do I need perfectly clean line art to finish an illustration?
No. Clean line art is one aesthetic choice, not a requirement for every illustration. Expressive, sketchy, and imperfect lines can communicate movement and personality. Choose the level of refinement that supports the subject and intended visual style.
8. What is the difference between raster and vector line art?
Raster line art consists of pixels, so enlarging it significantly can reduce visual sharpness. Vector line art uses mathematically defined paths that can be scaled without the same pixelation problem. Raster formats are common in digital painting, while vector formats are particularly useful for logos, icons, and scalable graphics.
Final Thoughts: Create Line Art That Keeps Its Character
Line art drawing is about more than creating clean outlines. It is the process of deciding which lines matter, how they interact, and what visual information they communicate.
Start with simple subjects, practice controlling your strokes, experiment with line weight, and explore different styles. When refining a sketch, remember that removing every imperfection does not necessarily make an illustration better.
For digital artists, the most useful workflow is often a combination of manual control and AI-assisted exploration. Use automation to explore visual directions or establish an initial result, then review important contours, proportions, and stylistic details.
Whether you are drawing by hand, refining a digital sketch, or transforming a photograph into an illustration, the goal is the same: create lines that make your subject recognizable while preserving your own visual style.