AI Clay Model Renderer
Masukan · AsliKeluaran · Hasil

AI Render 3D Model

Upload a grey render of your model. It reads the geometry and the part breaks, applies the materials and colors you describe, and returns a studio-lit product shot. Ask for colorway variants and they come back on the same camera.

Masukan
Clay model image · WajibMaterial reference images · OpsionalProduct & material notes · OpsionalColorway notes · OpsionalRender count · Opsional
Keluaran
Photoreal main render with colorway/lighting variants (count as selected)

Clay model image

Wajib

Drop your clay model render

Gambar diunggah di kanvas; formulir ini membawa pengaturannya.

Material reference imagesOpsional

Render countOpsional

What it means to let AI render a 3D model from a grey pass

Rendering a 3D model with AI means going from a shape with no surface to a photograph of a finished object. The grey pass already carries the form and the part breaks, so the only things left to decide are material, colour and light.

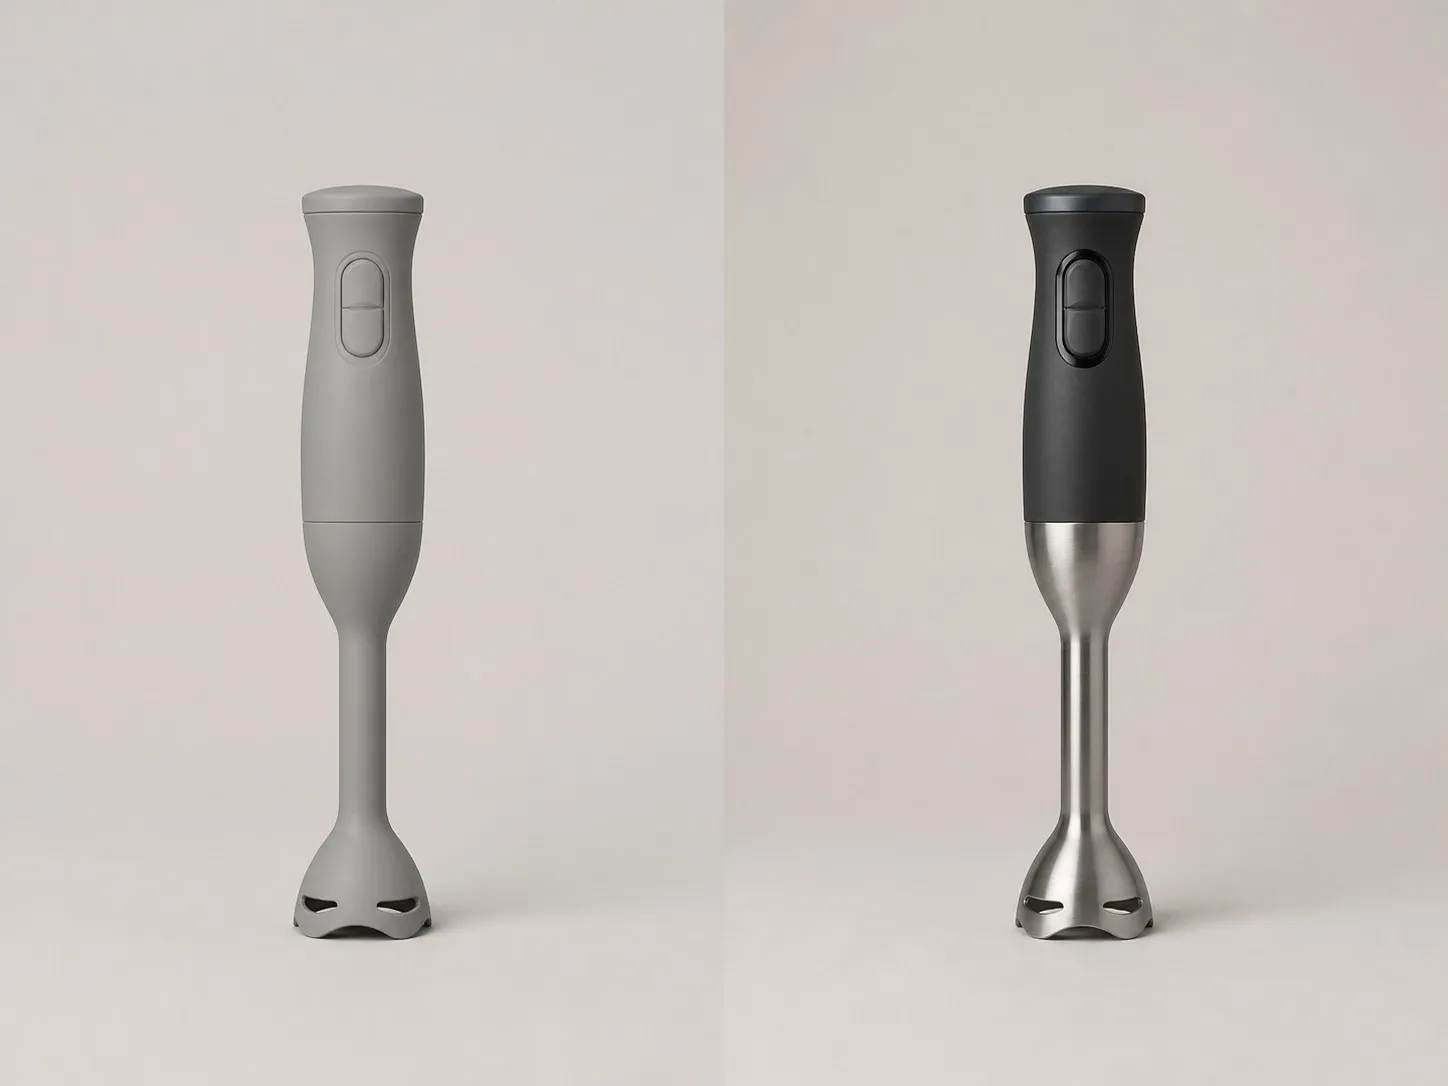
A hand blender as an untextured grey clay render on the left and as a finished product shot on the right
A grey clay pass and the finished render made from it

Three inputs that steer AI product rendering

The model decides the shape. Everything else on this page is you telling it what the object is made of and how many versions you want back.

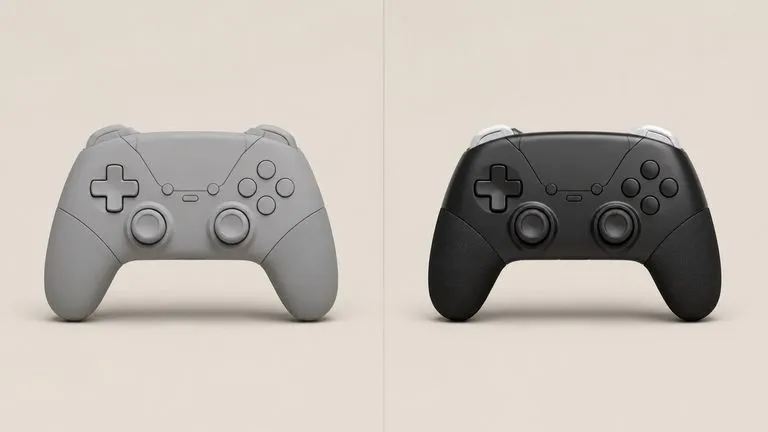
A grey game controller model beside the finished render where each part break has become a separate material
Required

The part breaks in the grey model

The breaks in your model are what tell it where one material stops and the next begins. A housing that splits into a body, a grip and a bezel comes back with three surfaces. A featureless shape has nowhere to put a second material.

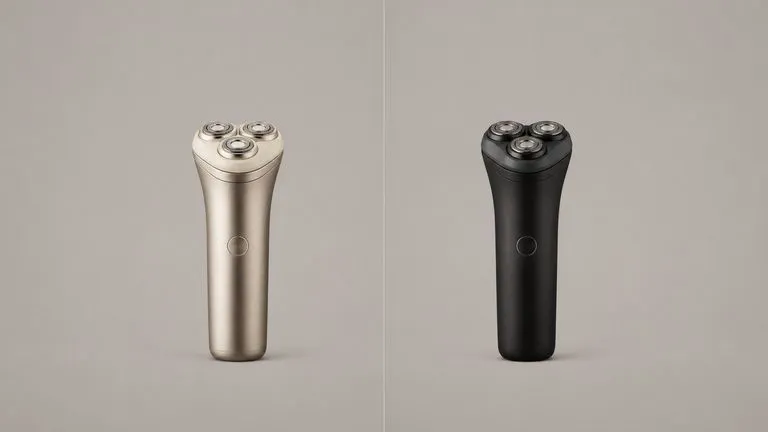
One electric shaver rendered twice from two different material briefs on identical geometry
Written, not picked

Material and colourway notes

You describe the finish in plain words rather than choosing from a menu. Anodised aluminium, soft-touch polymer, warm key light. Colourways go in their own field, which is what keeps them comparable when the variants come back.

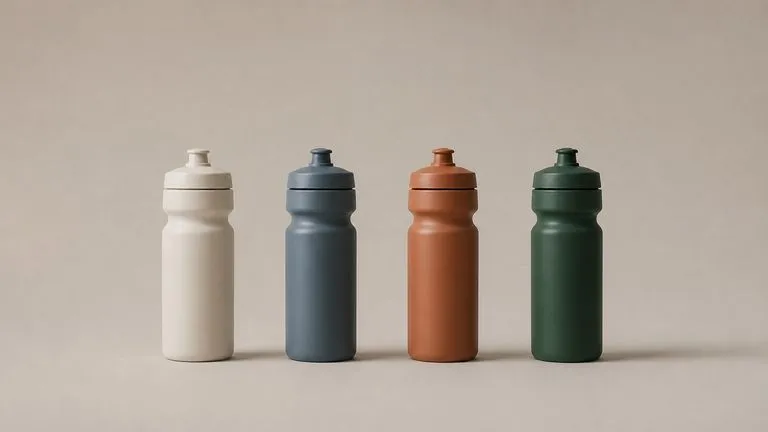
One sports water bottle rendered in four colourways from a single identical camera position
Up to four

Variants on one camera

Ask for one render, two, or four. Every variant shares the geometry, the camera and the light, so what you are comparing is the colourway and nothing that came along with it.

How to use an AI tool to render 3D models in four steps

  1. Export a grey pass

    A clay render from whatever you model in. No materials, no textures, just form and shadow. Make sure the part breaks are visible, because those are what the tool reads first.

  2. Describe the materials

    Write the finish the way you would say it out loud. If you have reference photographs of the materials, add them and the notes get shorter.

  3. List the colourways

    One line, comma separated. These become the variants, and they all come back on the same camera as the main render.

  4. Render, then keep working

    Everything lands on a fresh Virse canvas beside the grey pass. Re-run a single variant, change one material, or take a render into an edit without exporting.

Who reaches for AI 3D product rendering

People with a model finished enough to look at, and a decision that cannot wait for a render queue.

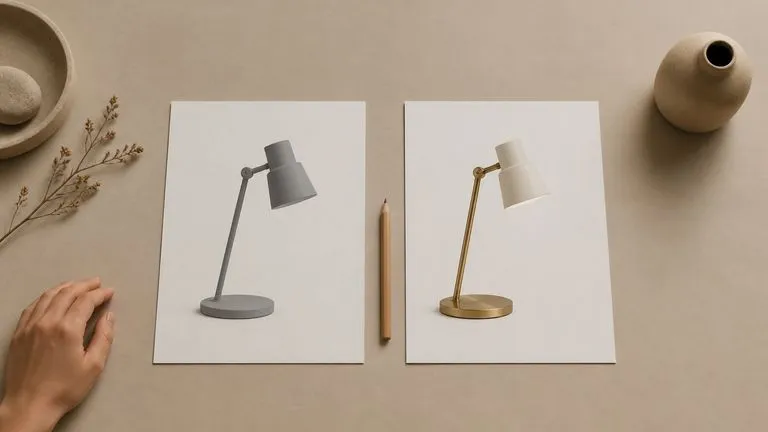
A designer's desk from above with a printed grey model of a desk lamp beside a printed finished render

Industrial & Product Designers

See the object finished on the same afternoon you finished modelling it, instead of scheduling studio time to find out the proportions read wrong.

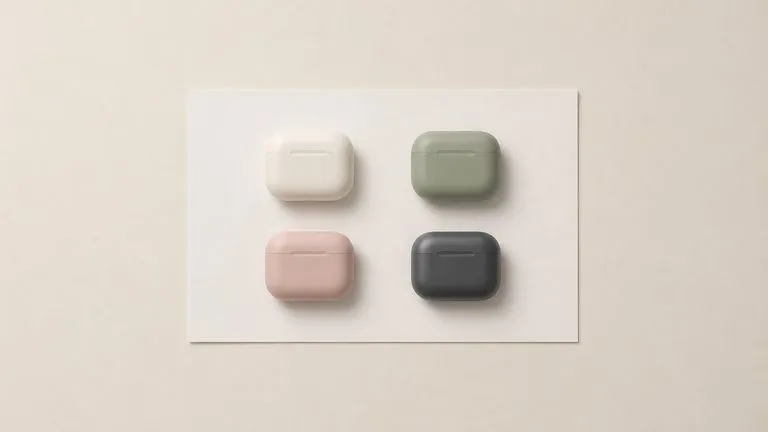
A printed sheet showing one earbud case in four colourways laid out for a review

CMF & Colourway Teams

Put four colourways in front of a review on one camera, so the conversation is about the colour rather than about why one photograph looks warmer.

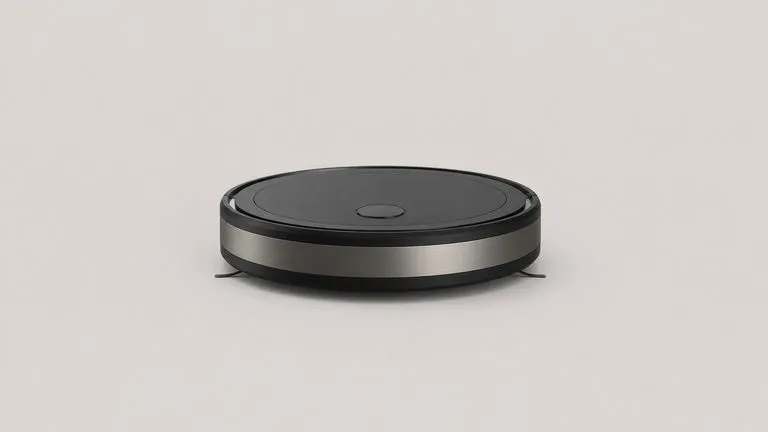
A single finished render of a robot vacuum presented alone on a clean pale board

Design Leads Preparing a Review

Walk into a milestone meeting with a photoreal hero shot of a product that exists only as geometry, and keep the discussion on the design.

What an AI product render generator returns

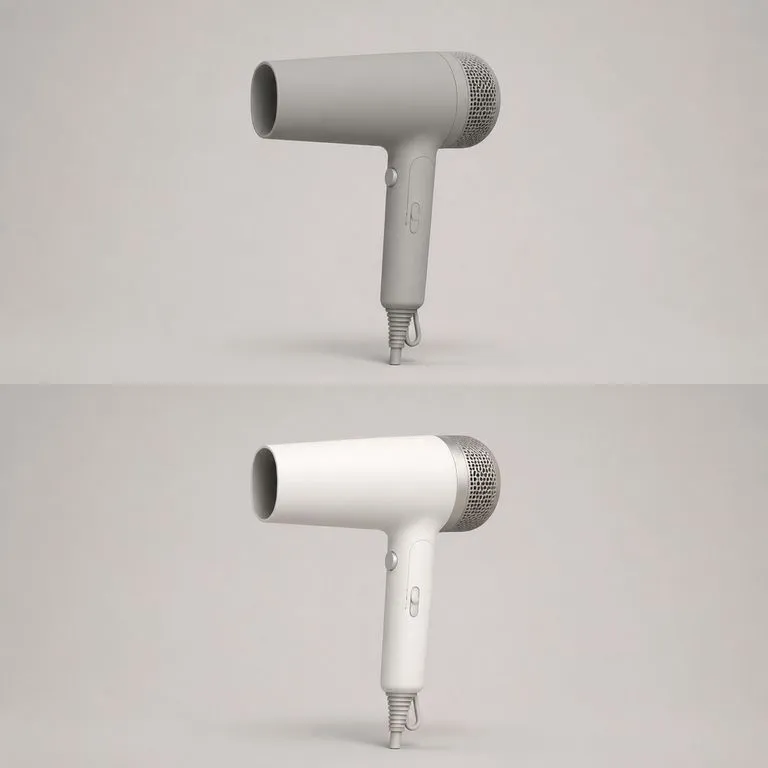
A hair dryer shown as a grey model above and as a finished studio render below
Grey Pass to Studio Shot: form and part breaks unchanged, surface and light added
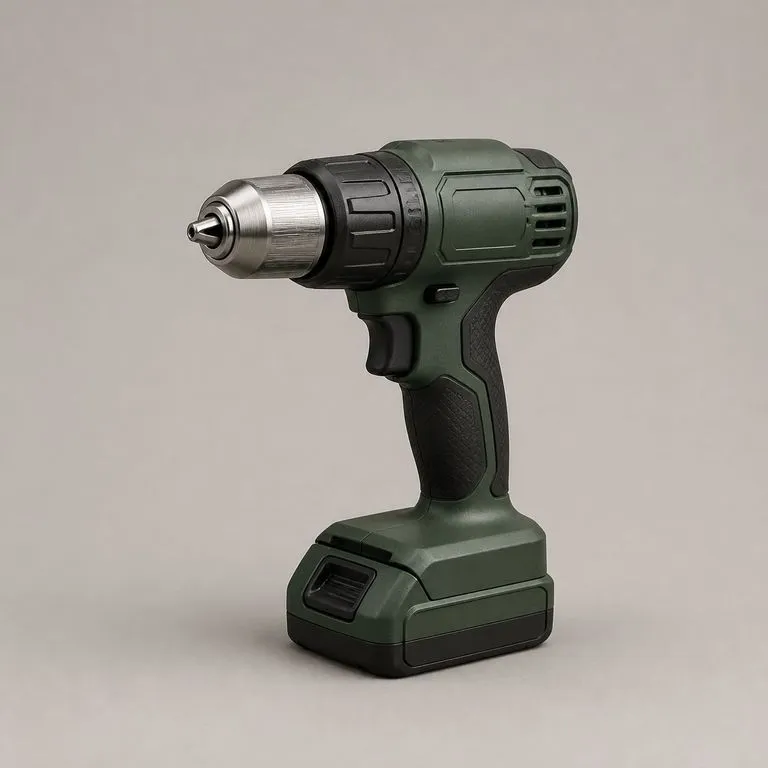
A cordless drill rendered with three distinct materials divided along its own part lines
Three Materials, One Housing: body, grip and bezel separated by the model's own breaks
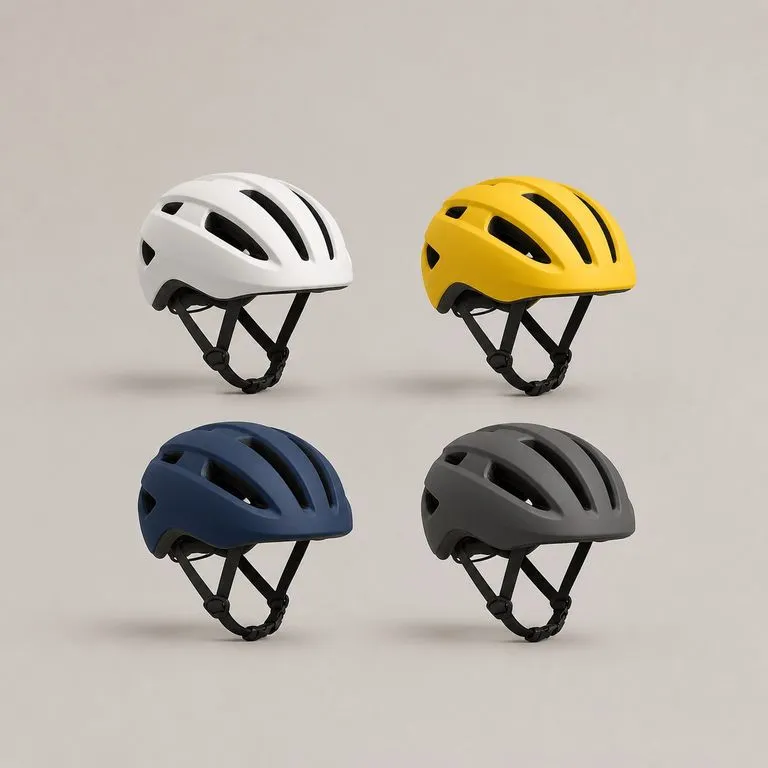
One bicycle helmet rendered in four colourways in a two by two grid on one camera
Four Colourways, One Camera: identical geometry and light across every variant
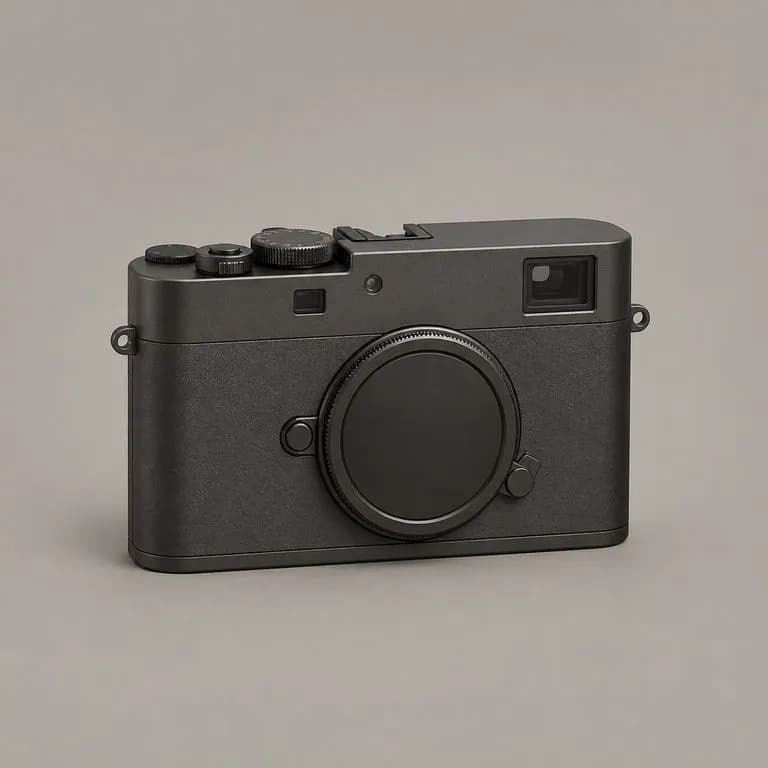
A compact camera body rendered in anodised metal with a fine machined texture
Anodised Metal From a Written Brief: finish described in words rather than picked from a menu
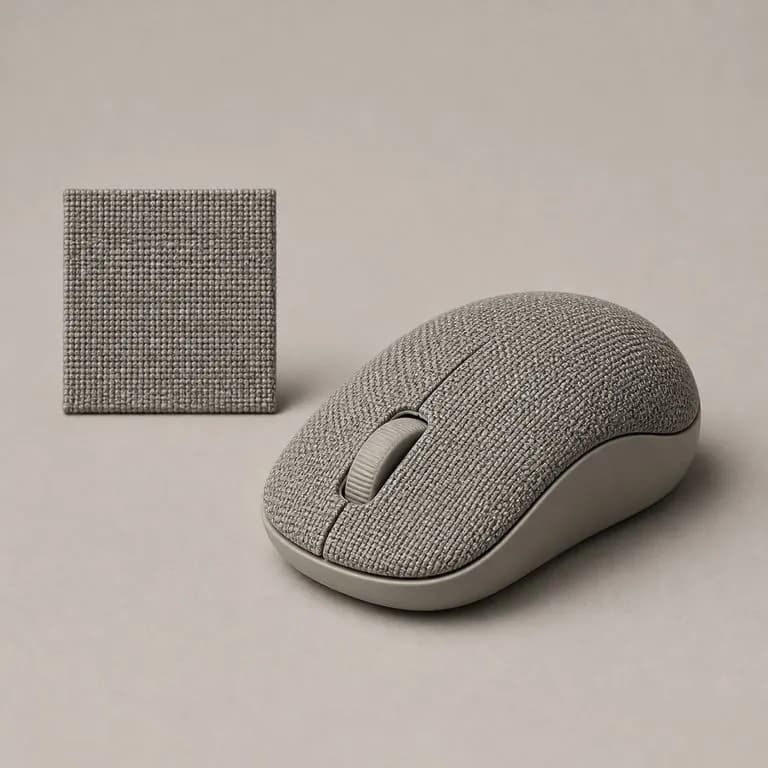
A fabric swatch beside a computer mouse rendered with that same woven finish on its shell
Reference Photo Steering the Finish: a material shot narrowing what the notes had to say
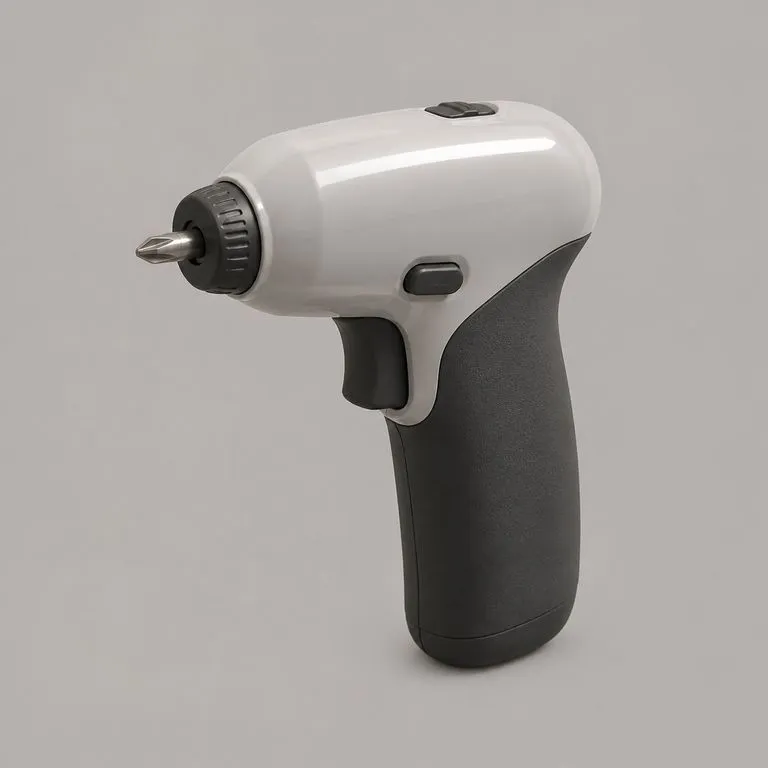
A cordless screwdriver whose grip section is soft-touch matte while the body stays glossy
Soft-Touch Polymer on a Grip: matte behaviour where the model showed a separate part

AI product rendering compared with a render queue

What changes when the grey pass is the only thing you have to prepare.

Setting up materials and lights yourself

  • Every material is built and tuned before the first useful image exists
  • A lighting rig has to be assembled and adjusted for the product in front of you
  • Each colourway is another setup, another render, and another wait
  • Variants drift, because the camera or the light moved somewhere between them

The Virse renderer

  • The grey pass is the only preparation, and the materials are written in plain words
  • Studio lighting comes with the render rather than being built for each product
  • Colourways are a field you fill in, and up to four come back together
  • Variants share one camera and one light, so a comparison stays honest
FAQ

Questions

Do the variants share a camera?
Yes, and that is the reason to ask for them here rather than running the tool four times. Same geometry, same camera, same light. What you are comparing is the colourway and nothing else.
What if my clay render has no part breaks?
It will render as one continuous surface, because that is what you gave it. The part breaks in the model are what tell it where one material stops and the next begins, and a featureless shape has nowhere to put the second material.
Can it turn my finished render back into a clay or white model?
No, and it is worth saying plainly because the phrase points both ways. This tool runs one direction: grey model in, finished product shot out. Stripping materials off a model to get a clean white pass is something you do in your 3D software, not here.
My product is a 2D drawing, not a 3D model. Can I still use this?
Not this tool. It expects a grey render with real geometry and shadow. If what you have is a line drawing or a sketch, use the AI Line Art Render tool instead, which reads a 2D drawing and a material reference and renders from those.
Does pressing Create run the tool straight away?
No. Your inputs travel into a fresh canvas and land on the tool already filled in, but nothing runs until you press Start there. A link can never spend your credits on your behalf.
Can I keep working on the result afterwards?
Yes. Everything the tool produces arrives on a normal Virse canvas, so you can re-run a single output, adjust it, or take it into an edit without exporting and re-importing.

Send a grey model through the renderer

Start here. Your clay pass and any material references travel into a fresh Virse canvas together, and nothing runs until you press Start.