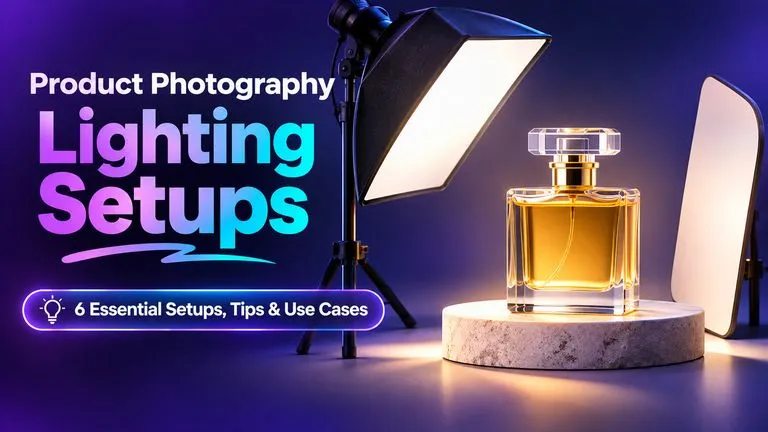
Product Photography: Complete Guide (gear, setup, AI)
Vincent13 min read ·
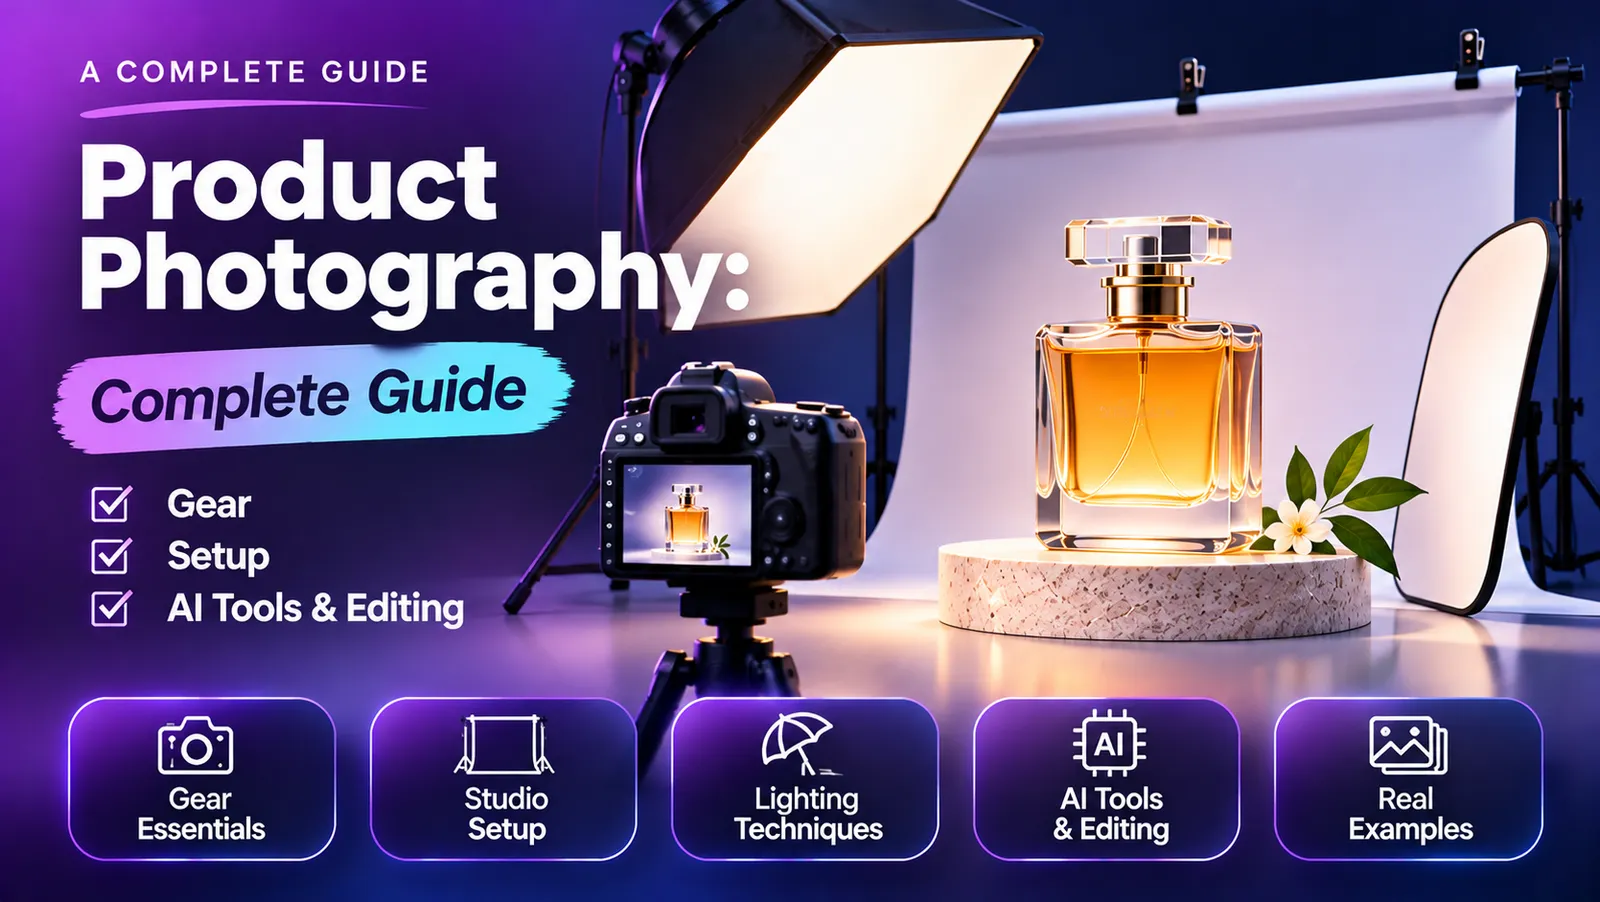
Product photography is the process of capturing clear, accurate, and attractive product images for e-commerce, advertising, and marketing. Professional results require a stable camera, controlled lighting, suitable backgrounds, and consistent editing—not necessarily expensive equipment. The best approach combines product-only images, detailed close-ups, and lifestyle photography that helps customers understand what they're buying, including visual concepts related to product mockups.
Even with good equipment, white products can disappear against bright backgrounds, glossy packaging can produce distracting glare, and large catalogs can suffer from inconsistent colors. AI introduces creative opportunities but can also distort logos, materials, and product proportions. These challenges make a repeatable workflow essential for preserving design accuracy when producing accurate, professional product images at scale.
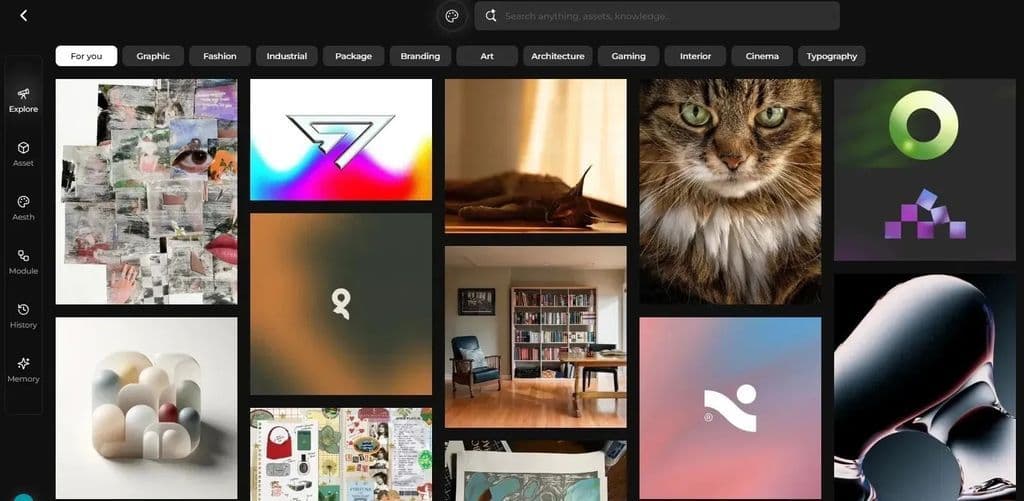
Virse helps turn accurate product photos into more creative possibilities. Its Infinite Canvas brings reference images, multiple AI models, and visual iterations into one connected workspace. Upload your product photo, explore lifestyle backgrounds, compare compositions, and refine selected areas using AI editing tools without rebuilding every scene. Start creating with Virse and transform existing product photos into versatile marketing visuals.
What Equipment Do You Need for Product Photography?
Essential product photography equipment includes a camera or smartphone, tripod, lighting, background, and light-control accessories. Your ideal setup depends on product size, material, shooting environment, and production volume.
Camera, Lens, and Tripod: What Should Beginners Buy?
A modern smartphone, DSLR, or mirrorless camera can produce professional-looking product images when lighting and focus are controlled. For beginners, improving lighting and stability may deliver greater value than upgrading the camera body.
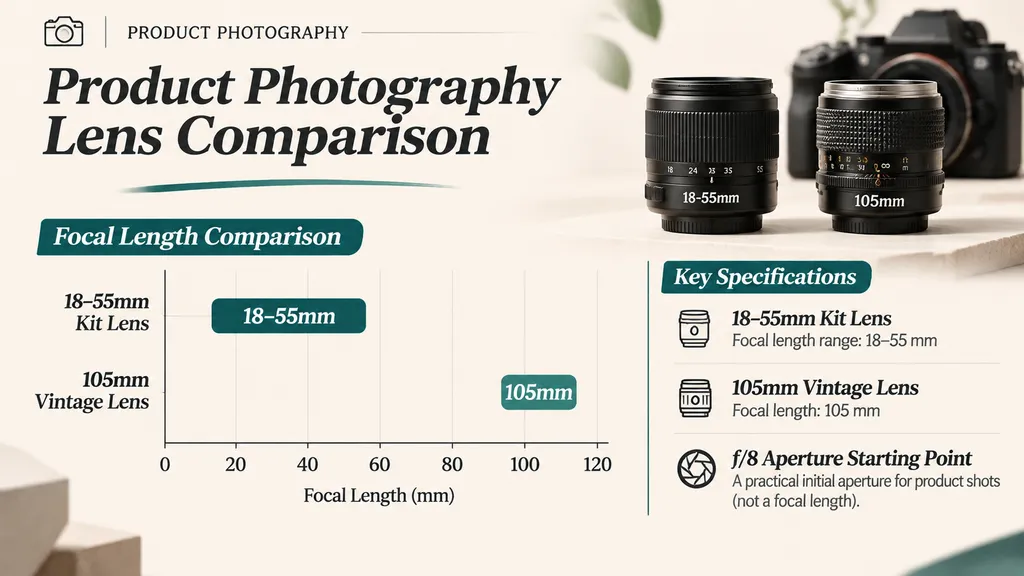
Our review of beginner equipment questions included a setup involving a Nikon D3500, an 18–55mm kit lens, a vintage 105mm lens, and an approximately €900 equipment budget. The photographer was considering a Godox SK400II-V strobe and additional support equipment.
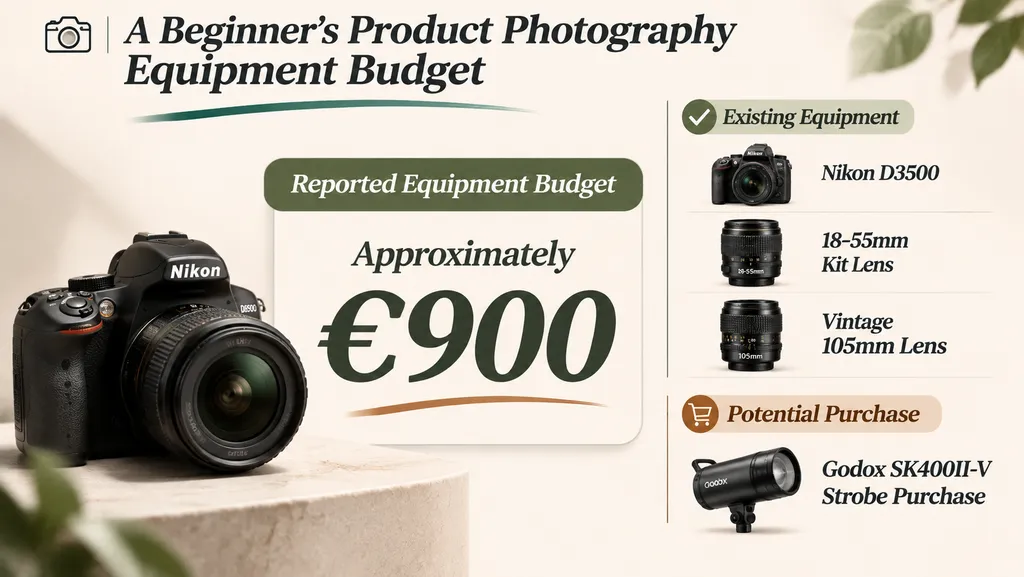
This example illustrates a common purchasing dilemma: investing in new equipment before identifying which limitations actually affect image quality.
A standard zoom lens can handle general product photographs, while a macro-capable lens helps capture jewelry, textures, and small components. A tripod keeps framing consistent and prevents camera movement during longer exposures.
Before buying new equipment, determine whether your images suffer from camera shake, poor focus, perspective distortion, or inadequate lighting.
Strobe vs. Continuous Lighting: Which Is Better?
Continuous lights provide real-time visual feedback, while strobes produce short bursts of light for controlled still photography.
Continuous lighting is convenient for beginners who want to see exactly where highlights and shadows appear. Strobes can provide stronger flash output and help control exposure in more demanding shooting conditions.
For a ceramic cup or simple accessory, one diffused light and a reflector may be sufficient. Reflective metal bottles or glossy packaging may require larger diffusion surfaces and more precise positioning.
You don't need multiple lights simply because professional studios use them. Add lighting only when the background, shadows, or reflections require independent control.
How to Build a Budget-Friendly Product Photography Setup
A practical home photography kit can begin with a stable table, seamless paper background, tripod, one light source, and foam-board reflectors.
Build your equipment collection in this order:
- Stabilize the camera with a tripod.
- Control the main light using an adjustable light source.
- Soften harsh highlights with a diffuser or softbox.
- Manage shadows using white or black reflectors.
- Expand the setup only when a specific product requires it.
For small cosmetics, accessories, or handmade products, this approach avoids unnecessary purchases while establishing a repeatable workflow.
The best beginner setup is the simplest arrangement that produces accurate, consistent product images.
How Do You Set Up Product Photography Lighting?
A good product photography lighting setup controls shadows, highlights, background brightness, and surface texture. Different materials require different lighting techniques, so there is no universal arrangement that works perfectly for every product.
How to Build a DIY Product Photography Studio at Home
Start with a stable shooting surface, seamless backdrop, adjustable light, reflector, and tripod.
For natural light, position the product near a large window and use a white reflector to brighten shadows. For artificial lighting, place a softbox to one side and adjust its angle until the product's contours become visible.
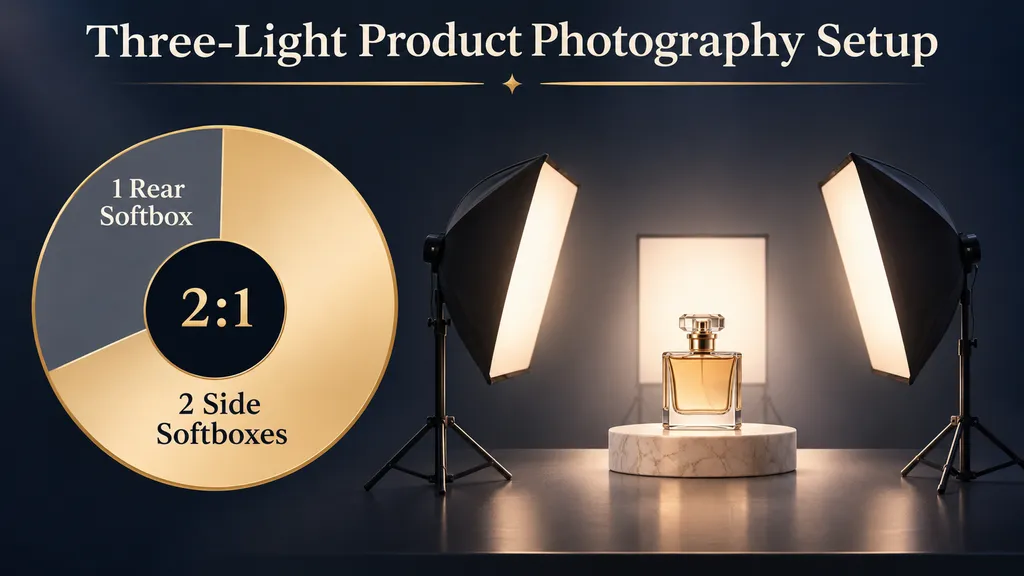
An advanced DIY studio example examined in our research used two medium side softboxes, one larger rear softbox, and a glass platform to achieve an infinite-white appearance. The approximately three-light arrangement was described for challenging subjects such as wine glasses and white towels.
Photoshop was still required for background cleanup.
The key lesson is that additional lighting provides more control but doesn't eliminate post-production. Beginners should master one-light arrangements before adding complexity.
How to Photograph White Products on a White Background
White-on-white product photography becomes difficult when the product and background have similar brightness.
A research case involving white 3D-printed automotive components photographed using a Nikon D3300 and lightbox described disappearing edges, overexposure, and unwanted color casts. Later adjustments in Affinity Photo 2 did not fully recover the desired details.
The central problem is treating the product and background as one exposure.
To preserve white product details:
- Expose for the product first, preserving visible texture.
- Inspect highlights for lost details.
- Adjust light direction to reveal contours.
- Use black cards selectively to define pale edges.
- Brighten the background without overexposing the subject.
- Clean remaining inconsistencies during editing.
A successful white-background image maintains clear product edges and realistic texture—not maximum brightness everywhere.
What Camera Settings Work Best for Product Photography?
For stationary products, begin with low ISO, consistent white balance, and an aperture that provides sufficient depth of field.
An aperture around f/8 can be a useful starting point for many interchangeable-lens cameras, but the ideal setting depends on the lens, sensor, and product dimensions.
Use a tripod when slower shutter speeds are necessary. Check focus on labels, textures, and important details before photographing additional products.
For reflective surfaces, adjust the lighting position before changing exposure alone. Exposure adjustments cannot solve every reflection problem.
How Do You Photograph Reflective Products Without Glare?
Reflective product photography requires controlling highlights rather than removing every reflection. Glass, metal, and glossy plastic need different lighting approaches to preserve realistic materials while keeping important details visible.
How to Photograph Glass, Metal, and Glossy Packaging
Glass relies on reflections to communicate shape and transparency. Metal reflects surrounding light sources, while glossy plastic often creates distracting hotspots.
For glass bottles, use large diffused light sources to create controlled edge highlights. Black cards can improve separation around transparent contours.
For metal products, adjust reflected light sources rather than aiming lights directly at the surface. For glossy packaging, move the light until reflections no longer obscure important text.
Useful reflections communicate material quality; unwanted reflections interfere with product information.
How to Prevent Reflections From Covering Logos
One packaging case in our research involved glossy snack packaging where bright reflections obscured printed labels.
The proposed solution involved capturing alternative lighting arrangements and combining usable regions during editing.
For similar products:
- Identify the logo and essential label areas.
- Position lights to keep important text readable.
- Adjust diffusion to reduce harsh highlights.
- Capture alternative lighting variations if necessary.
- Review the final image for packaging accuracy.
The goal is readable branding without making glossy materials appear artificially flat.
When Should You Use Multiple Exposures?
Multiple-exposure compositing helps when different parts of a reflective product require different lighting conditions.
For example, one photograph might preserve a bottle's contours while another reveals its label more clearly.
Keep the camera fixed, adjust the lighting, and capture alternative exposures. Combine selected regions using careful masking.
Compositing should improve visibility without creating inaccurate colors, surfaces, or product features.
How Do You Take and Edit Product Photos for E-commerce?
E-commerce product photography should accurately communicate product appearance, construction, materials, and important features. A strong workflow begins with product preparation and continues through shooting, editing, export, and quality control.
Which Product Photography Angles and Styles Do You Need?
Clean the product before shooting. Remove dust, fingerprints, and temporary marks that could become visible in close-up images.
Plan photographs according to customer questions.
- Front views establish product identity.
- Side and back views reveal shape and construction.
- Close-ups highlight textures, labels, and functional details.
- Scale shots help communicate dimensions.
- Lifestyle images demonstrate realistic usage contexts.
For technical accessories, connectors and components may deserve dedicated close-ups. For furniture, dimensions, materials, and room context may be more informative.
Every product photograph should answer a specific customer question.
How to Edit Product Photos Professionally
A reliable editing sequence includes white balance correction, exposure adjustment, background cleanup, shadow refinement, and final color inspection.
Photoshop, Lightroom, and Affinity Photo can support different parts of this workflow. AI photo editing in Photoshop can also support creative editing workflows.
However, editing cannot reliably restore details lost to severe overexposure. The white 3D-printed component case illustrates why accurate lighting should come before aggressive post-processing.
For website delivery, export images at suitable dimensions and use efficient file formats. Compress images without destroying visible texture, and provide descriptive filenames and useful alt text.
Editing should improve presentation without changing the product's real appearance.
How to Keep Product Photos Consistent Across Multiple SKUs
Our review of catalog production questions included a scenario involving approximately 100 swimming pool tile products.
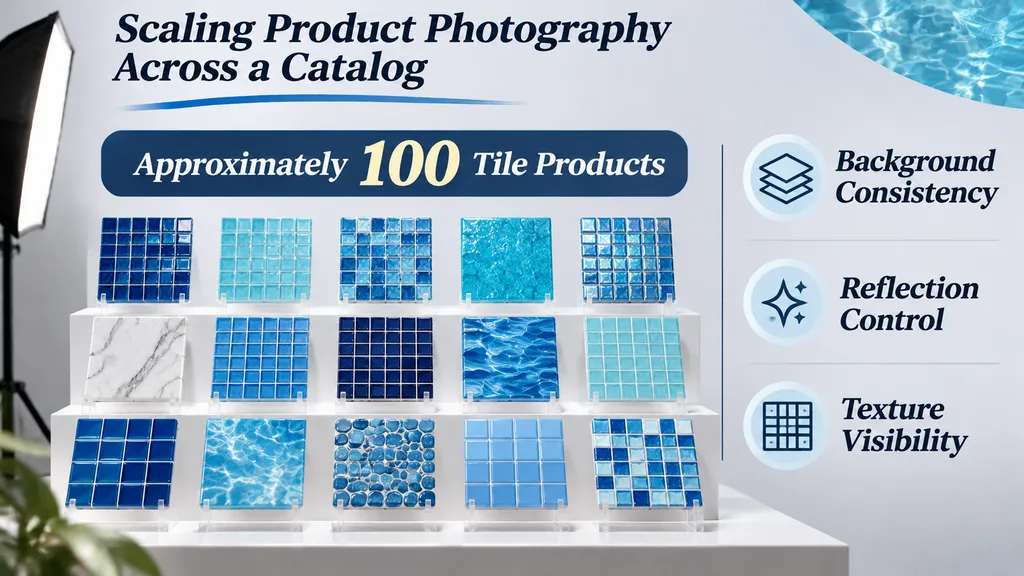
The challenges included inconsistent white backgrounds, reflections, shadows, and visibility of backing materials.
For large catalogs, establish a repeatable workflow:
- Select a representative SKU.
- Record camera and lighting positions.
- Group products with similar materials.
- Maintain consistent framing and backgrounds.
- Apply standardized editing settings.
- Review completed images together.
When materials behave differently, create controlled lighting variations rather than forcing every product into identical conditions.
Consistency comes from repeatable processes with deliberate exceptions.
How Can AI Improve Product Photography Without Changing the Product?
AI product photography can generate lifestyle scenes, creative backgrounds, and marketing variations from existing product images. However, AI-generated images must be reviewed carefully because background editing may change product shapes, logos, colors, or materials. Understanding how to create product mockups with AI without product drift can help guide these workflows.
How to Create AI Lifestyle Product Photography
Start with an accurate photograph of the real product.
For example, a kitchen accessory photographed against a neutral background can be used to explore different countertop environments, natural-light interiors, or seasonal campaigns.
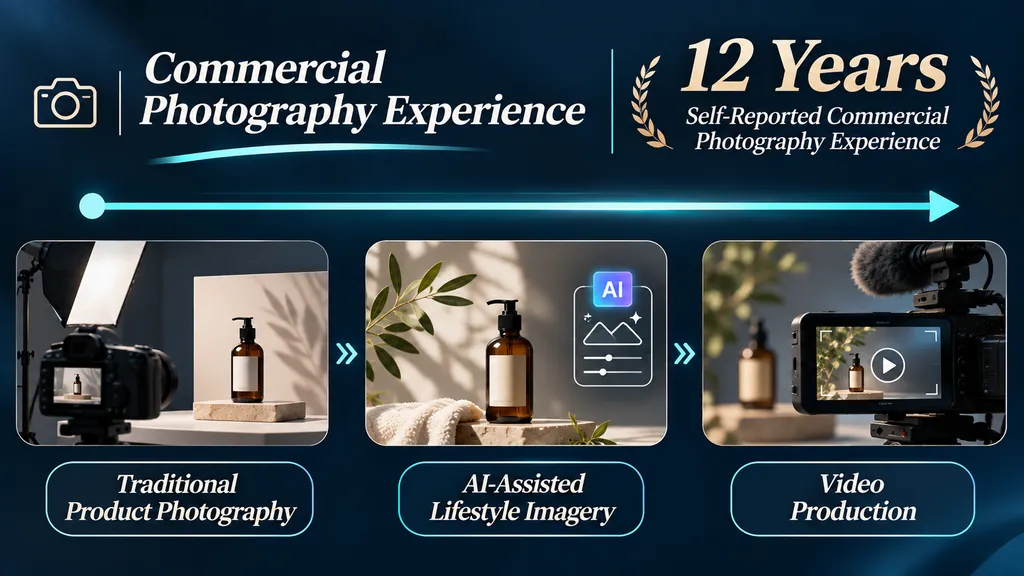
Our research included a commercial photography studio perspective from someone reporting 12 years of industry experience. The described workflow used traditional photography as the foundation and AI to expand lifestyle imagery, marketing assets, and video content.
This illustrates the value of combining physical photography with AI creative exploration.
With Virse Infinite Canvas, designers can organize source images, references, and generated variations in one connected workspace. Its multi-model approach supports comparing visual directions, while inpainting and outpainting offer additional editing flexibility.
Use real photography to establish product accuracy, then use AI to expand creative possibilities.
How to Preserve Logos, Colors, and Product Details
Our review of AI product photography questions identified product distortion during background replacement as an important concern.
Generated images may alter packaging text, product proportions, hardware positions, colors, or surface textures. These issues are also relevant to realistic product mockups.
Before approving an AI image, check:
- Shape and proportions: Does the product match the original?
- Logo and packaging: Are all details preserved?
- Color: Does the image accurately represent the real item?
- Material: Are textures and reflections realistic?
- Hardware: Are components positioned correctly?
- Background: Has the environment changed without affecting the product?
A visually attractive AI image is not necessarily an accurate product image.
Product identity verification should be mandatory before publishing AI-generated commercial imagery.
AI vs. Traditional Product Photography: Which Is Better?
Traditional photography provides an accurate visual reference. AI helps expand backgrounds, compositions, and lifestyle concepts without physically building every environment.
A practical hybrid AI design workflow follows six stages:
- Capture an accurate product photograph.
- Control lighting and surface reflections.
- Edit the original image.
- Expand creative concepts using AI.
- Verify product identity.
- Measure the performance of approved images.
This approach combines the reliability of real photography with the flexibility of AI visual production.
For marketplace listings, verify the relevant platform's image requirements before publishing AI-generated assets.
Do AI Product Photos Improve E-commerce Conversions?
AI lifestyle images may influence customer engagement, but attractive visuals alone cannot prove increased sales. Their effectiveness should be evaluated through controlled testing and meaningful commercial metrics.
What Can Product Photography A/B Testing Reveal?
A seller-reported e-commerce comparison examined in our research contrasted supplier white-background images with AI-generated lifestyle scenes.
The described experiment involved five kitchen-accessory SKUs over 30 days, with a reported 50/50 traffic allocation and approximately 14,000 sessions per image version.
The source summary described stronger engagement and revenue-related metrics for the lifestyle images. However, the underlying experiment has not been independently verified, and one product experienced a price change during the comparison.
These conditions prevent the case from establishing a reliable general conversion uplift.
The practical takeaway is to test image performance under comparable conditions instead of assuming AI lifestyle images always outperform traditional product photos.
Which Product Photography Metrics Should You Track?
Three useful metrics help evaluate different stages of the customer journey:
- CTR (Click-Through Rate): Measures whether images attract clicks.
- ATC (Add-to-Cart Rate): Measures whether visitors show purchase intent.
- RPS (Revenue per Session): Measures revenue generated per session.
Each metric answers a different question.
A lifestyle image may generate more clicks without improving purchases. A white-background photograph may communicate product details more clearly, even when it appears less visually elaborate.
Evaluate the complete customer journey rather than relying on a single engagement metric.
How to Test AI Product Images Without Misleading Results
Keep prices, promotions, traffic allocation, and image placements consistent wherever possible.
Compare equivalent products and record results separately for each SKU.
Also evaluate product accuracy. An image that attracts clicks while misrepresenting the product should not automatically be considered successful.
Review the results alongside downstream outcomes and potential confounding factors before drawing conclusions.
The strongest product photography strategy balances visual appeal, product accuracy, and measurable business performance.
FAQ
What equipment do beginners need for product photography?
Start with a camera or smartphone, tripod, suitable background, one controllable light, and a reflector. A softbox can help soften harsh highlights. More specialized equipment becomes useful when reflective materials, larger products, or repeatable catalog production require additional control.
How do you photograph white products without losing details?
Expose for the product first and control background brightness separately. Use directional lighting to preserve surface texture and dark cards when additional edge definition is needed. Avoid excessive exposure, which can remove details that editing may not recover accurately.
Can AI replace traditional product photography?
AI can generate lifestyle scenes and marketing variations, but it may change product details. Traditional photography remains valuable for accurate product representation. A hybrid workflow uses real photos as the foundation and AI for creative expansion, followed by careful quality checks.
Do AI lifestyle photos improve CTR, ATC, and RPS?
AI lifestyle images may perform differently from white-background photographs, but improvements are not guaranteed. Measure CTR, ATC, and RPS through controlled comparisons. Keep pricing and promotions consistent, evaluate results by SKU, and verify that generated images accurately represent the real product.
Conclusion
Professional product photography combines suitable equipment, controlled lighting, accurate editing, and repeatable production workflows. Successful results begin with understanding how different materials respond to light, then extend into consistent e-commerce catalogs and creative lifestyle imagery. AI tools such as Virse can support visual experimentation by connecting reference images, multiple models, and iterative editing in one workspace. The strongest approach combines traditional photography for product accuracy, AI for creative expansion, and controlled testing for commercial performance, helping businesses create product images that are both visually engaging and trustworthy.