AI Background Changer

AI Background Changer

A good subject can end up in the wrong setting. Upload your photo and describe where it should appear: a quiet studio, a sunlit room or an outdoor scene. Virse creates a new background around the subject so you can explore the setting, light and mood together.

Input
Source photo · RequiredNew background · OptionalBackground reference · OptionalBackground type · OptionalOutput ratio · OptionalNumber of variants · Optional
Output
Composites that keep the original subject with a replaced background, 4 scene options by default (1 when a background reference is supplied or the pure-white option is chosen), each generated independently (a pure white #FFFFFF plate when the pure-white option is chosen with disclosure)

Source photo

Required

Source photo (required)

Your image is uploaded on the canvas — this form carries the settings.

Background referenceOptional

Background typeOptional
Output ratioOptional
Number of variantsOptional

How AI Background Changer Works

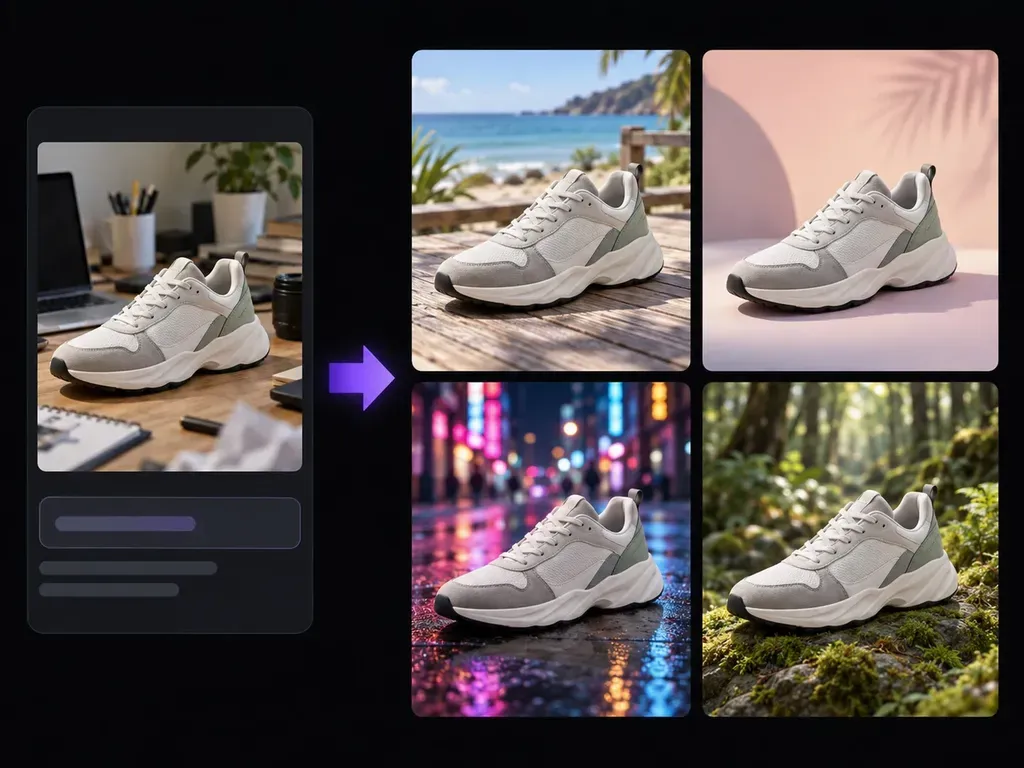
An AI background changer replaces the setting around a subject in an uploaded photo. Describe the scene you want in Virse and review the new composition. Fine edges, colors and subject details may change during generation.

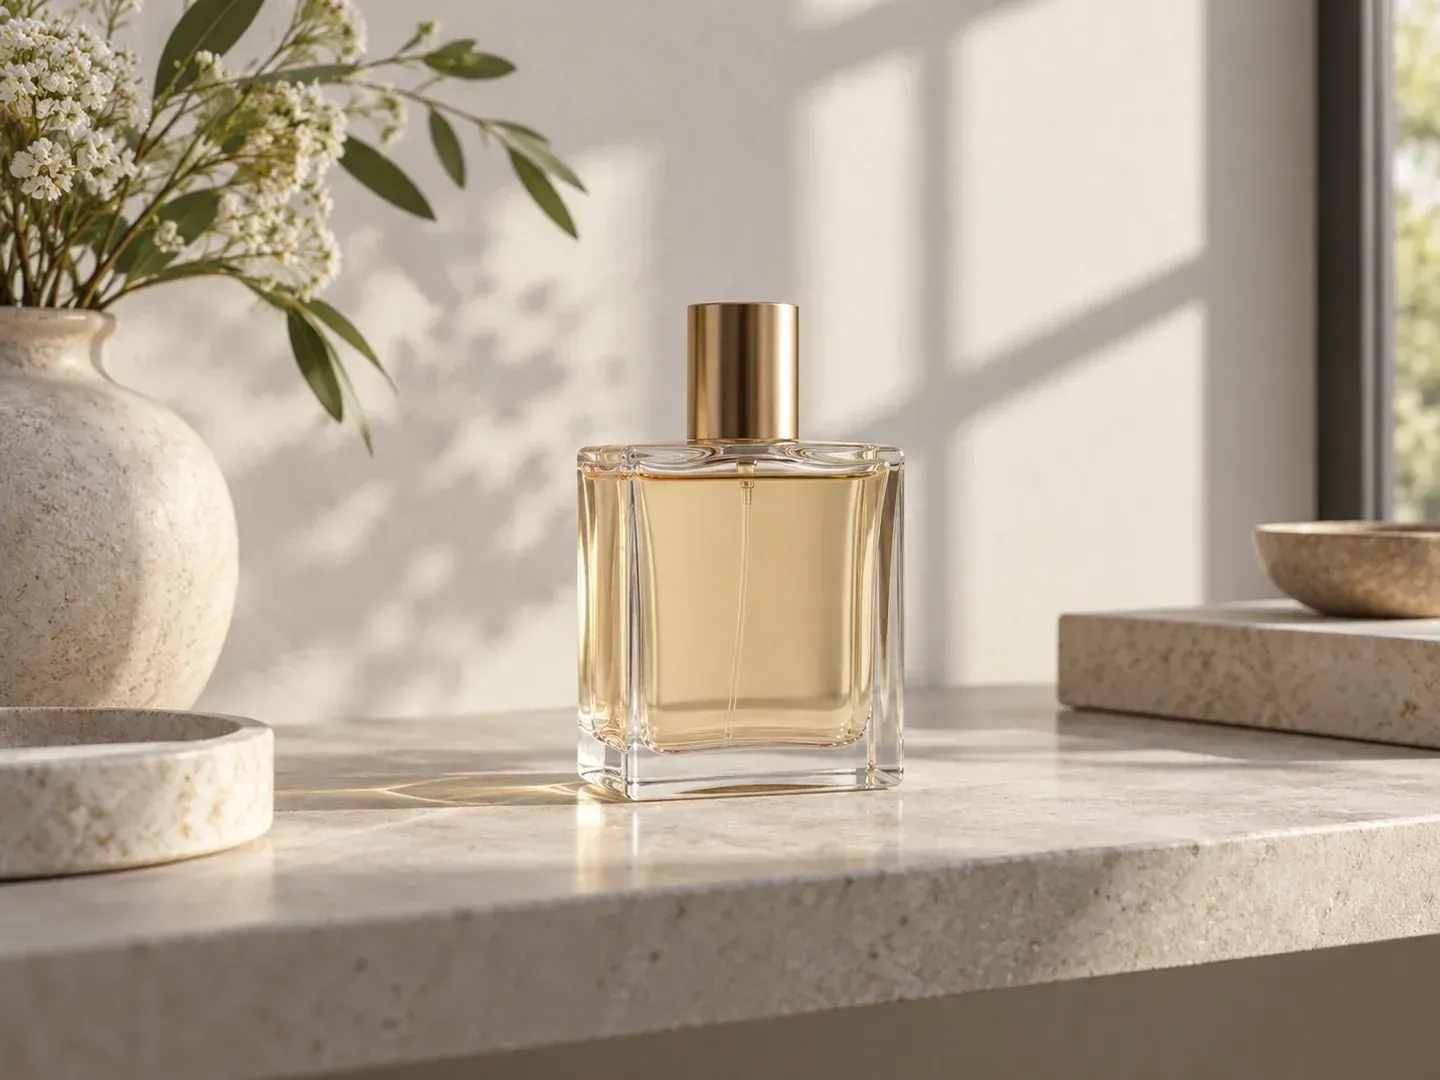
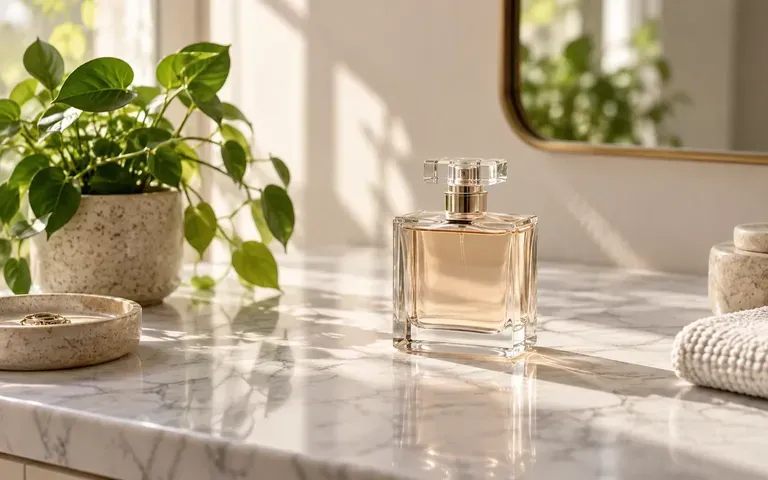
A plain unbranded perfume bottle on a pale stone shelf with soft window shadows
Illustrative concept: a plain unbranded perfume bottle on a pale stone shelf with soft window shadows

What You Can Explore in Virse

The background changes how a photo feels. Give the generator a specific setting and lighting direction, then judge whether the subject belongs in the scene.

A perfume bottle on a marble counter

Describe the Setting in Plain Language

Name the surface, surroundings and time of day. A bottle on a stone shelf calls for different shadows than the same bottle on a beach. Include those details in the brief.
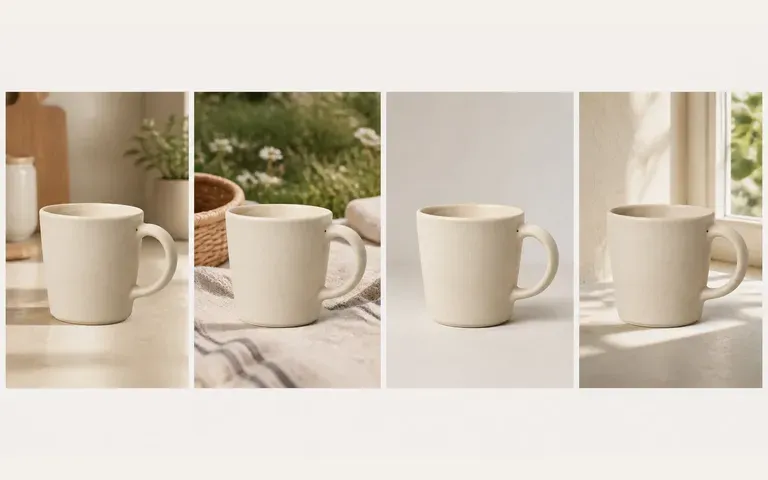
Mug concepts in kitchen outdoor studio and window-light settings

Try a Different Mood for the Same Subject

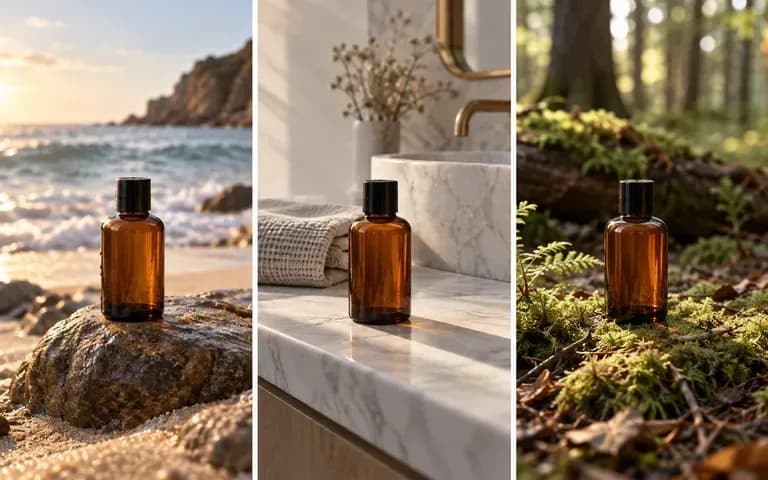
Explore a clean studio look, a warmer interior or a seasonal scene. Keep your source photo nearby to compare how each setting affects the product or portrait.
A bottle shown in three different settings

Keep the Photo and Variations Together

Compare versions on your Virse canvas before choosing a direction. Check the subject's outline, color and important markings as carefully as you check the new background.

How to Get Started

  1. Upload a Clear Photo

    Choose a source where the subject is easy to separate from its surroundings. Clear edges and useful detail give you more to evaluate afterward.

  2. Describe the New Background

    Explain the setting, surface and light. Mention which subject should remain and avoid combining several conflicting locations in one brief.

  3. Generate a New Setting

    Submit the description and continue in the Virse workspace. Review the scene as a whole before inspecting small edges and reflections.

  4. Compare and Refine

    Check the result against your source. Revise the scene description when the setting feels wrong, and keep the original for reference.

Who Uses This Tool?

Use background changes to explore a setting before arranging another shoot or building a finished composition.
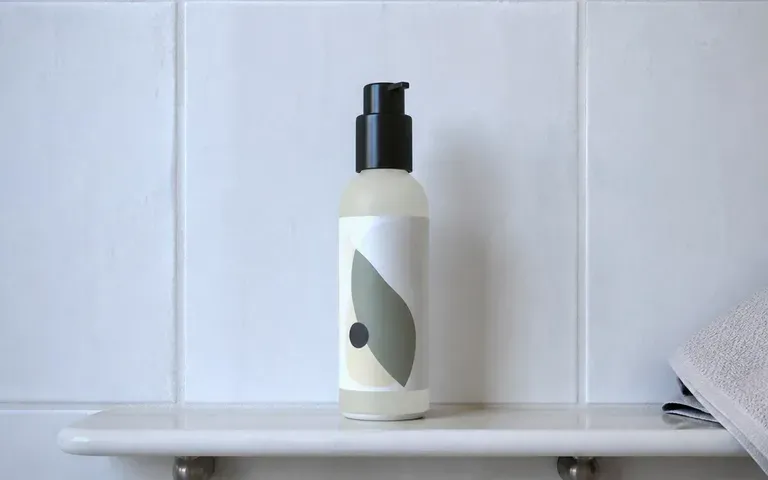
A skincare bottle on a bathroom shelf in morning light

Online Sellers

Try a product in a studio or lifestyle scene. Check shape, color and labels against the source before using the image in a listing.

An illustrative adult headshot with neutral backdrop and even lighting

Portrait Creators

Explore a quieter setting around a portrait. Look closely at hair, glasses and clothing edges, where generated changes can be more noticeable.
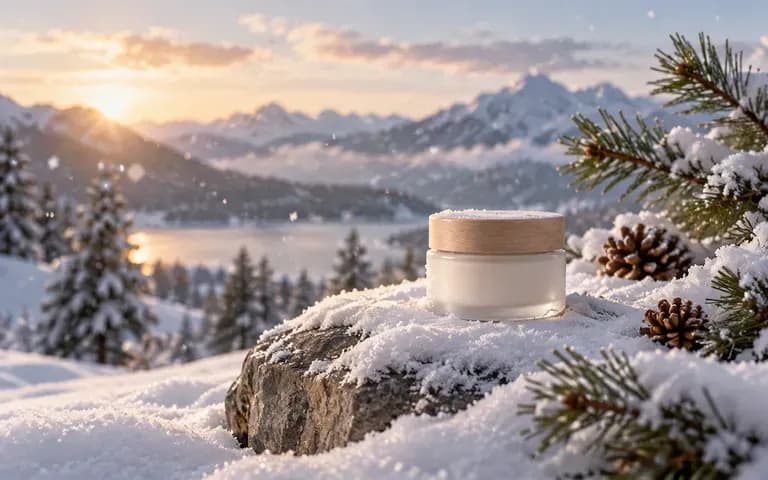
A product within a snowy winter scene

Social Content Teams

Give a familiar product a different seasonal context. Keep the visual direction consistent with the rest of the campaign.
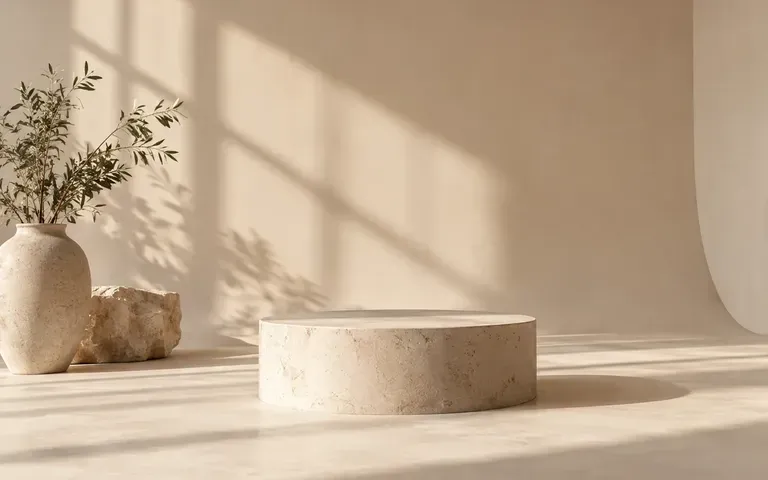
An empty cream studio backdrop with a low plinth

Designers Building Moodboards

Compare surfaces, shadows and background colors around one subject. Use the image to discuss a direction with collaborators.
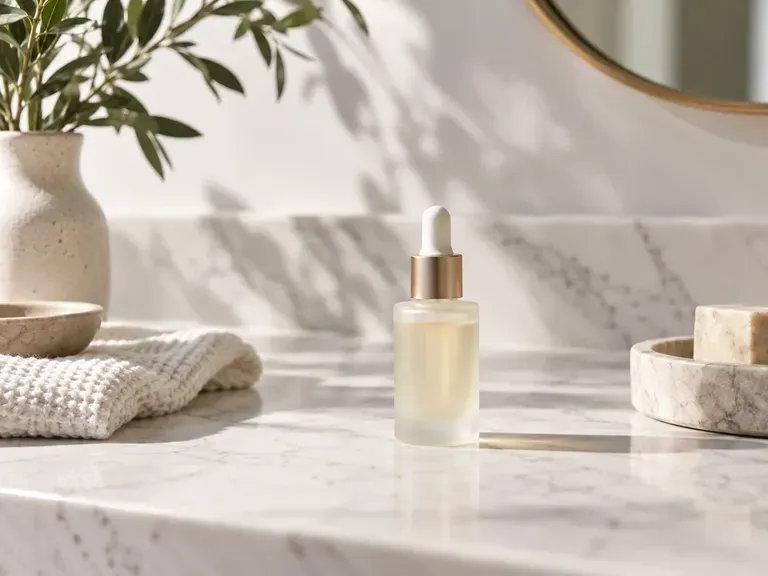
Ideas to Try

A product still life on a marble surface
Studio Products: Illustrative concept: a product still life on a marble surface
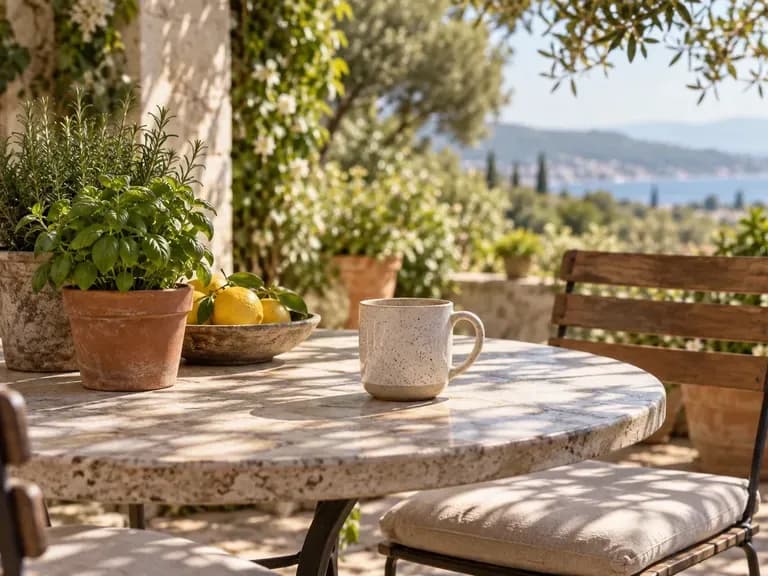
A ceramic mug on a sunlit patio table
Daylight Still Lifes: Illustrative concept: a ceramic mug on a sunlit patio table
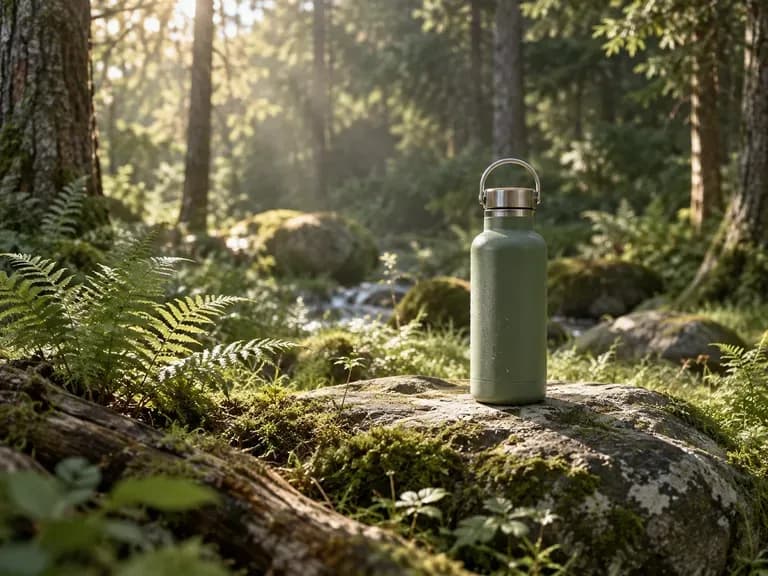
A bottle standing on moss in a softly lit forest setting
Forest Product Settings: Illustrative concept: a bottle standing on moss in a softly lit forest setting
A product surrounded by seasonal table props
Seasonal Still Lifes: Illustrative concept: a product surrounded by seasonal table props
An illustrative adult portrait with textured backdrop and directional light
Relaxed Portraits: Illustrative concept: an illustrative adult portrait with textured backdrop and directional light
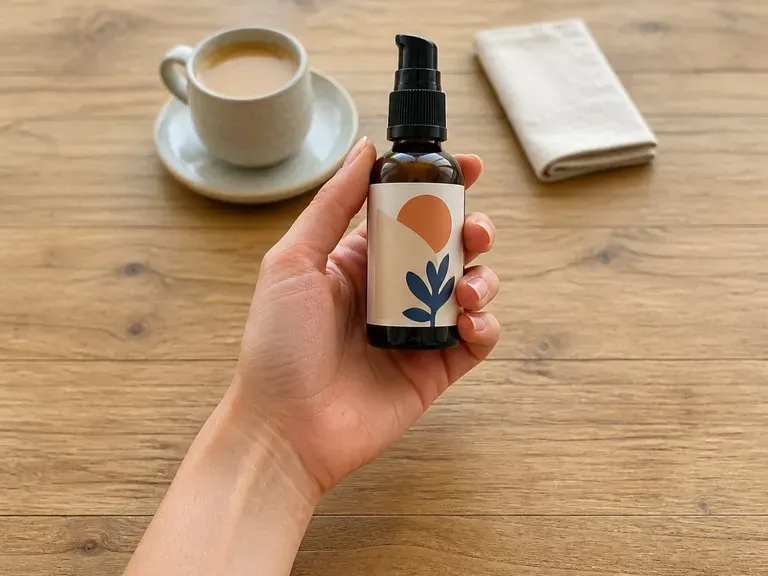
A product held above a cafe table in daylight
Cafe Product Scenes: Illustrative concept: a product held above a cafe table in daylight

Frequently Asked Questions

What should I upload?
Start with a product photo or portrait where the subject is clear. A busy background can make edges harder to interpret. Use a photo you have permission to edit.
Can I describe my own background?
Yes. Explain the location, surface, lighting and overall mood. Concrete details such as a pale stone shelf and side light are more useful than asking for a better background.
Will the subject stay exactly the same?
Do not expect pixel-for-pixel preservation. Generation may alter edges, reflections or small details. Compare the output with the source, especially for products whose appearance must be accurate.
Does this include a brush or manual mask editor?
This workflow uses your photo and written direction. It does not provide a brush for painting a selection or manually repairing individual edges.
Can I use this for an ID photo?
Use a dedicated service when a photo must meet official requirements or preserve a person's appearance exactly. This page is for creative background changes.
How is this different from removing a background?
Background removal separates a subject from its surroundings. This tool creates a new setting around that subject. Choose the task based on whether you need a cutout or a new scene.

Find a Setting That Fits Your Subject

Bring a clear photo and describe the surroundings you have in mind. Compare the new scene with your original before taking it into a finished design.