AI Old Photo Restoration
Input · OriginalOutput · Result

AI Old Photo Restoration

Upload a damaged photo and get it back as it was kept. Scratches, creases, stains and fading are removed one at a time, film grain is preserved, and faces come through unchanged.

Input
Old photo · RequiredRestore mode · OptionalExtra requirements · Optional
Output
Restored photo × 1

Old photo

Required

Drop the old photo

Your image is uploaded on the canvas — this form carries the settings.

Restore modeOptional

What AI old photo restoration does to a damaged print

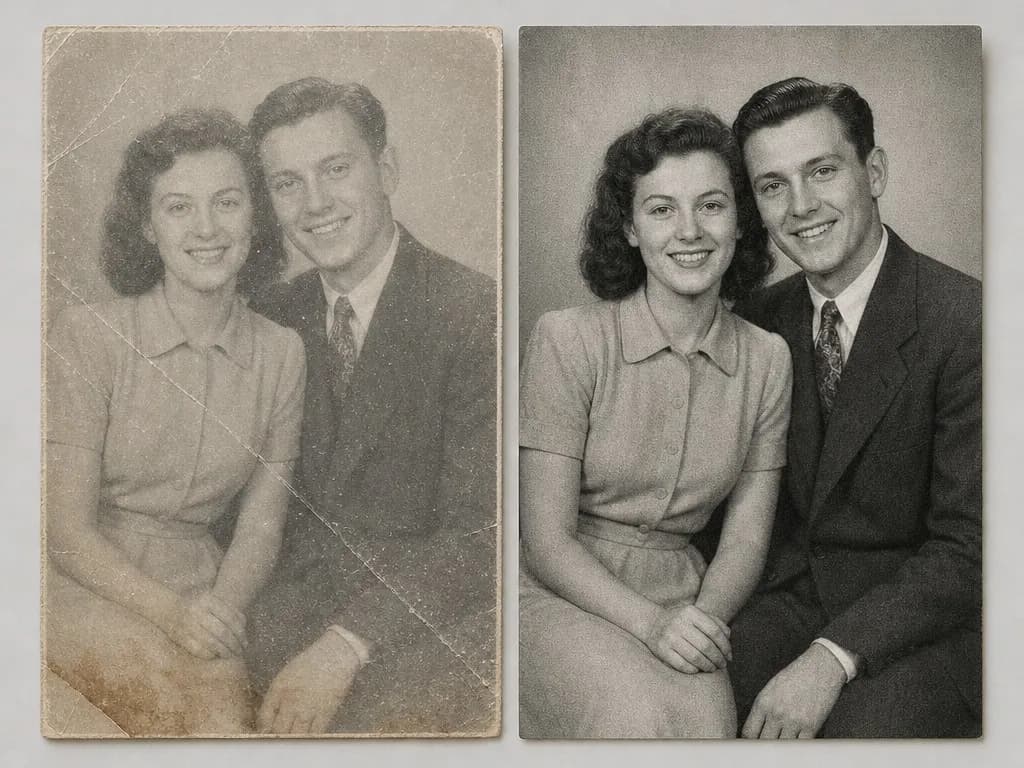
AI old photo restoration repairs the damage a print collects over decades and rebuilds the detail underneath. This one works defect by defect rather than smoothing the whole frame, which is why the grain survives and the faces still look like the people in them.

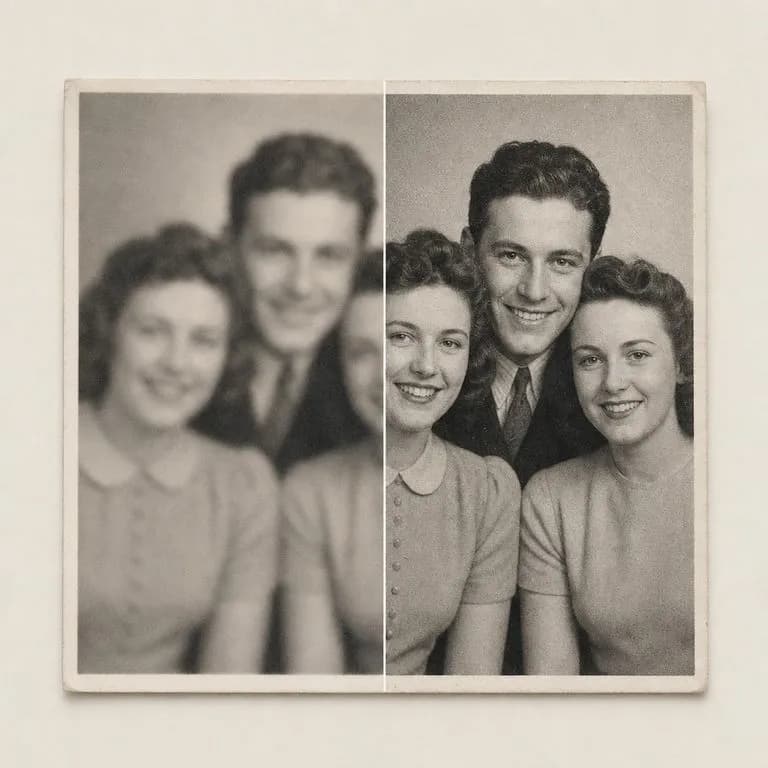
A damaged vintage print on the left and the same photograph restored on the right
A damaged print and its restored version, side by side

What the old photo restorer repairs, one defect at a time

One required scan, one mode, one optional line of notes. The work happens in what gets treated separately.

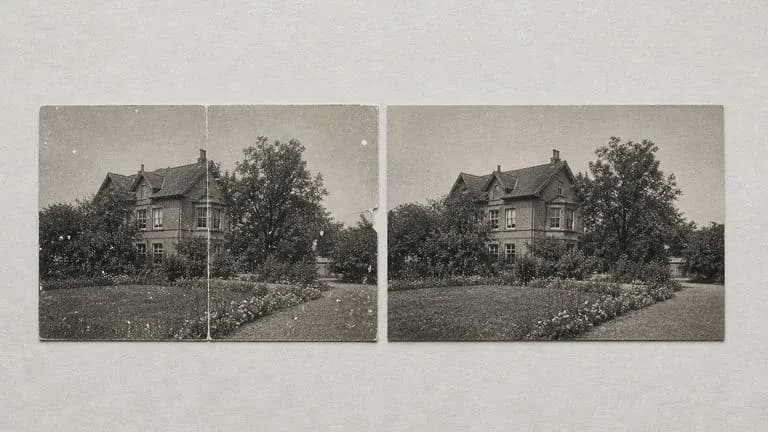
Scratches, creases and dust removed from a print with the grain left intact
Removed

Surface damage

Scratches, creases, fold lines, dust and water stains are each dealt with as their own problem. Damaged areas are rebuilt from the surrounding image rather than blurred over until they stop showing.
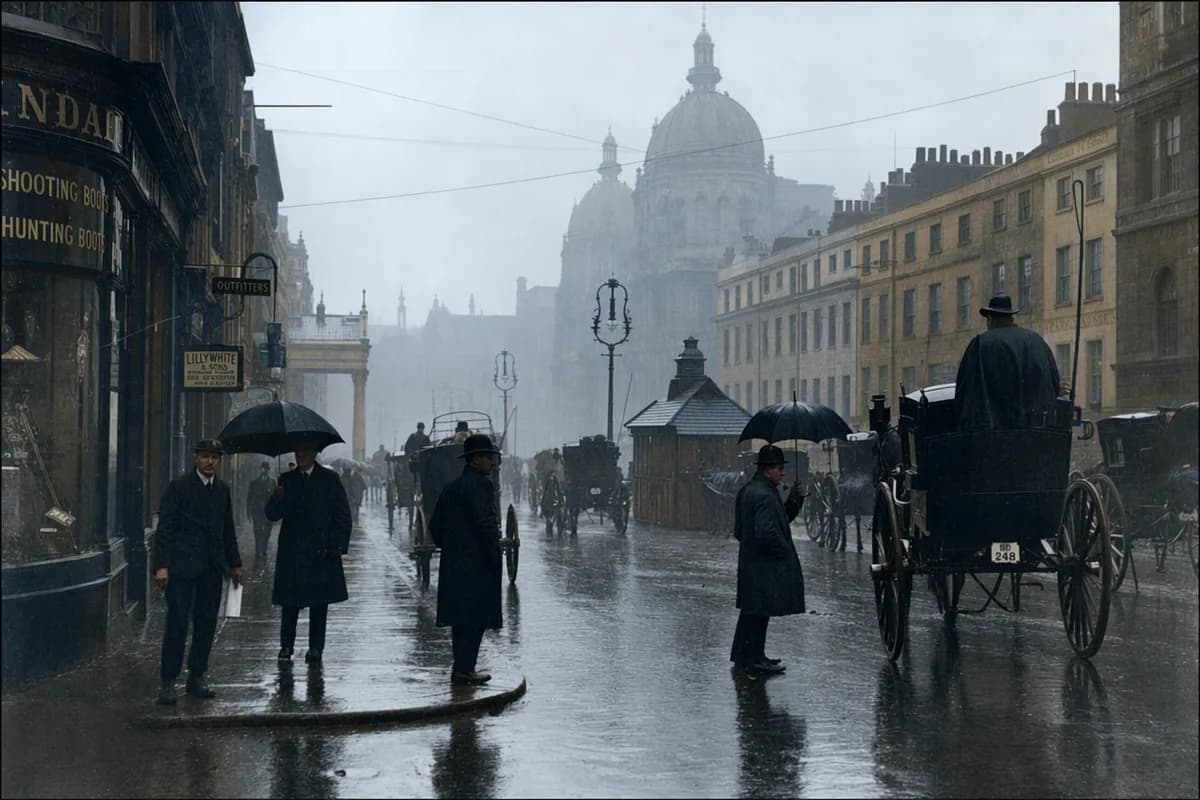
A washed-out print with its blacks and tonal depth brought back
Recovered

Fading and contrast

A print that has lost its blacks gets them back. Tonal depth is recovered from what survived, and the result is the photograph as it was printed rather than a modern high-contrast version of it.
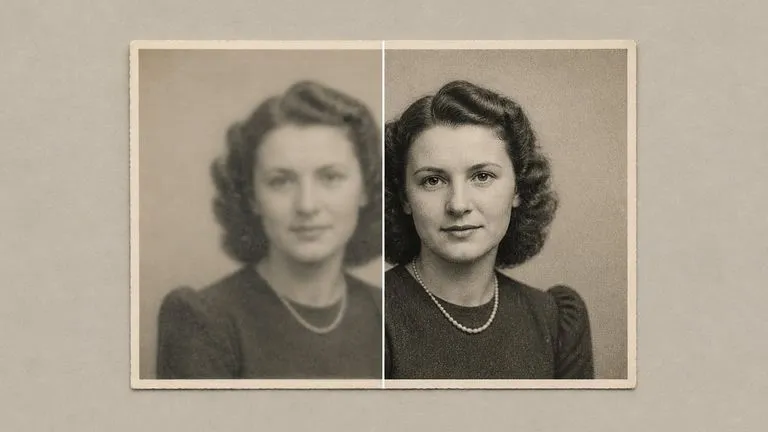
A soft portrait sharpened back without the face turning smooth or plastic
Protected

Faces and grain

Film grain and historical texture are kept on purpose. An over-denoised face reads as a fake rather than as a restoration, so features are sharpened back rather than smoothed away and reinvented.

How to restore old photos online in four steps

  1. Scan or photograph the print

    A flatbed scan gives the most to work with. A straight-on phone photo in even daylight is enough to start, as long as there is no glare across the surface.

  2. Choose repair or repair and colorize

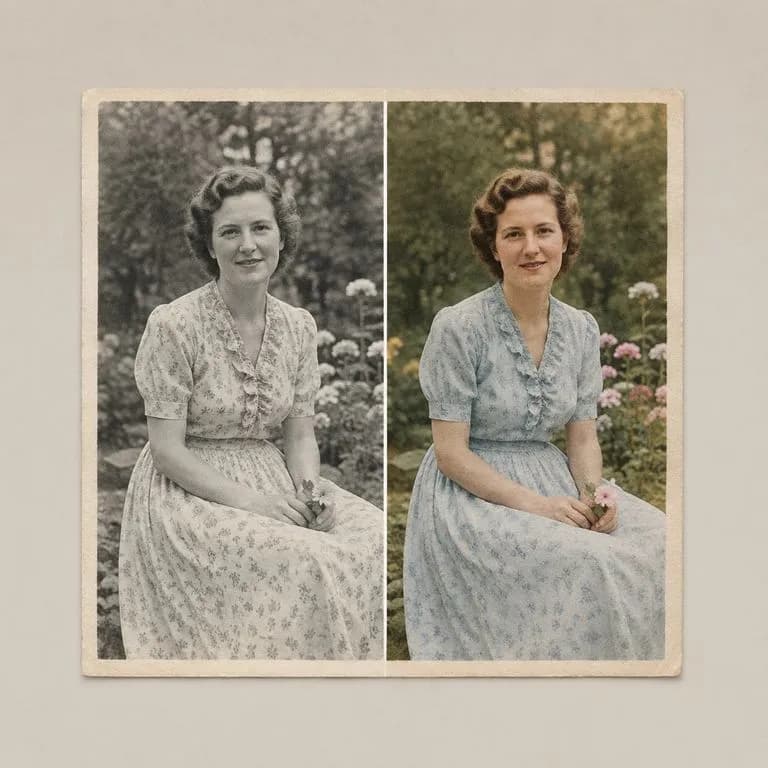
    The default repairs the damage and leaves a black-and-white photo black and white. Colour is a deliberate choice rather than something that happens to you.

  3. Say what you remember

    Where the tear runs, who is in the frame, roughly what year, what colour the dress was. Notes are how a restoration stops guessing.

  4. Restore, then keep working

    The restored photo lands on a fresh Virse canvas beside your scan. Re-run with different notes, run a colorized version alongside the repaired one, or push it further without exporting.

Who uses an AI photo restoration tool

People holding photographs that only exist once.
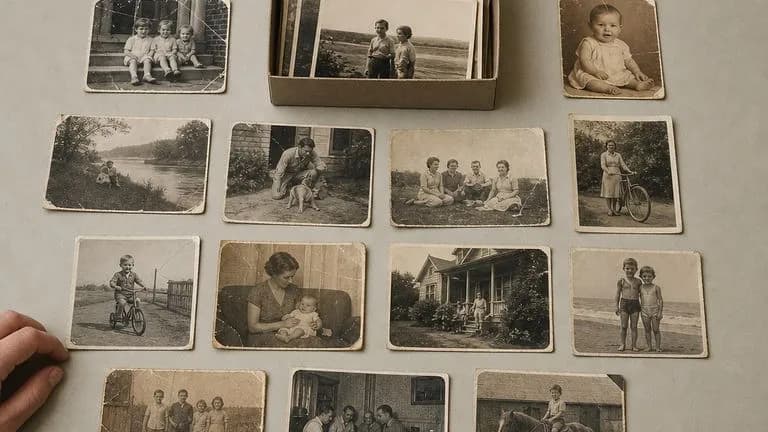
A box of old family prints spread out on a table for digitising

Family Archivists

Work through a box of prints in one place, with every original still sitting beside what came back from it.
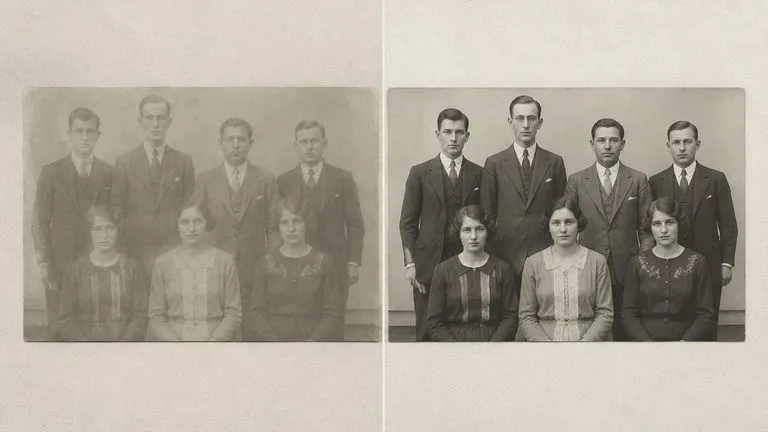
A soft group portrait sharpened until every face is legible

Genealogy Researchers

Recover faces and details clearly enough to identify relatives across generations of the same album.
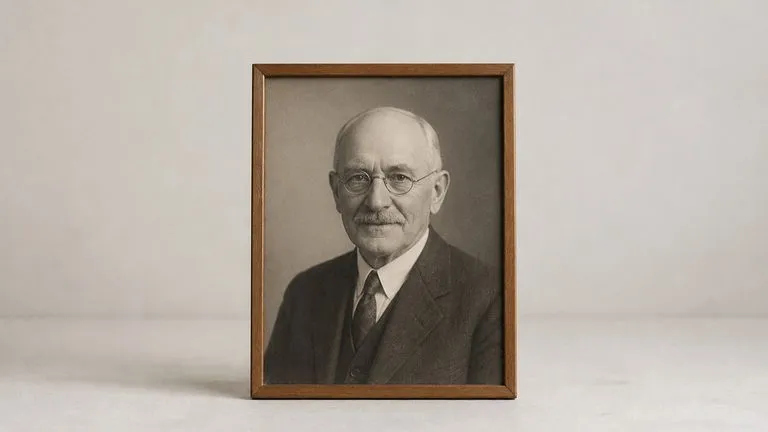
One restored portrait presented alone in a simple frame ready for printing

Memorial & Anniversary Prints

Bring one photograph to print quality for the day it matters, without sending the original away.
What restoring old photos online free tools usually miss

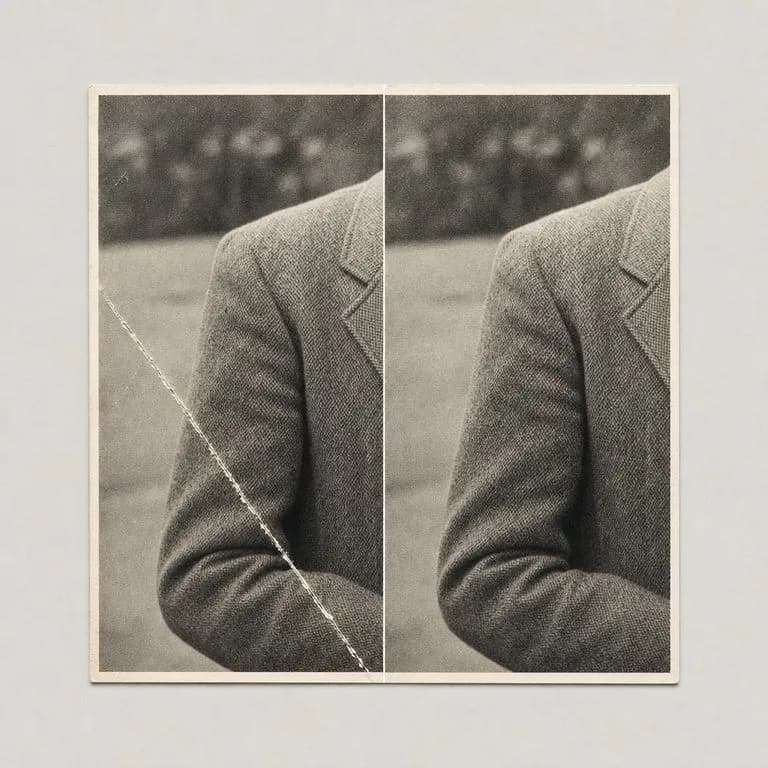
A deep scratch removed from a print with the grain around it untouched
Deep Scratch Lifted: the line gone, the film grain around it still there
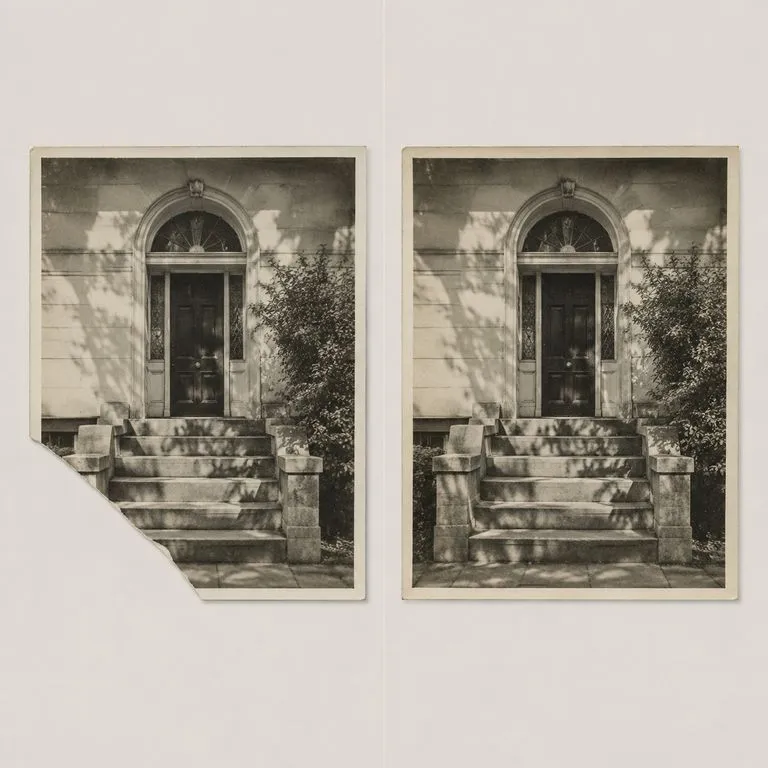
A missing torn corner rebuilt from the surrounding image
Torn Corner Rebuilt: missing paper reconstructed from the surrounding image
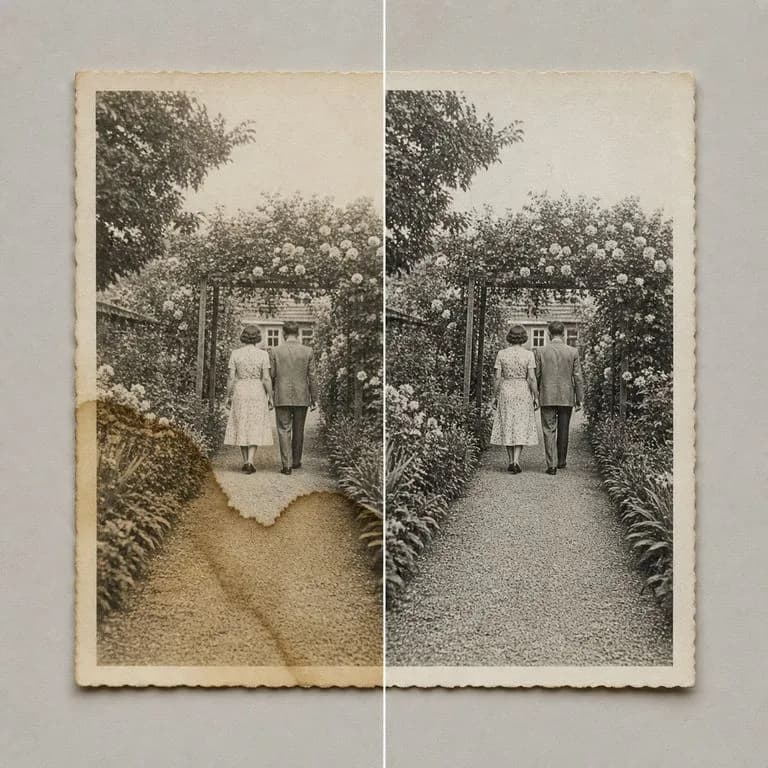
Brown water staining cleared without flattening the texture underneath
Water Stain Cleared: staining removed without flattening the texture underneath
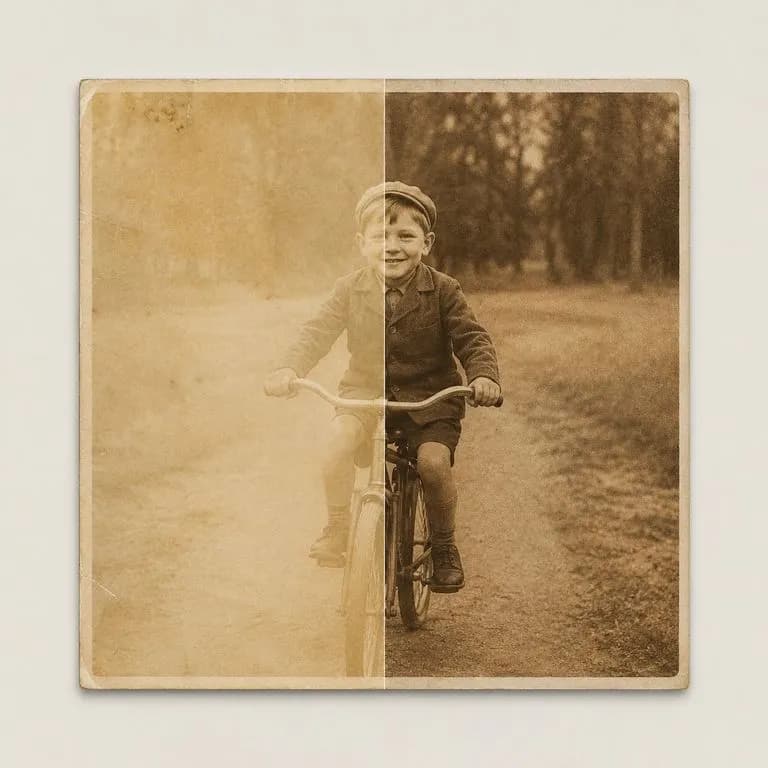
A washed-out sepia print with its depth and detail brought back
Faded Print Recovered: blacks and tonal depth brought back from a washed-out scan
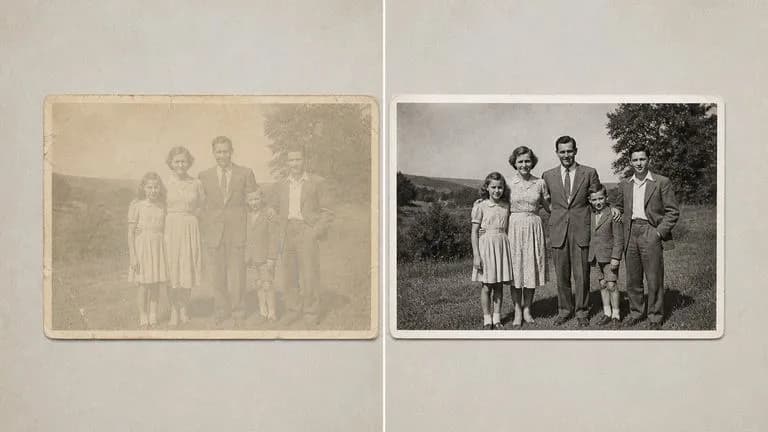
Blurred faces in a group recovered without becoming strangers
Blurry Faces Sharpened: a soft group photo readable without anyone becoming a stranger
One photograph kept both as a repaired black and white and as a colourised version
Repaired and Colorized: both versions kept, so the choice stays yours

Why restoration should keep the grain

The tempting shortcut is to smooth everything until the damage stops showing. That is also how a restoration starts looking fake.

One-shot restorers

  • The whole frame is denoised, so damage and film grain disappear together
  • Faces come back smooth, and smooth is the thing that reads as artificial
  • Colourisation is applied automatically, whether or not you wanted it
  • One result per upload, and the only option is to accept it or start again

The Virse restorer

  • Defects are handled one at a time, and the grain around them is left in place
  • Features are sharpened back from what survived rather than generated fresh
  • Colour is a mode you choose, because it is an interpretation of the photograph
  • Every pass lands on a canvas beside the original, so nothing replaces anything
FAQ

Questions

Will it turn the photo into something plastic-looking?
No. Film grain and historical texture are kept on purpose, because an over-denoised face reads as a fake rather than as a restoration.
Can it colourise a black-and-white photo?
Yes, but only if you ask. The default repairs the damage and leaves a black-and-white photo black and white, because colourising is an interpretation and it should be your choice.
Is this a photo restoration service?
No. It is a tool you run yourself, not a studio that takes your print in the post. Severely damaged photographs, prints stuck to glass and anything genuinely irreplaceable are still worth taking to a conservator.
What if the damage covers somebody's face?
It will rebuild the area from what surrounds it, which means it is inferring rather than recovering. On a cheek or a shoulder that is usually fine. Across an eye it is a guess, and it is worth saying in the notes that you would rather see the damage than a face that is not quite theirs.
Does pressing Create run the tool straight away?
No. Your inputs travel into a fresh canvas and land on the tool already filled in, but nothing runs until you press Start there. A link can never spend your credits on your behalf.
Can I keep working on the result afterwards?
Yes. Everything the tool produces arrives on a normal Virse canvas, so you can re-run a single output, adjust it, or take it into an edit without exporting and re-importing.

Bring the photo back to how it was kept

Upload it here and the restoration opens on a fresh Virse canvas you can keep working on, with nothing running until you press Start.