AI Image Quality Enhancer
Input · OriginalOutput · Result

AI Image Quality Enhancer

Upload a picture that is not good enough to use. It works out what actually went wrong, whether that is blur, noise, compression artefacts or simply not enough pixels, repairs that first, then renders at the resolution you pick.

Input
Low-quality image · RequiredTarget resolution · OptionalEnhancement focus · OptionalExtra requirements · Optional
Output
Enhanced image × 1

Low-quality image

Required

Drop the image

Your image is uploaded on the canvas — this form carries the settings.

Target resolutionOptional
Enhancement focusOptional

What an AI image quality enhancer does before it upscales

An AI image quality enhancer repairs a picture rather than only enlarging it. This one diagnoses which defect dominates, blur, noise or compression, and fixes that before rendering at the target size, because enlarging a defect gives you a bigger defect.

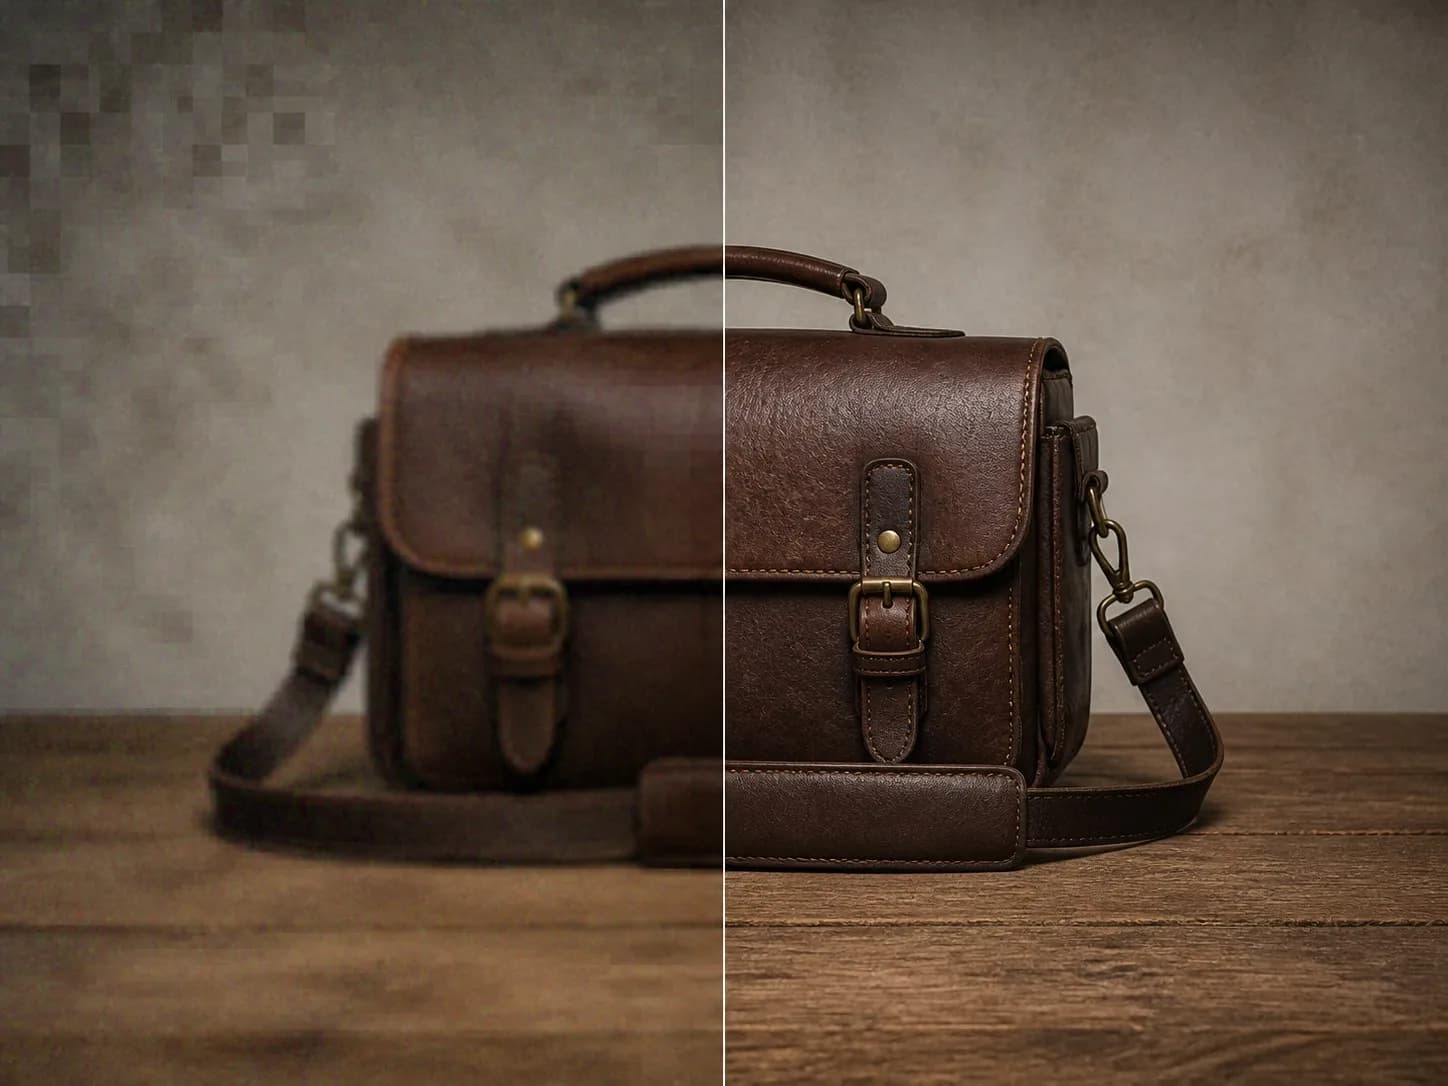
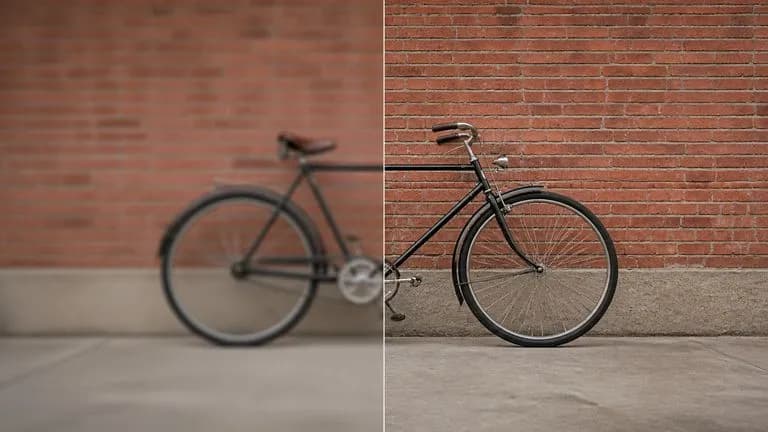
A soft, noisy, blocky photograph on the left and the same photograph repaired on the right
A low-quality source and the repaired version at 4K

Three defects the enhancer separates before rendering

One required image and two settings. What makes the difference is that these three problems are not treated as one.

A softly focused photograph with its focus recovered
Sharpness focus

Blur

Motion blur, missed focus and the softness a photo picks up after being resized twice. Sharpening a noisy image makes the noise worse, which is why the diagnosis comes first and the focus setting exists.
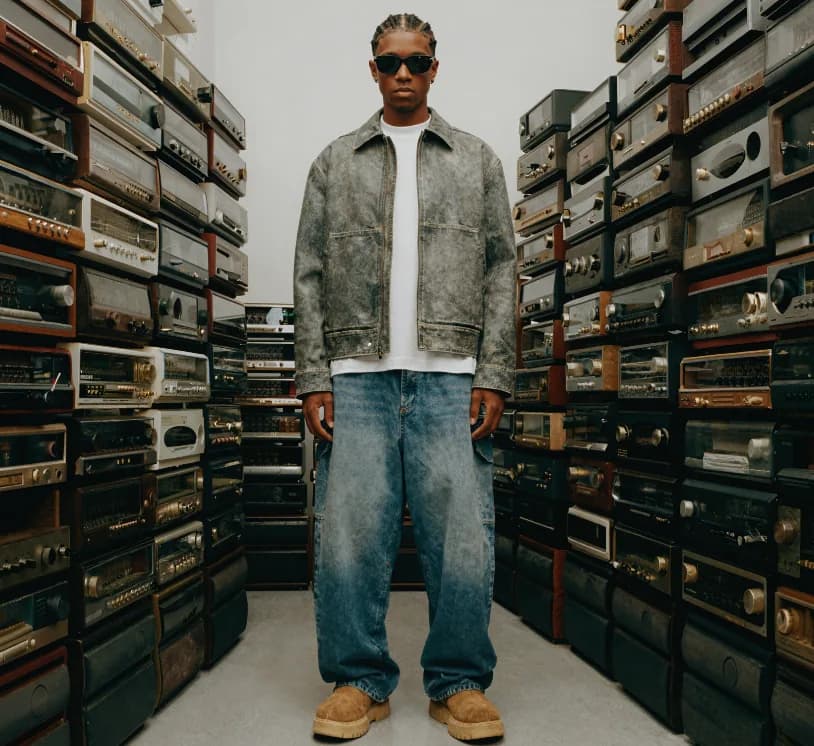
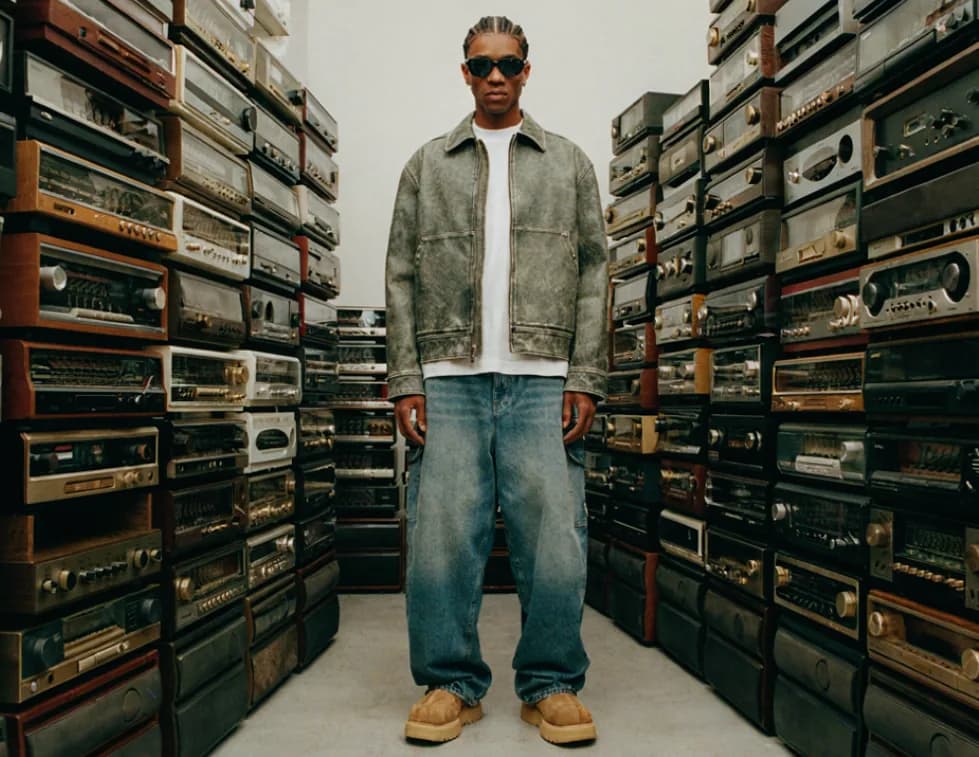
Heavy low-light noise removed without the surfaces going plastic
Noise removal focus

Noise

Grain from a high ISO shot, sensor noise from a phone in low light, colour speckle in the shadows. Removed without flattening the surfaces it was sitting on.
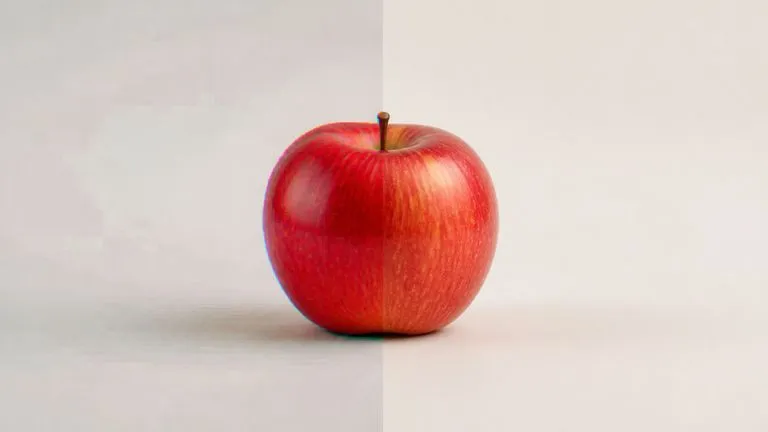
JPEG blocking and ringing cleared from a heavily re-saved image
Balanced focus

Compression artefacts

Blocking and ringing from a file that has been saved, sent and re-saved. This is the most common problem with images pulled off a chat app, and it is not something more pixels will fix.

How to enhance image quality to 4K in four steps

  1. Drop in the image

    Whatever you have. A phone photo, a screenshot, a small file someone emailed you, an old export you no longer have the original of.

  2. Pick the target resolution

    1K for a web page, 2K for most things, 4K when it is going to print or being cropped into.

  3. Choose a focus, and protect the text

    Balanced handles most images. Name any text in the notes, because text is the first thing a generative pass tends to invent.

  4. Enhance, then keep working

    The result lands on a fresh Virse canvas beside the original. Compare them at full size, re-run with a different focus, or take it into an edit without exporting.

Who reaches for an AI image enhancer

People who need to use an image they did not shoot and cannot reshoot.
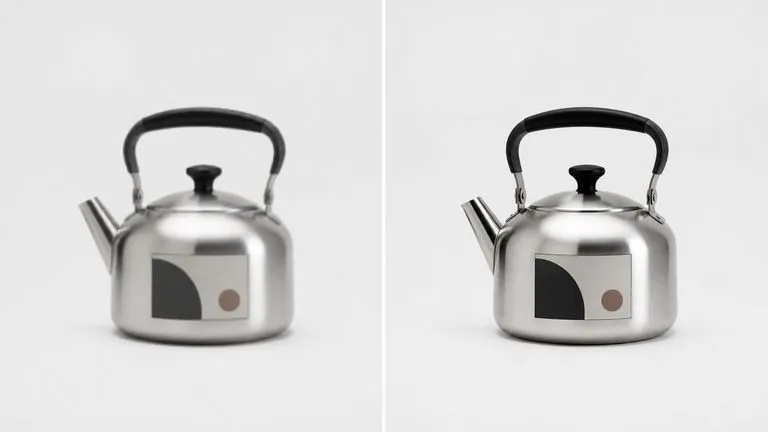
A small low-quality supplier photo brought up to listing quality

E-commerce & Listing Teams

Bring supplier images up to the resolution a marketplace demands, when the only file anyone can find is a small one.
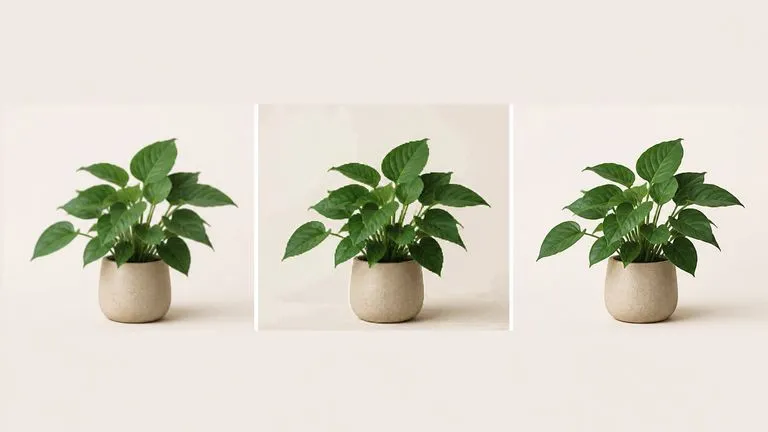
An asset degraded by repeated re-saving restored for publication

Marketing & Content Teams

Rescue an asset that arrived compressed through three forwards, in time for something that goes out today.
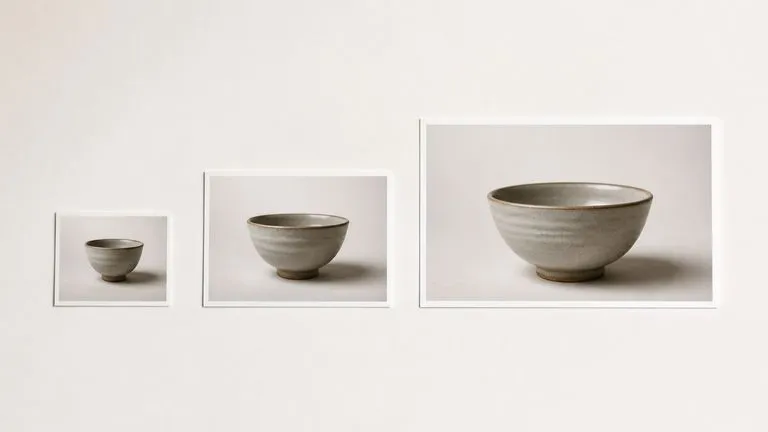
One image checked at three output sizes before committing to print

Print & Production

Push an image to the pixel count a printer needs, and see what it costs in detail before committing to the file.
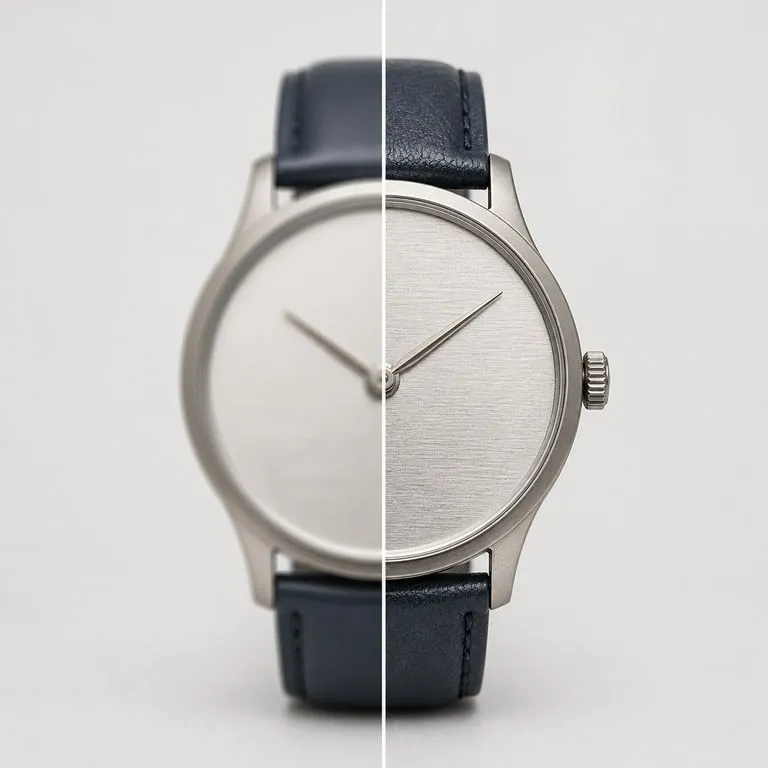
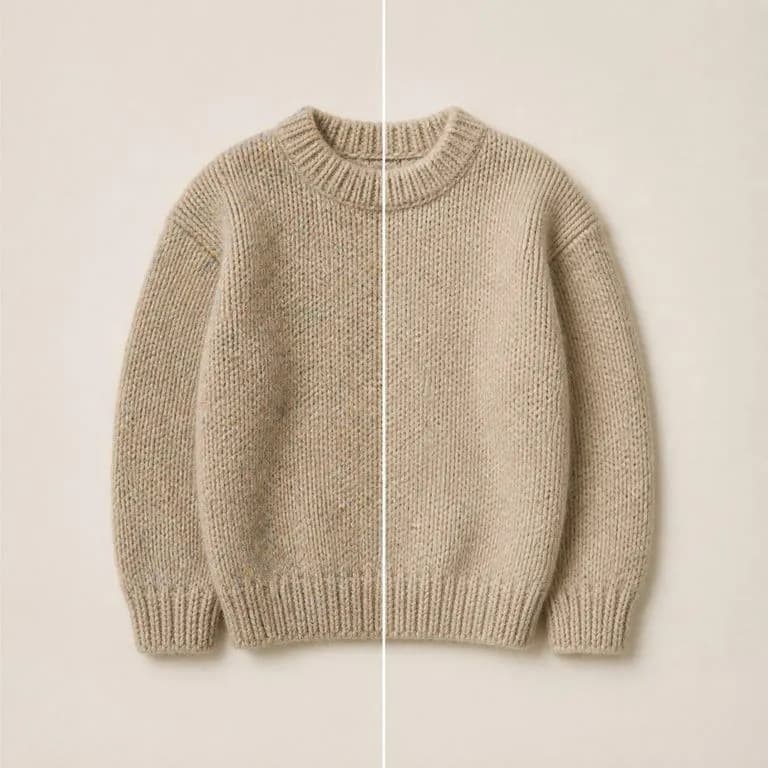
What an image upscaler alone will not fix

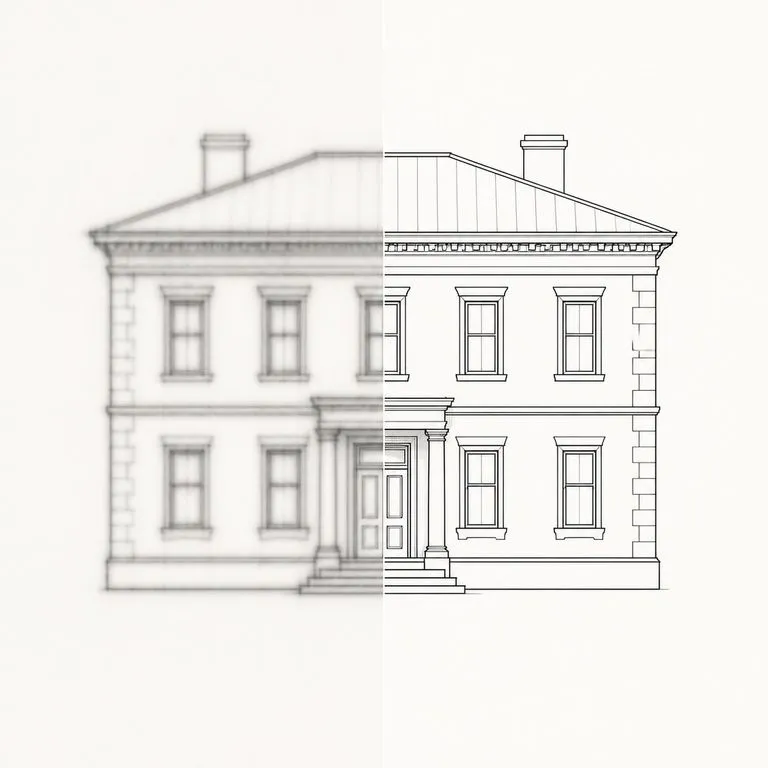
Focus recovered on a soft photograph before it was enlarged
Blur Repaired First: focus recovered before the image was enlarged
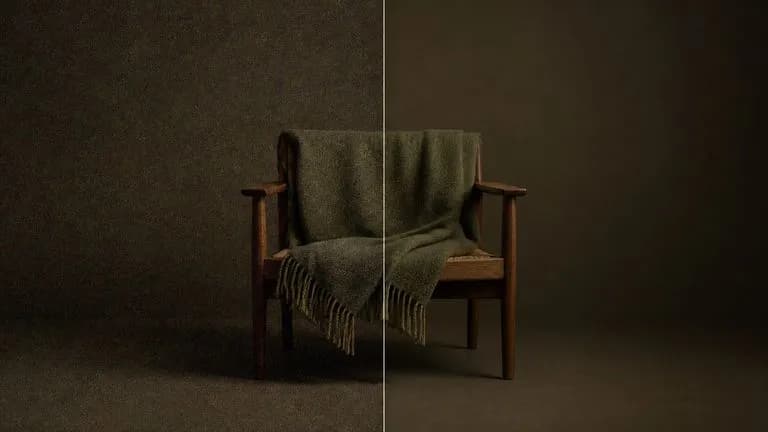
Noise removed from a knitted surface with every stitch still resolved
Noise Without Plastic Skin: grain removed while the surfaces keep their texture
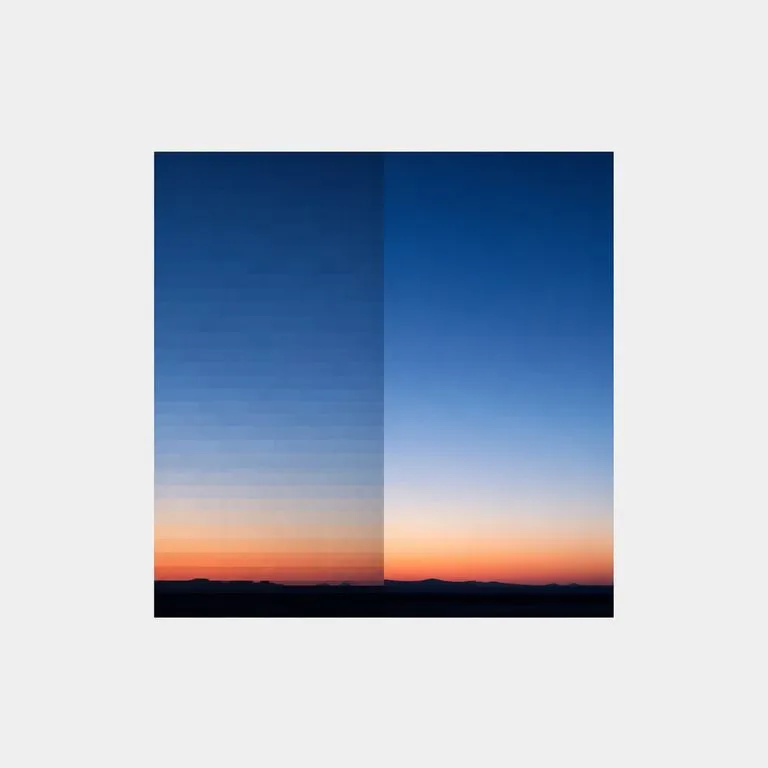
Square compression blocking cleared from a smooth gradient
JPEG Blocking Cleared: artefacts from repeated re-saving taken out
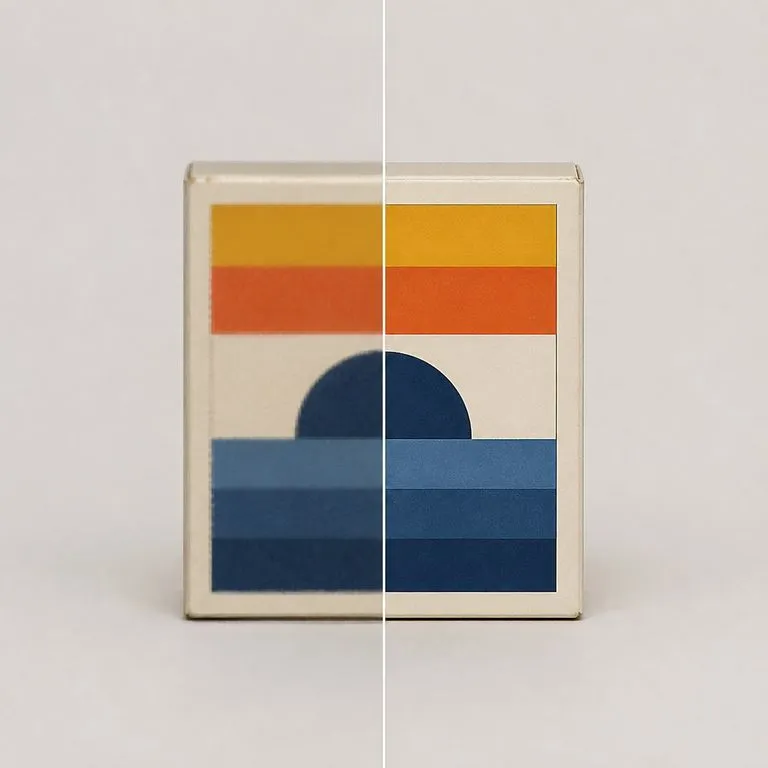
A packaging label graphic staying exactly as drawn through the repair
Text Held as Written: packaging copy named in the notes and left alone
Fine hard-edged line work sharpened rather than smeared by enlargement
Screenshot to 2K: interface edges sharpened rather than smeared
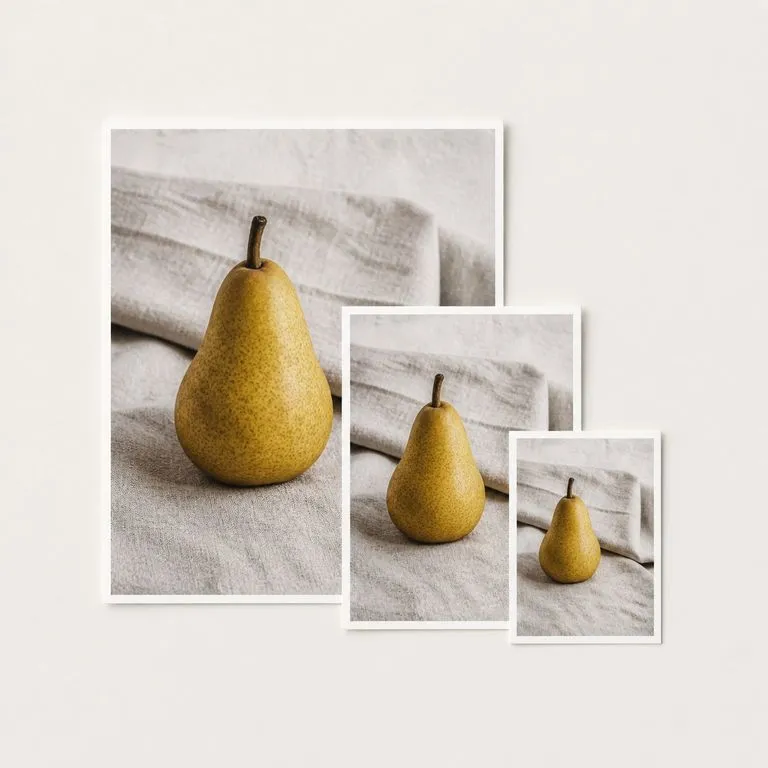
One source photograph shown at three increasing output sizes
Same File at 1K, 2K and 4K: three targets from one source, compared

Why diagnosing beats upscaling

An upscaler makes the same picture bigger. That is a different job from making it usable.

Plain upscalers

  • Every image gets the same treatment, whatever was actually wrong with it
  • Enlarging a compressed file enlarges the blocking along with everything else
  • Sharpening runs across noise as readily as across detail, so grain gets crisper
  • Text is regenerated with the rest of the frame, and it comes back nearly right

The Virse enhancer

  • The dominant defect is identified first, and the repair is aimed at it
  • Compression artefacts are removed before any resizing happens
  • The focus setting decides whether sharpness or noise removal takes priority
  • Naming the text in the notes treats it as a constraint rather than as content
FAQ

Questions

What is the difference between this and a plain upscaler?
An upscaler makes the same picture bigger. This one first works out which defect dominates, whether that is blur, noise or compression, and repairs it before rendering at the target size.
Will text in the image survive?
Say so in the notes and it is treated as a constraint. Text is the first thing a generative pass tends to invent, so it is worth naming explicitly.
Can it recover detail that was never captured?
No, and it is worth being clear about this. What comes back at 4K is a plausible reconstruction rather than detail that was hiding in the file. On a face or a licence plate, plausible is not the same as true, and you should not treat the output as evidence of anything.
Is it free, and do I need an account?
Running the tool spends credits from your plan, and you need to be signed in for that. Pressing Create from this page only opens a canvas with the tool filled in, which costs nothing. See the pricing page for what each plan covers.
Does pressing Create run the tool straight away?
No. Your inputs travel into a fresh canvas and land on the tool already filled in, but nothing runs until you press Start there. A link can never spend your credits on your behalf.
Can I keep working on the result afterwards?
Yes. Everything the tool produces arrives on a normal Virse canvas, so you can re-run a single output, adjust it, or take it into an edit without exporting and re-importing.

Make the image usable again

Drop it in, pick a resolution, and the result opens on a fresh Virse canvas you can keep working on. Nothing runs until you press Start.