AI Cyber Glitch Generator
Input · OriginalOutput · Result

AI Cyber Glitch Generator

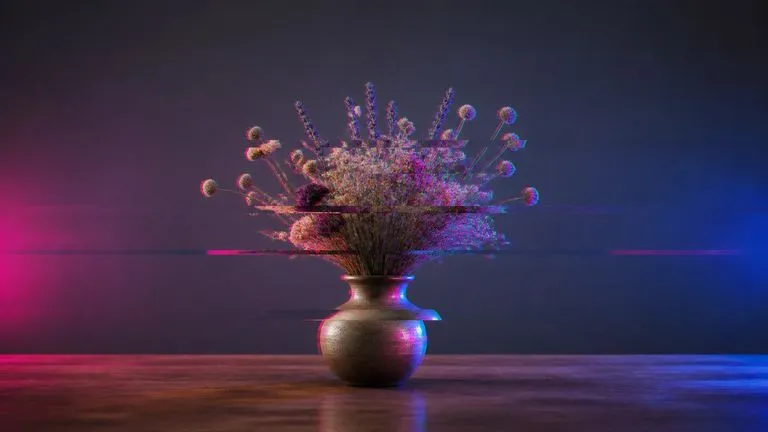
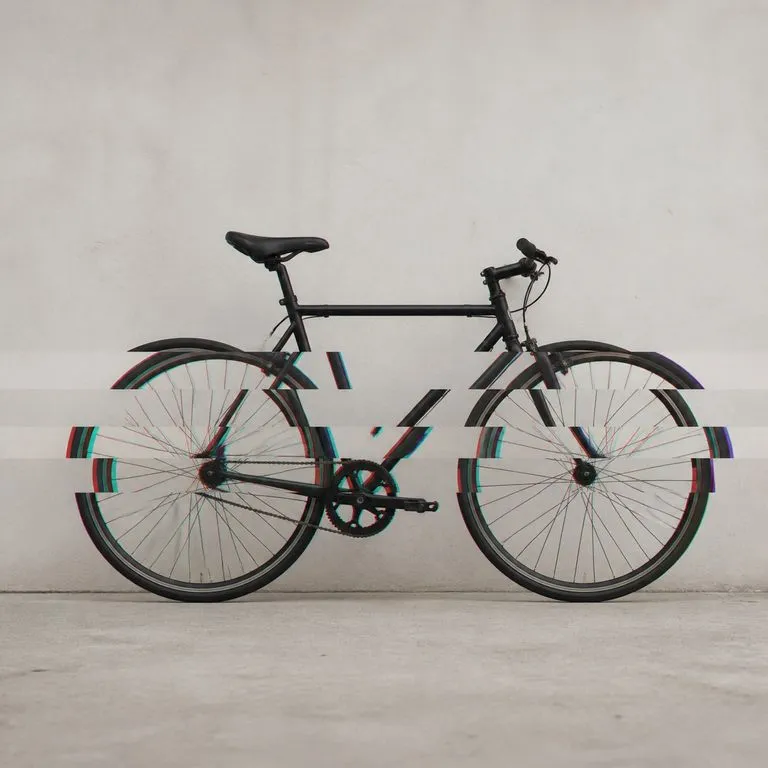
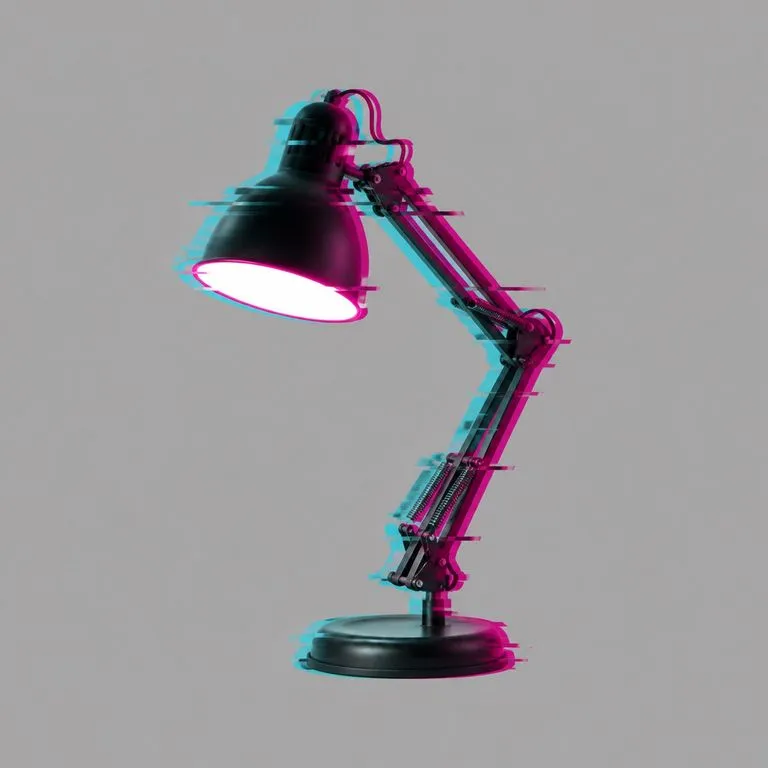
Upload any image and pick an intensity. It comes back as glitch art with RGB splits, scanlines and signal tears. Even at the heaviest setting the subject stays recognisable at a glance, because a result nobody can read is just noise.

Input
Source image · RequiredGlitch intensity · OptionalStyle preferences · Optional
Output
Cyber-glitch style image × 1

Source image

Required

Drop the image

Your image is uploaded on the canvas — this form carries the settings.

Glitch intensityOptional

What an AI glitch generator does to a photo

An AI glitch generator re-renders an image as if the signal carrying it had failed. This one treats readability as a constraint rather than a side effect, so the corruption gets heavier across three settings while the subject stays legible at every one.

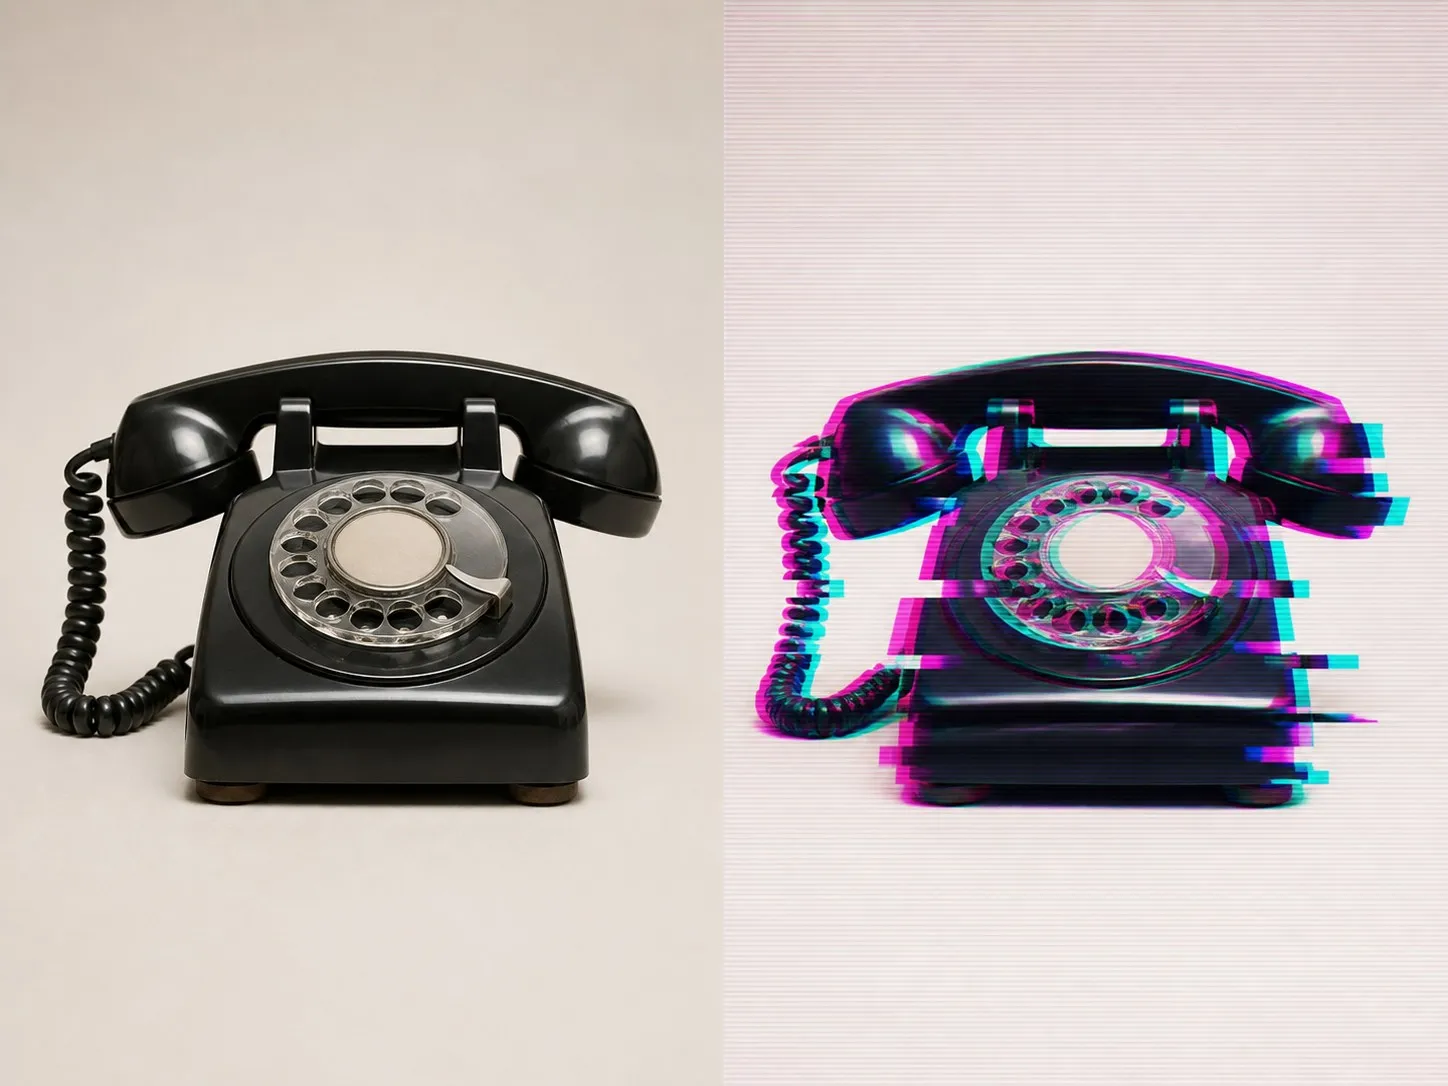
A clean photograph on the left and the same photograph heavily glitched on the right
A source photo and the same photo at heavy glitch intensity

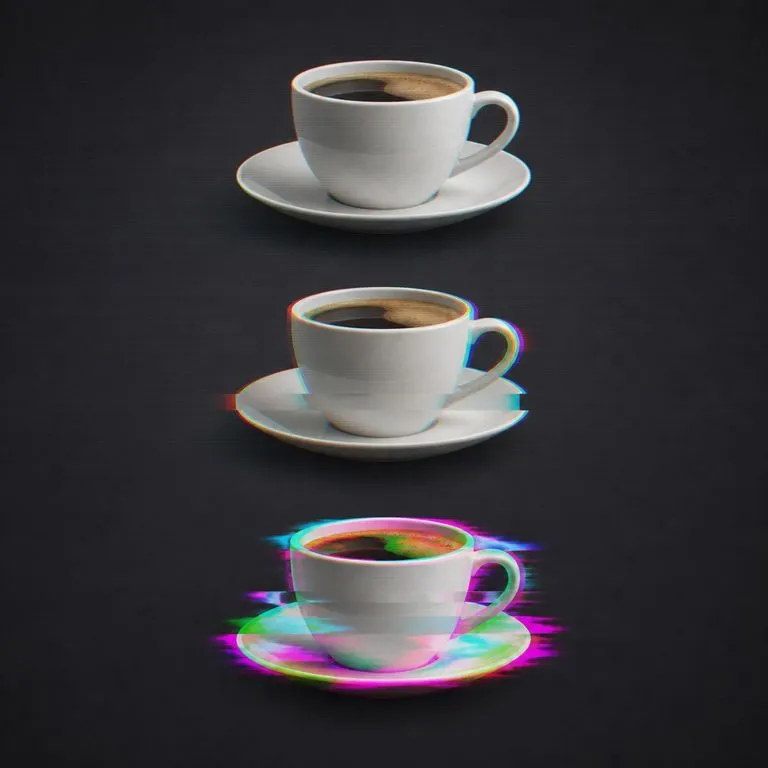
Three intensities the glitch effect generator works at

One required image, one intensity, one optional line about colour. The intensity is the control that matters.

A portrait at subtle glitch intensity with fine scanlines and a light chroma split
Signal noise

Subtle

Scanlines and a light chroma split. The image still reads as a photograph that something went slightly wrong with, which is what you want when the glitch is a texture rather than the subject.
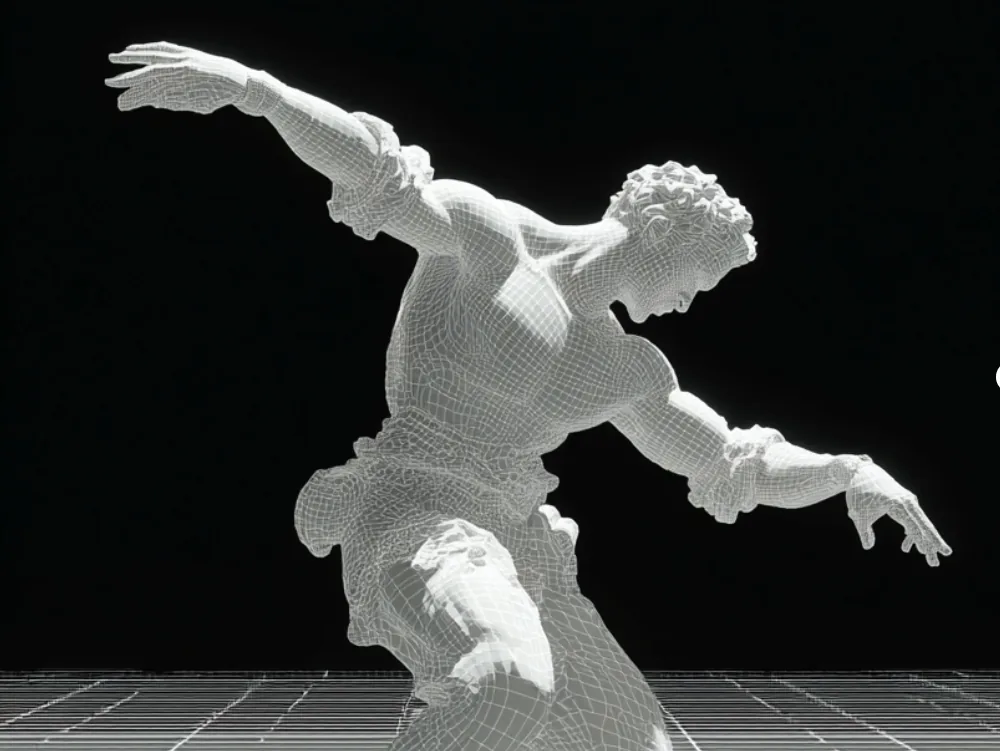
A still life at medium glitch intensity with displacement bands and neon bleed
Broadcast tear

Medium

Displacement bands, stronger RGB separation and neon pollution bleeding into the frame. This is the setting most people land on for cover art and social posts.
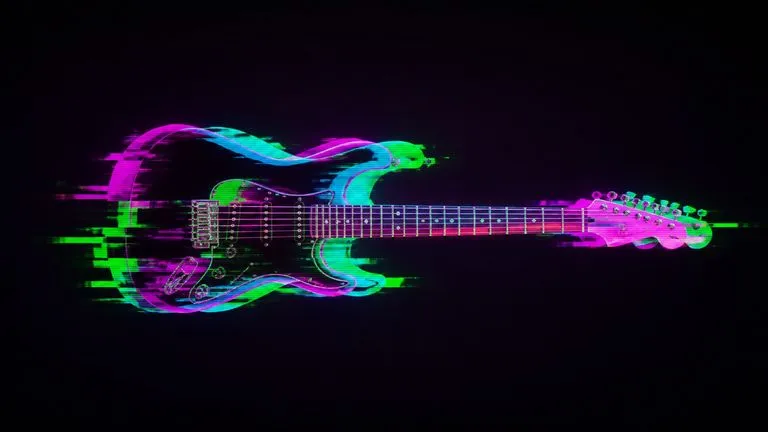
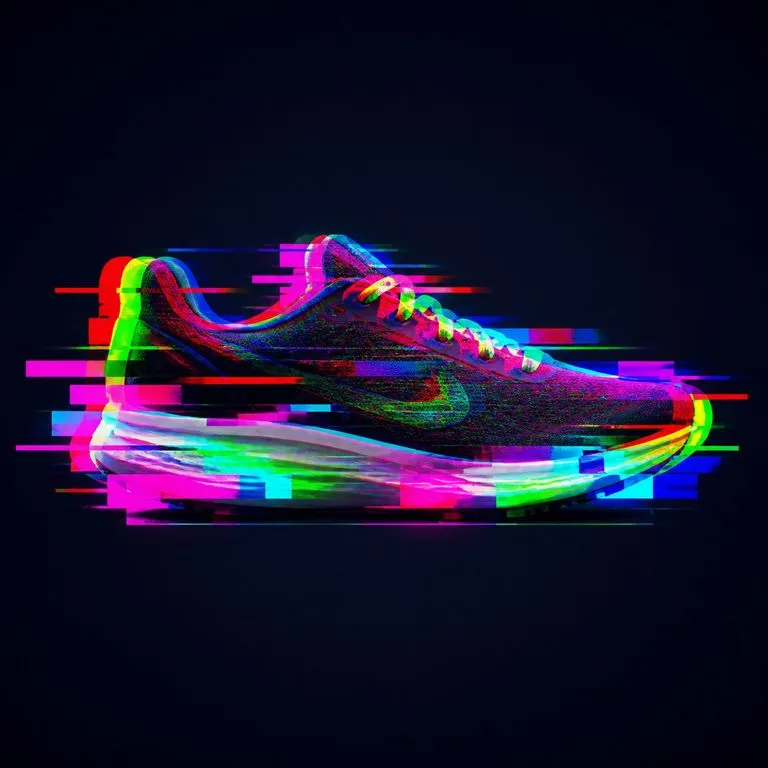
A guitar at heavy glitch intensity, badly corrupted but still recognisable
Still readable

Heavy

Local displacement, blocks moving out of place, colour channels pulled well apart. Heavy allows a lot, but a result nobody can read counts as a failure rather than a stronger effect.

How to add a glitch effect to a photo in four steps

  1. Drop in the image

    Portraits, products, landscapes, artwork. High contrast subjects hold up best at heavy intensity, because there is more structure left to read.

  2. Pick the intensity

    Subtle for texture, Medium for a poster, Heavy when the corruption is the point. Running all three and comparing takes less time than guessing.

  3. Name the colours

    Magenta and cyan, acid green, hot pink on black. Name the palette in the notes and the RGB splits and neon pollution follow it instead of defaulting.

  4. Create, then keep working

    The glitched image lands on a fresh Virse canvas beside the original. Re-run at another intensity, adjust the palette, or take it into an edit without exporting.

Who uses a photo glitch effect generator

People making something that is supposed to look broken on purpose.
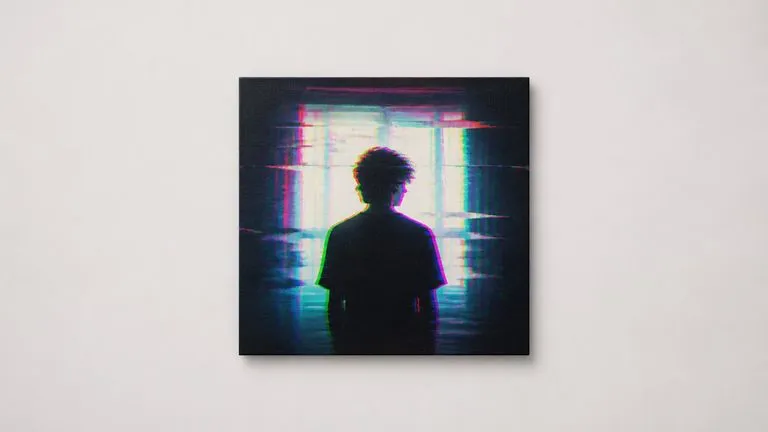
A glitched press photo laid out as square cover art on a plain board

Music & Event Designers

Turn a press photo into cover art or a poster with the aesthetic the genre expects, without building the effect by hand in layers.
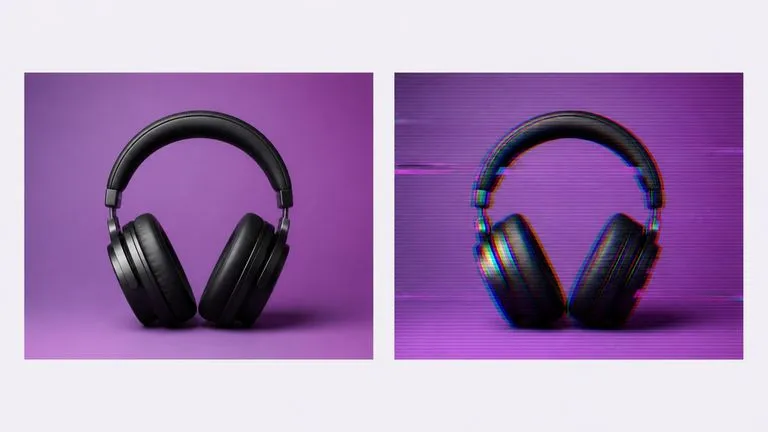
One product photo shown clean and glitched side by side for a campaign post

Social & Content Teams

Give a campaign post a treatment that stops a scroll, using an image you already have rather than commissioning one.
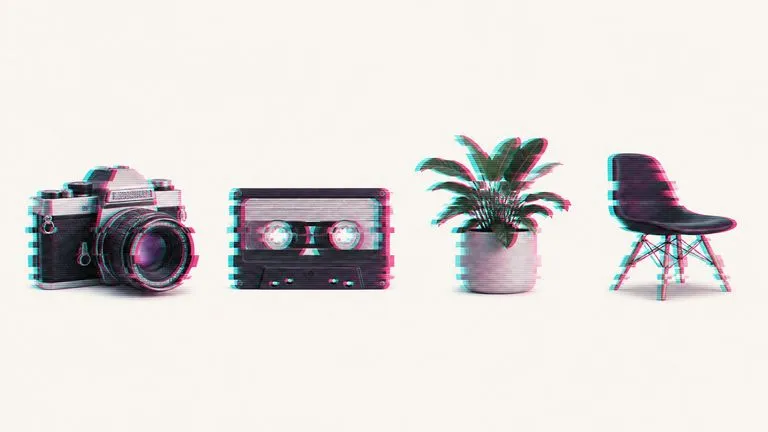
Four different images given one consistent glitch treatment

Game & Streaming Creators

Produce overlays, thumbnails and title cards in a consistent glitch register across a whole channel.
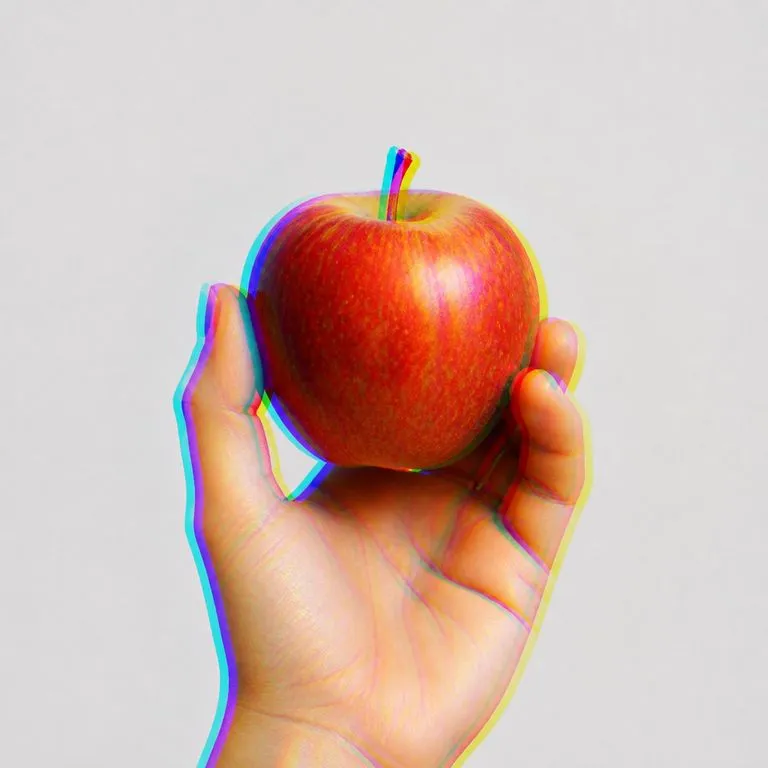
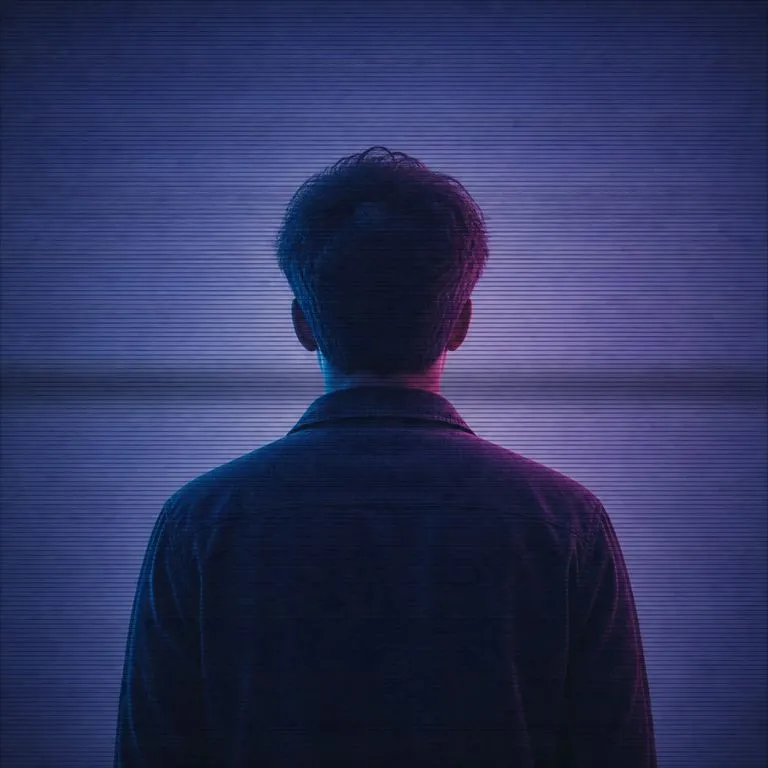
What a glitch art generator returns

A close subject with the colour channels pulled clearly apart
RGB Split at Medium: channels pulled apart with the face still reading
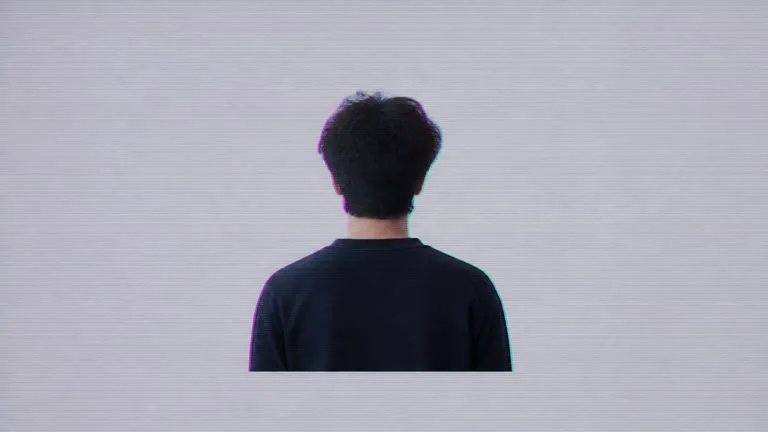
Fine horizontal scanlines used as texture over a back-turned portrait
Scanlines Over a Portrait: subtle treatment used as texture rather than as subject
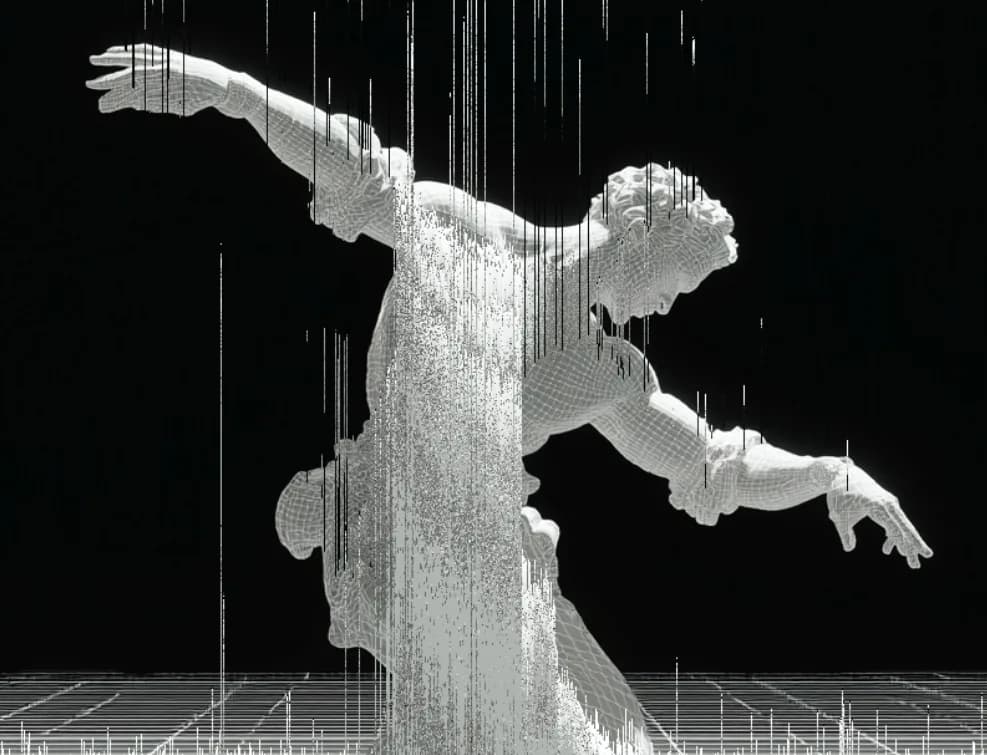
Horizontal blocks of an image shifted out of alignment across the middle
Displacement Bands: blocks shifted out of line across the middle of the frame
A glitch treatment restricted to a magenta and cyan palette
Named Palette Followed: magenta and cyan called out in the notes and honoured
One image shown at subtle, medium and heavy intensity in a vertical stack
One Image, Three Intensities: subtle, medium and heavy shown together
Maximum corruption applied while the subject's shape stays intact
Heavy Without Losing the Subject: maximum corruption with the shape intact

Why glitch art that stays readable is harder

Adding noise is easy. Adding noise and keeping the picture is the part worth building.

Filter stacks and preset overlays

  • The effect is applied uniformly, so a face and a background get corrupted equally
  • Turning the intensity up eventually destroys the subject and there is no floor
  • Colour comes from the preset, so matching a brand palette means editing afterwards
  • The result is a flattened export, and another intensity means starting again

The Virse glitch generator

  • Readability is a constraint at every level, including the heaviest one
  • Three intensities are defined by how much displacement is allowed, not by a slider you can overshoot
  • The palette is named in plain words and the splits follow it
  • Every version lands on one canvas, so intensities can be compared rather than redone
FAQ

Questions

Will the subject still be readable at heavy intensity?
Yes, and that is an explicit constraint at every level. Heavy allows local displacement, but a result nobody can read is a failure rather than a stronger effect.
Can I control the colours?
Yes. Name the palette in the notes and the RGB splits and neon pollution follow it.
Can it make glitch text or a glitched font?
No. This tool works on an image you upload, and it is not a text effect generator. If you want glitched lettering, set the type first, export it as an image, and run that through instead.
Does it work on video?
No. One image in, one image out. Animated glitch effects are a different pipeline, and this tool does not produce frames or clips.
Does pressing Create run the tool straight away?
No. Your inputs travel into a fresh canvas and land on the tool already filled in, but nothing runs until you press Start there. A link can never spend your credits on your behalf.
Can I keep working on the result afterwards?
Yes. Everything the tool produces arrives on a normal Virse canvas, so you can re-run a single output, adjust it, or take it into an edit without exporting and re-importing.

Glitch art that still reads

Start here. Drop an image in, pick an intensity, and the result opens on a fresh Virse canvas, with nothing running until you press Start.