AI Line Art Render
Input · OriginalOutput · Result

Line Art to Render AI

Upload a product line drawing and one material reference. The renderer reads the part breaks in the drawing, wraps the reference material along them, and returns a studio-lit shot with the geometry exactly where you drew it.

Input
Line art image · RequiredMaterial reference image · RequiredRender requirements · Optional
Output
Photoreal render of the line art × 1

Line art image

Required

Drop your line drawing

Your image is uploaded on the canvas — this form carries the settings.

Material reference image

Required

Drop your line drawing

What line art to render AI does with a product drawing

Line art to render AI takes a product drawing and a material reference and puts them together. The drawing decides the geometry, the reference decides the surface, and the shape is never reinterpreted along the way.

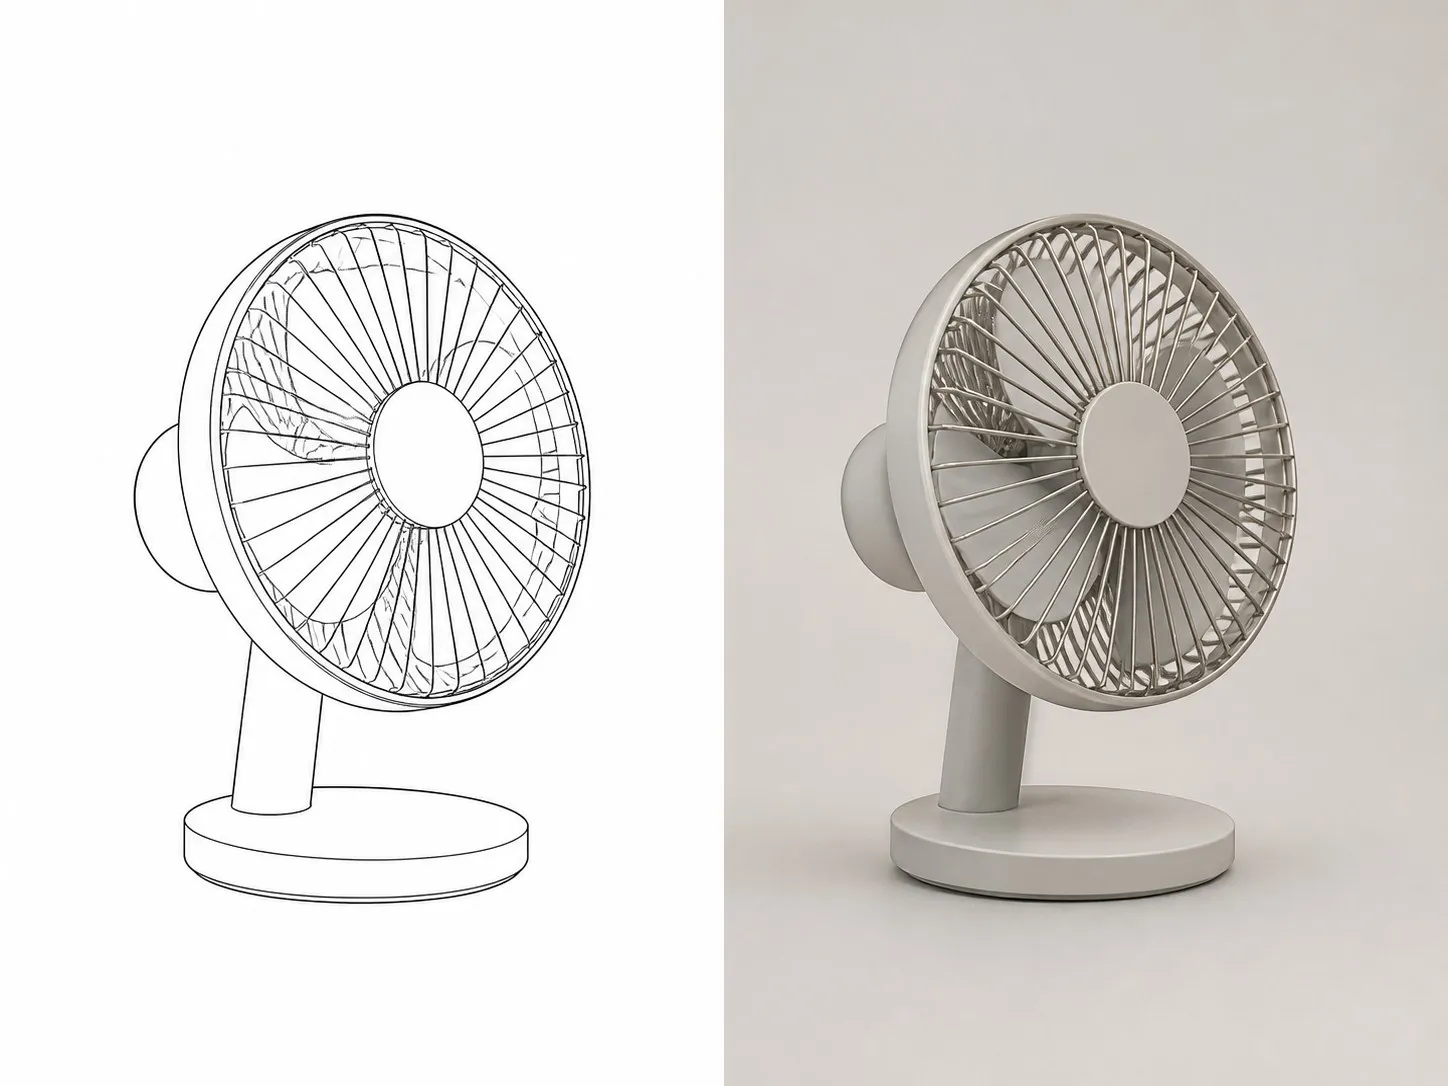
A desk fan as a black line drawing on the left and the same fan as a finished photoreal render on the right
A product line drawing and the render made from it, side by side

Three inputs the sketch to render AI keeps separate

The two required images do different jobs. Keeping those jobs apart is what stops a render from drifting off the drawing you gave it.

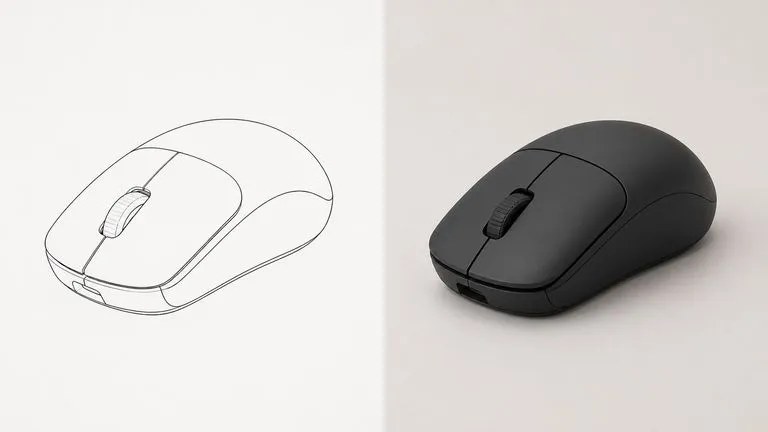
A wireless mouse line drawing beside its render, with the drawn part breaks still visible in the rendered surface
Required

The drawing is the geometry

Every part break, seam and surface turn in your line art is read as structure. Line weight tells it where a body splits and where a surface merely curves. Proportions come out of the render where you put them in.
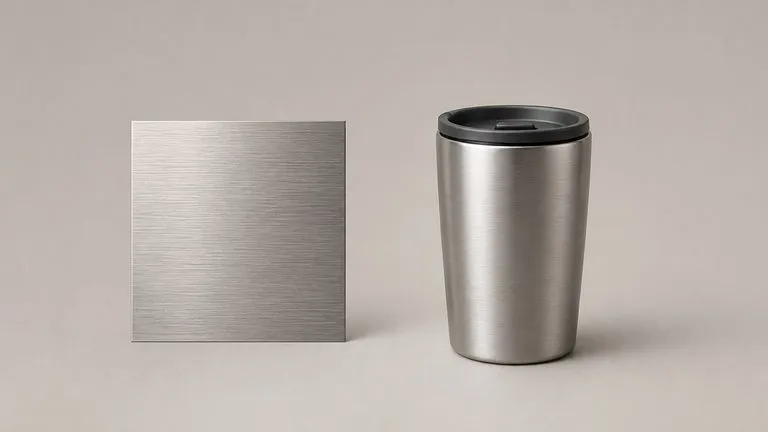
A square brushed metal swatch on the left and an insulated travel mug rendered in that same brushed finish on the right
Required

The reference is the surface

A close-up swatch works. So does a photograph of a finished product that happens to have the finish you want. It reads grain direction, gloss and how light breaks across the material, and it ignores the shape of whatever the reference was.
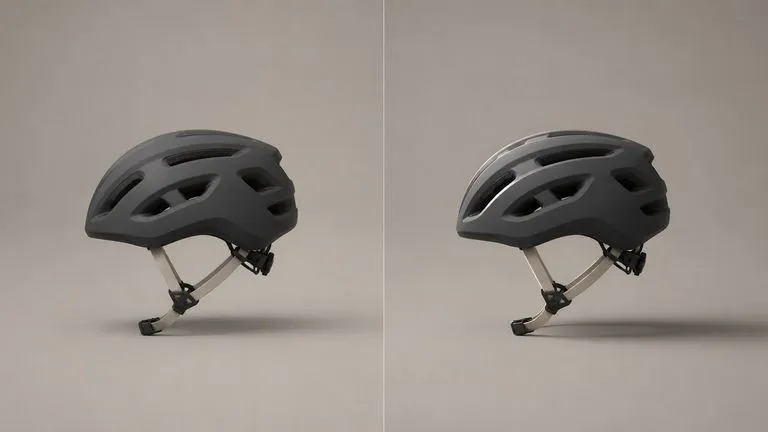
One bicycle helmet rendered twice under different lighting, soft top light on the left and hard side light on the right
Optional

The notes are the lighting brief

One line is usually enough. Name the light you want, the parts that should stay dark, the finish that should read matte rather than polished. This is where a render stops looking like a default studio preset.

How to render a product sketch in four steps

  1. Drop in the line drawing

    Black lines on white is the cleanest input. A scanned pencil sketch works too, as long as the part breaks are visible. You do not need to clean up the background first.

  2. Add one material reference

    Point it at the finish you want. A swatch, a fabric close-up, a metal sample, or a product photo you liked. Only the surface is read.

  3. Write the lighting brief

    Say how it should be lit and what should stay dark. Naming what to leave alone works as well as naming what to change, and it is usually the shorter sentence.

  4. Render, then keep working

    The render lands on a fresh Virse canvas next to your drawing. Re-run a single output, change the reference, or take the result into an edit without exporting anything.

Who needs a product sketch to render AI

People who already have the drawing, and need to see the object before anyone commits to tooling.
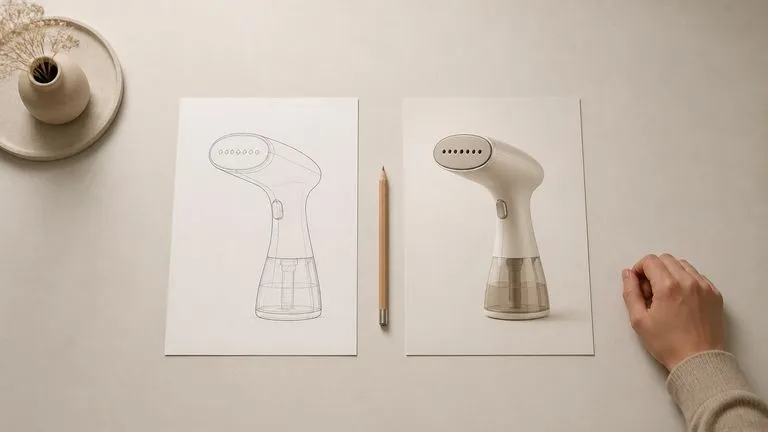
A designer's desk from above with a printed line drawing of a garment steamer beside a printed render of the same product

Industrial & Product Designers

Put a concept sketch in front of a client as a finished object, days before a real render or a prototype exists.
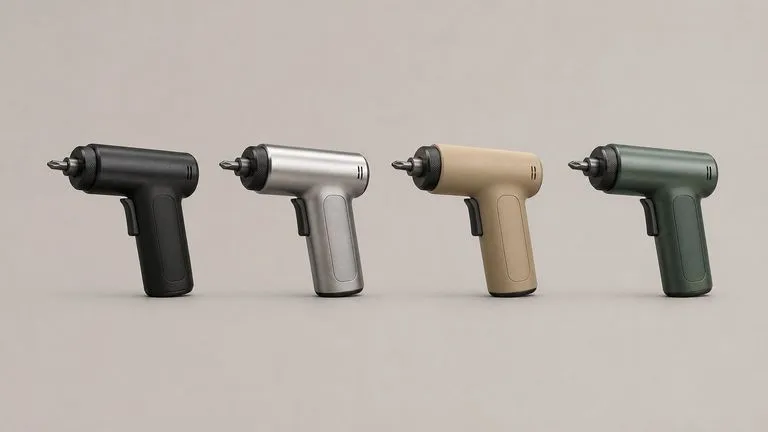
One cordless screwdriver rendered four times in four different finishes, evenly spaced in a row

CMF & Materials Specialists

Run one drawing against four finishes and compare them under the same light, instead of describing a material and hoping everyone pictured the same thing.

A single photoreal render of a portable bluetooth speaker presented alone on a clean pale board

Pitch & Client Deck Builders

Get a photoreal hero image for a product that has not been built, without booking a studio or modelling it in 3D first.
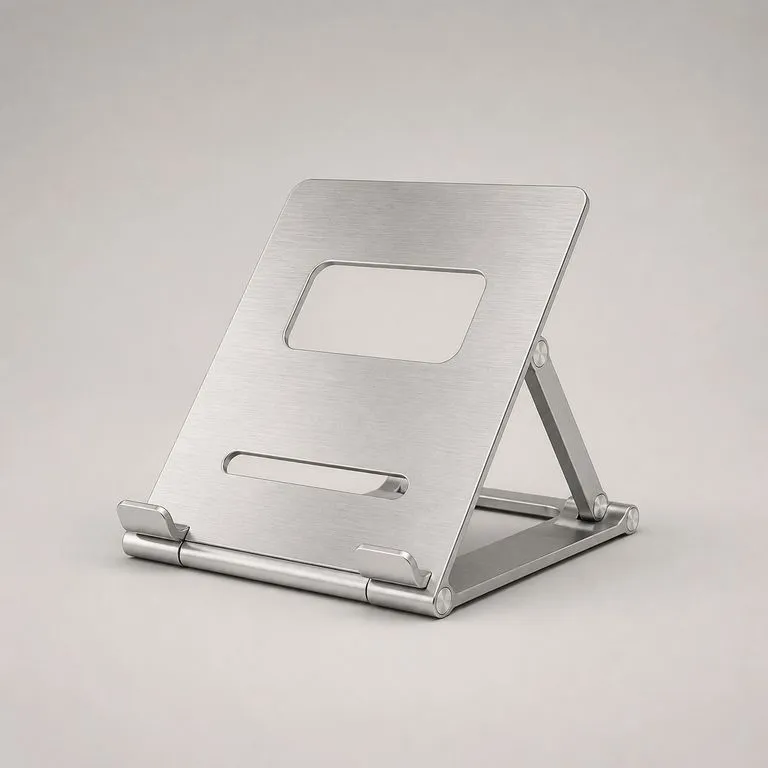
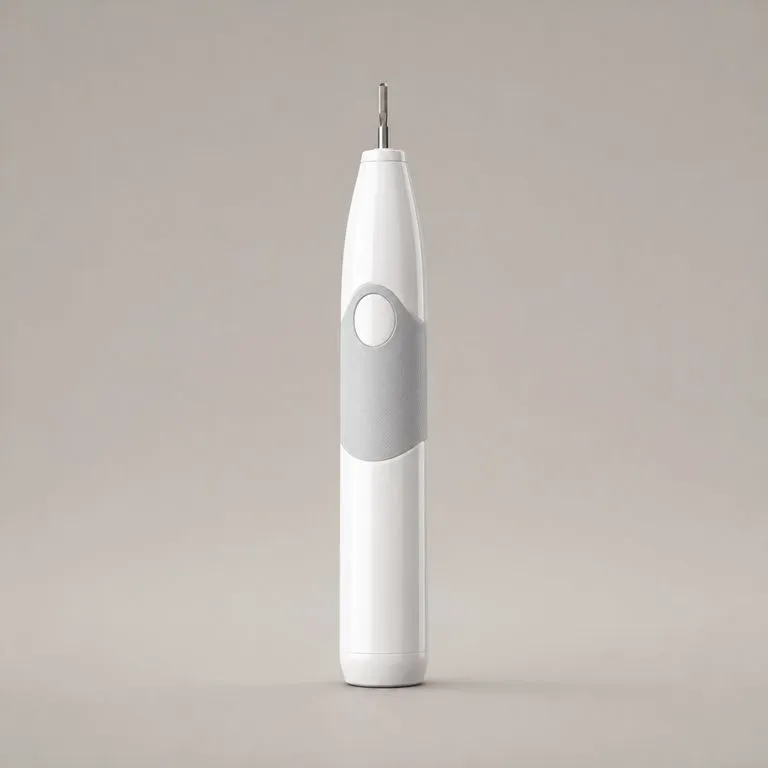
What AI sketch rendering returns

A laptop stand rendered in brushed aluminium with the part breaks still readable under the metal
Brushed Aluminium From a Swatch: the drawn part breaks still readable under the metal
An electric toothbrush rendered in glossy white polymer with highlights following the surface curvature
Gloss Polymer Under Studio Light: highlights following the surface turns in the drawing
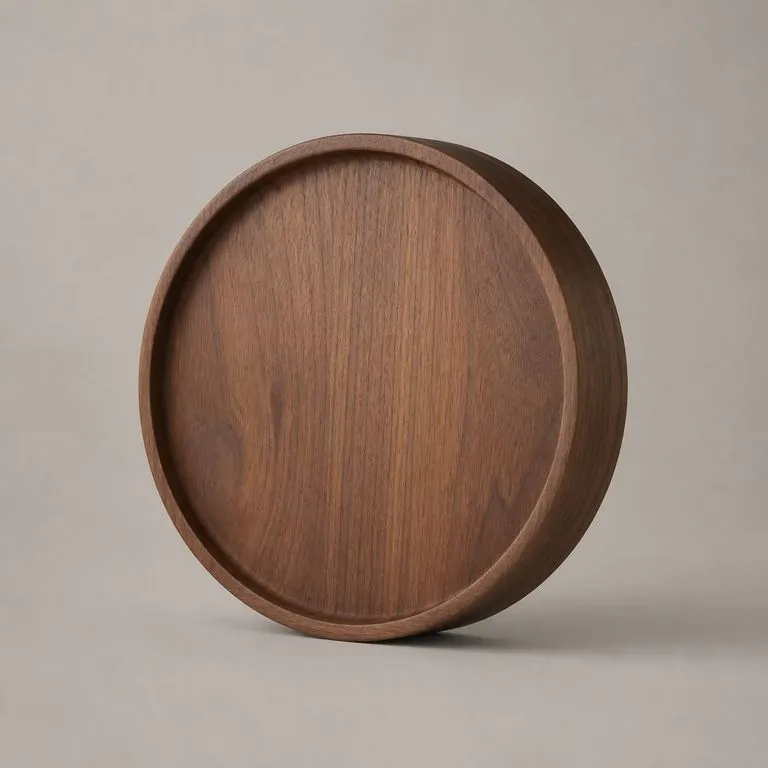
A round wall clock rendered in walnut with the grain following the curve of the body
Walnut on a Consumer Housing: grain direction from the reference, geometry from the drawing
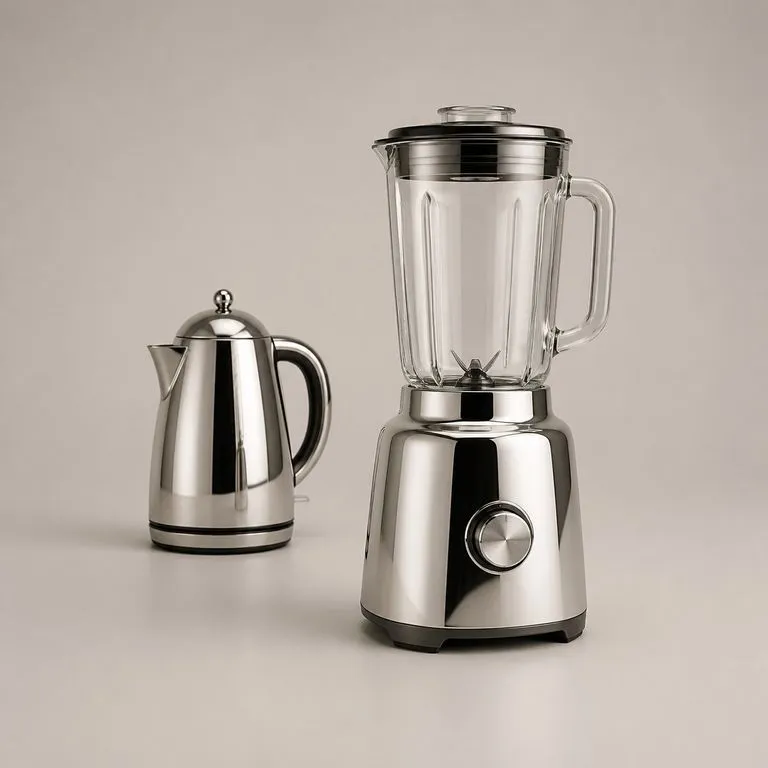
A polished chrome kettle used as a material reference beside a blender rendered in the same chrome finish
Reference Product, Material Only: a finished camera shot used purely for its finish
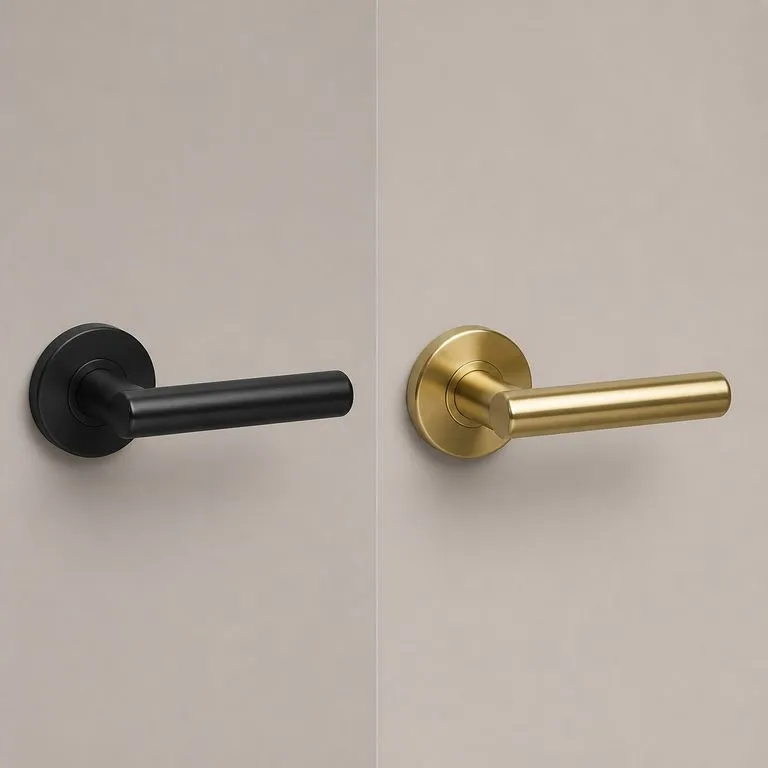
One door handle rendered twice, in matte black metal on the left and warm brass on the right
Same Drawing, Two Materials: one geometry rendered twice for a materials review
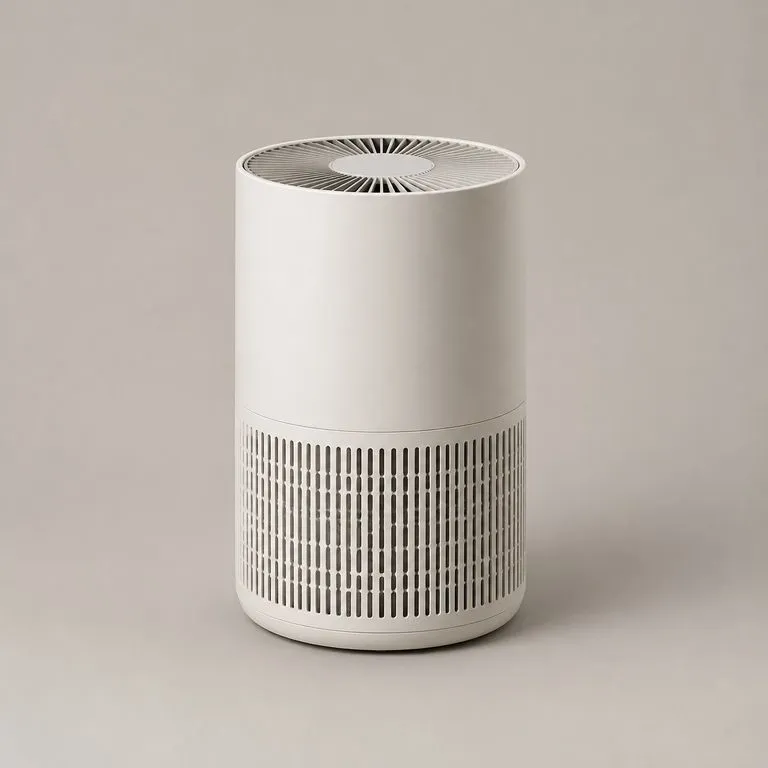
An air purifier rendered with the fine vent slots still open and crisp rather than merged
Vent Detail Held Open: fine openings in the line art surviving into the render

How product sketch to render AI differs from the architecture tools

Most sketch to render tools were built for buildings and interiors. That shows up in what they do to a product.

Architecture-first renderers

  • Trained on buildings and rooms, so a product tends to read as furniture in a space
  • The sketch is treated as a suggestion, and the form gets redrawn on the way through
  • The material comes from a text prompt rather than from a photograph you picked
  • The output is a download, and the workflow stops there

The Virse renderer

  • Built for products, so part breaks and proportions are the first thing it looks for
  • The drawing is the geometry and stays fixed. A moved edge is a defect, not a style
  • The material comes off a reference image, including a photo of a finished product
  • The render lands on a canvas and goes straight into the next tool
FAQ

Questions

Can the material reference be a finished product photo?
Yes, and it is often the easier input. It reads the material off the reference: grain direction, gloss, how light breaks across the surface. The shape of the reference product is ignored completely.
How much can the form drift?
It should not drift at all. The drawing is the geometry, the reference is the surface, and those two jobs stay separate. A render whose proportions have moved off the drawing has failed the one thing this tool is for.
Does this work for architecture or interior sketches?
No. This renderer is built for products, so it reads a drawing as an object with part breaks and a material, not as a space with walls and daylight. Feed it a floor plan or an interior perspective and you will get an object-shaped guess. Architectural sketch rendering is a different job and a different tool.
What if I do not have a line drawing yet?
Start one step earlier with the AI Line Art Generator. Give it a product photo and it returns a white-background line drawing that this renderer reads directly, so the two tools run back to back on the same canvas.
Does pressing Create run the tool straight away?
No. Your inputs travel into a fresh canvas and land on the tool already filled in, but nothing runs until you press Start there. A link can never spend your credits on your behalf.
Can I keep working on the result afterwards?
Yes. Everything the tool produces arrives on a normal Virse canvas, so you can re-run a single output, adjust it, or take it into an edit without exporting and re-importing.

Send a product drawing through the renderer

Start here. The drawing and the material reference travel into a fresh Virse canvas together, and nothing runs until you press Start.